
Day In The Life 2025™ | Special Guest Jen Wong

Hi, friends! I’m super happy to be here sharing my 2025 Day In The Life process and completed album. I documented earlier in the month on October 2nd, which I chose because it was a perfectly average day, and I knew it would highlight the routines of my family’s life right now.
For the documenting day, I set timers on my phone to remind myself to take a photo and write something down every hour. I’m on my computer a lot during the day for work so this worked out well. Later in the day when I was away from the computer, I quickly jotted notes down on my phone and used my phone camera.
I love to keep this project really simple, because then I have a much better chance of finishing it! I’ve done it in a variety of ways over the years, from a 1 page spread in my Project Life album, to small mini albums. This year, I was again looking for something quick and easy. I’ve been into making mini albums lately and made an easy accordion fold one, using one 12” x 12” sheet of scrapbook paper.
To make the base of the mini book, you’ll need one 12” x 12” piece of paper. I chose a lighter weight paper, knowing that I would be covering each of the pages and I didn’t want each page to feel too thick. The paper I chose also has a pattern on one side but again, the pattern doesn’t matter too much since I covered all of the pages. (I just wouldn’t choose any loud or clashing colors since you may be able to see a bit of the pattern in the seams of the book.)
You can watch me put together the base of the album in the video, but here is a diagram showing the scoring and cut lines.

The yellow dashed lines show the direction that the pages should be folded along.
This booklet only allows for six full pages and since I wanted eight to use up all of the journaling cards, I added two additional pages by cutting two 4” x 6” pieces of copy paper, scoring down the middle at 3”, folding them over, and gluing them to each end of the booklet. This gives me exactly 8 spreads.
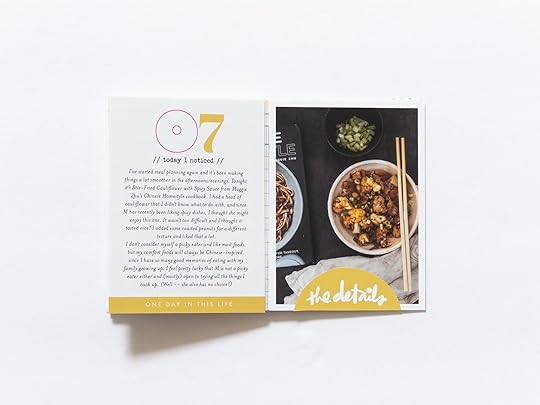
I went through my photos from the documenting day and selected eight which told some of the stories of the day. These were all printed at 3” x 4” with a white border. I don’t have the physical kit so I am using the digital version and my project is entirely hybrid. Using the digital journaling cards, I added my notes about the day onto them and printed them out.
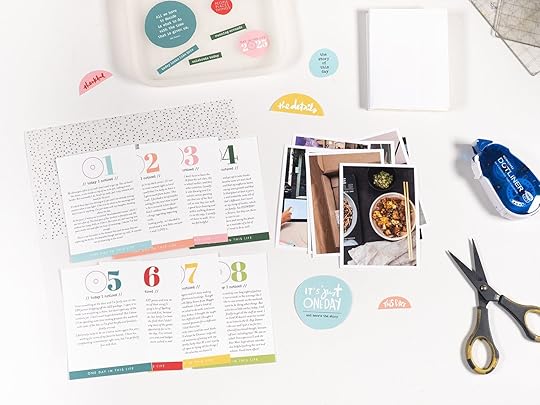
I planned to embellish simply, just using one colored embellishment that matched the color of the journaling card that I added to my photo. The nice thing about using the digital kit is that I was able to resize and recolor some of the pieces to make them match the photos better!
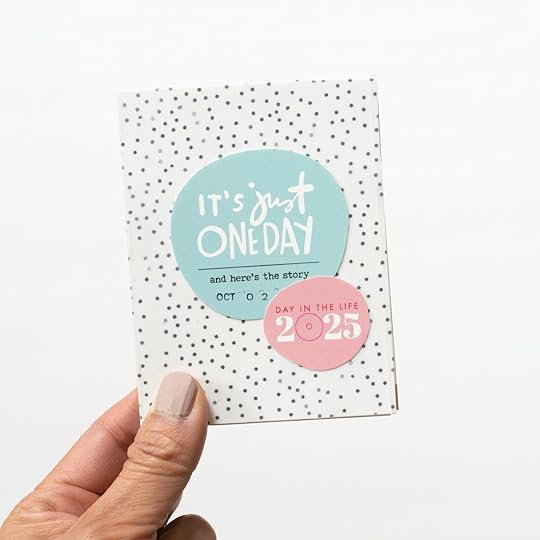
For the cover, I used the dot background of one of the papers in the kit, turned it to black and white, and printed the dots onto vellum. I cut 3” x 4” pieces of this out and adhered them to the front and back pages. I added the “it’s just one day” circle from the paper (recolored to blue) and the 2025 pink chipboard element to the front.
You can watch me talk through my plan and put the entire album together in the video below.
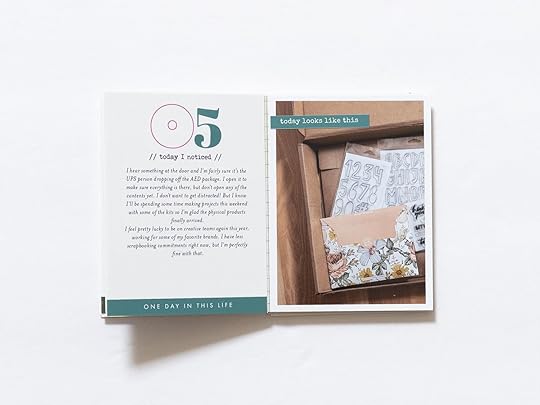
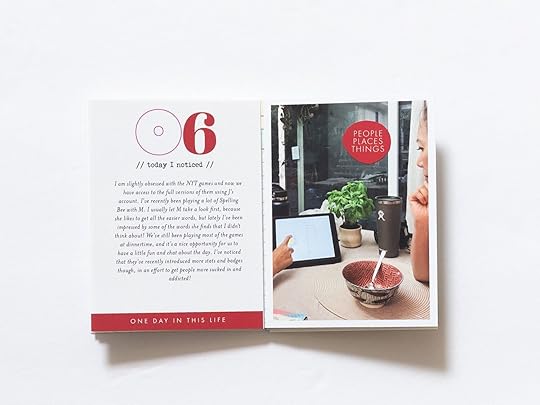
Here are all of the pages in my album.


I may tie a ribbon around the entire album to keep it closed.
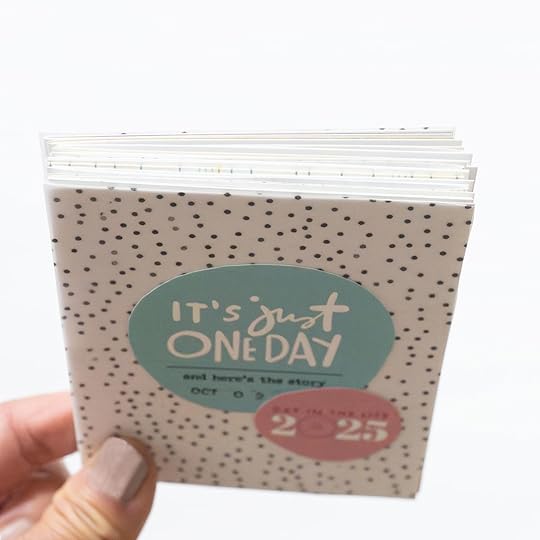
I just love how this little mini album turned out! DITL does not need to be a complicated or time-consuming project and you can totally do it! It’s so much fun to look back on these.
I hope I was able to inspire you! You can find more from me on IG (@circleplusarrow).


