Rebe Huntman's Blog
March 28, 2025
Following Intuition, Creativity & the Path of the Unknown


February 28, 2023
Where to Start? The Case Against Perfectionism
“The consequence [of writing] is that you must start by writing the wrong meanings in the wrong words; but keep writing until you get to the right meanings in the right words. Only in the end will you know what you are saying.” —Peter Elbow
Where to begin as a writer?
As a young reader I believed that writers began their works at the beginning and kept writing until they’d finished, their words lining up neatly before them in a single, sustained rush of inspiration. But for most writers, writing is a process that rarely takes us from start to finish.
We begin with a lone line or image. A memory that wakes us up in the middle of the night. The pinprick of an idea we jot down in our journal.
We begin in the middle. We begin at the end. We work for days or months, like an artist chiseling away at the slab of marble to see what work of wholeness and beauty might emerge from our efforts.
To write means to carve or sketch
Many of the words for "write" originally meant to carve, or scratch, or cut—such as the Latin scribere, the Greek graphein, or the Sanskrit rikh.
The Old English wrītan, means to score; to outline; to form (letters) by carving; to draw the figure of.
The German reissen means to sketch or drag.
Which is what my writing practice looks like most of the time. I carve, scratch, tug at the image I’m trying to pull from the blank page or screen.
Write like an artist
The sculptor inherits her raw materials—a slab of marble, a bucket of clay. She dips her hand into the clay and begins the process of shaping her material.
As writers, we must make our own clay.
We make our clay by lining up words and images and ideas as they come to us—without censoring them or wondering if we’re putting them in the right order; without wondering whether or not anyone will want to read these words of ours.
Like the sculptor, we know that if we show up every day and write, we will have material to work with. And, like the sculptor, we know we can always come back later to rework it.
We can move our words around. We can add new ones. We can throw some or all of them away.
But none of that can begin until we first generate some material. And so we set a line of words down on the page, not knowing where they will lead us. First one word and then the next.
This is our one and only first task: to fill the page, or screen, with words.
The enemy of our writing process is our inner perfectionist
The enemy of our writing process is our inner perfectionist. She has us staring at the blank screen, waiting for genius to strike. She tells us we need to clean up our act; we need to choose better words; we need to reach for more sophisticated ideas. She forgets that we can add and subtract from the clay of our words, carve new textures into what we’ve started, throw the whole bit back in the bucket and start again.
Close cousins of the inner perfectionist are the inner critic and the inner pleaser. The inner critic tells us we’re babbling on about things that no one wants to hear, or that our words aren’t headed in any clear direction.
The pleaser tells us there is no market for our words. We are too radical, too boring. We are too angry. We are not angry enough.
If we listen to these voices too early in the game, we become paralyzed. That image or memory that woke us in the middle of the night evaporates. The spark of our big idea fizzles before we’ve even tried it out.
Which is why, in the early stage of drafting any piece, it is vital that we don’t listen to the perfectionist or the critic or the pleaser, or any of the other voices that might prematurely say no to any of its possibilities.
We need to let our words try themselves on.
Later, we can shape our material into something tidy and polished, even publishable.
But first we must push past the blank mind and page and get that first line of words onto the page.
Because, as Elizabeth Gilbert reminds us in her book, Big Magic, we have extraordinary treasures inside us. “And bringing those treasures to light takes work and faith and focus and courage and hours of devotion, and the clock is ticking, and the world is spinning, and we simply do not have time anymore to think so small.”
Learn how to use Peter Elbow's free write to get those first words on the page in the second post in this series, Write Without Fear.

Create a Journal You'll Love to Write in
Part of the joy of writing is the tactile nature of it— the movement of ink across the page; the weight of your pen in your hand; the satisfaction of finding just the right journal to write in.
For some it might be a legal pad filled with lines to guide their thoughts or the soft, inviting pages of a Moleskin notebook.
My preference is to write in a beautifully-bound hardcover book filled with blank white pages I can fill with everything from poems to sketches, ideas for books and to do lists.
And because I have a hard time finding a book that checks all my boxes, over two decades ago I began making my own journals.
The results are as beautiful as they are unique, but it is the process I find most satisfying.
There is something profound and perfect about creating a journal that is as handmade as the words we fill it with.
This post is about sharing that process with you.
Step One: Define your preferences
While you can create your own pages and covers from scratch, I like to start with a ready-made book or notebook. It might be a composition book or artist’s sketchbook or any kind of pre-made journal that you can refashion to your liking.
Do you prefer a smaller notebook you can slip into your pocket or purse or a larger one you can stretch across your lap? Do you like the weight and feel of a hard or soft cover? The guidance of a lined page or the freedom of a blank one?
Once you’ve defined your preferences, it’s time to go shopping.
Because I love to write on blank pages and like the feel of a hardcover notebook I can carry with me, I start with a 5 x 8-inch hardcover artist’s sketchbook I purchase at an art supply store like Blick’s.
But there are so many choices!
 Step Two: Design your covers
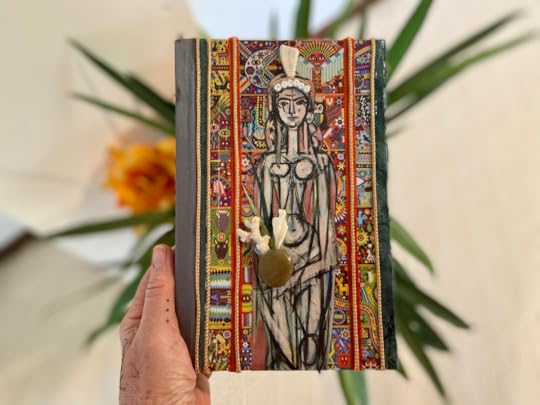
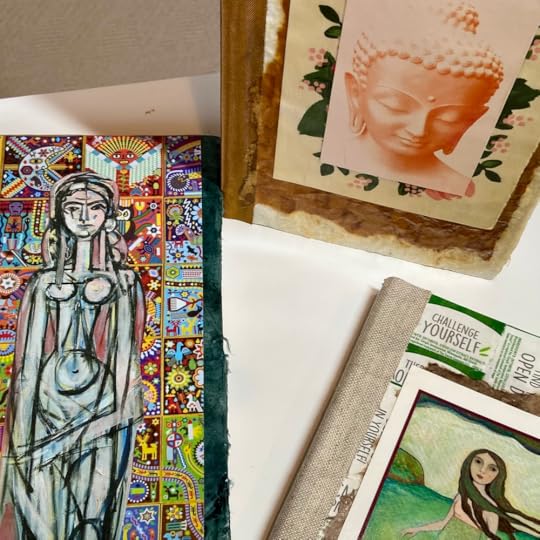
There is no shortage of ways to design your covers and part of the joy is to discover the materials and processes that speak to you. I like to collage my covers with paper (both store-bought and found) and acrylic paint, beads and found materials.
Here is a list of materials you might consider using:
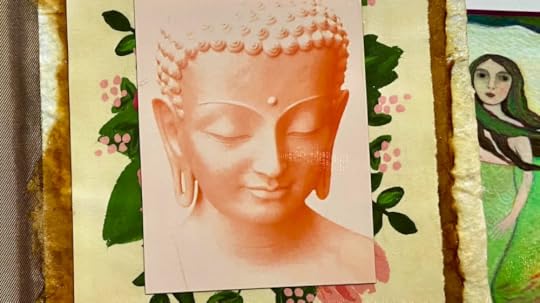
Found images from magazines, greeting cards, etc. Scanned copies of photographs, letters, diaries or other documents Art paper and wrapping paper Book cloth (or heavy-duty cloth or tape) Beads Natural objects like feathers, shells and dried flowers Acrylic paint, markers, or pastels Gold paint or pen Scissors X-acto knife Glue stick Book binding PVA glue (you can also use regular glue or Mod Podge) A gloss medium like Mod podge (both to glue papers and materials to covers and to seal them with a glossy finish)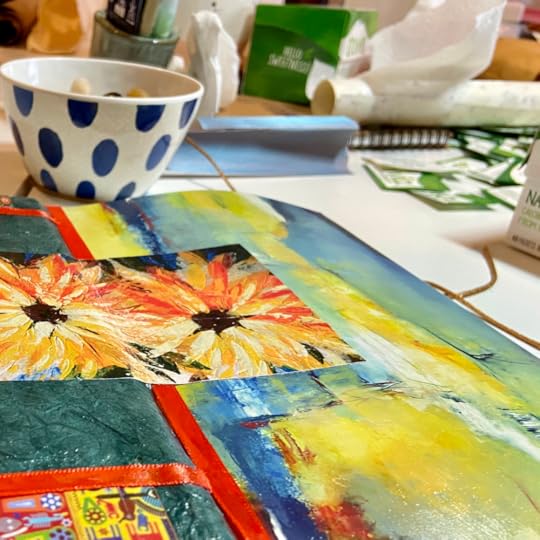
Take your time gathering your materials and try arranging them in different patterns until you find one that pleases you.
Then glue your first layer (for me it’s usually a layer of art paper or cloth) onto your front and back covers.
Wait until you’ve finished step three to glue any additional layers.
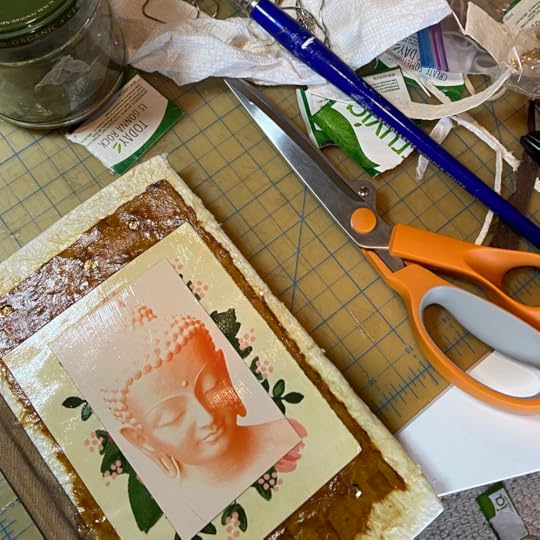
Step Three: Bind your book spine
To bind the spine of your book, I recommend using book binding cloth you can find at a craft store like Blick’s, but you can also use any kind of heavy-duty cloth or tape.
Measure the width you’ll need to cover the spine of your book, use an X-acto knife to cut your binding to size, then glue it using book binding glue or Mod Podge.
Try not to get glue on the cloth of your spine as it will look messy.*
*Full disclosure: I almost always get glue on the binding. If it happens, I recommend embracing it as part of the handmade beauty of your book.
 Step Four: Finishing
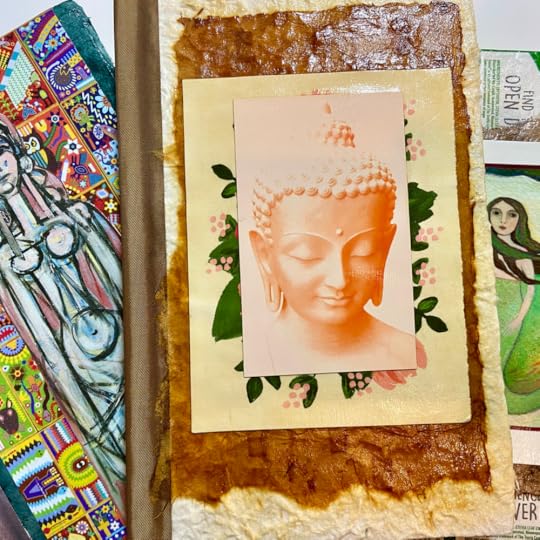
Cut and paste the remaining images and materials you’ve selected onto your covers, building up as few or as many layers as you’d like. I like to seal each layer with a gloss medium like Mod podge, which gives my covers a deep, rich sheen. If you try it, make sure to give the final product time to cure before using.
 Extra touches to consider
The possibilities are endless! Here are a few to spark your creativity:
Decorate inside covers with paper, images and/or text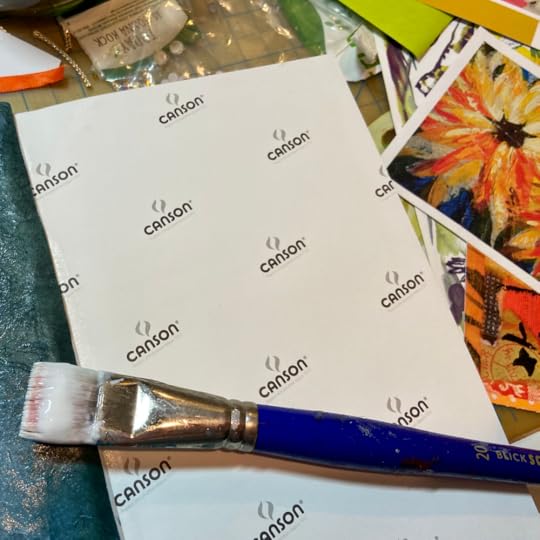 Create a pocket on the inside of either cover where you can store notes and other treasures Give yourself surprises to land on by gluing images and/or text on random pages throughout
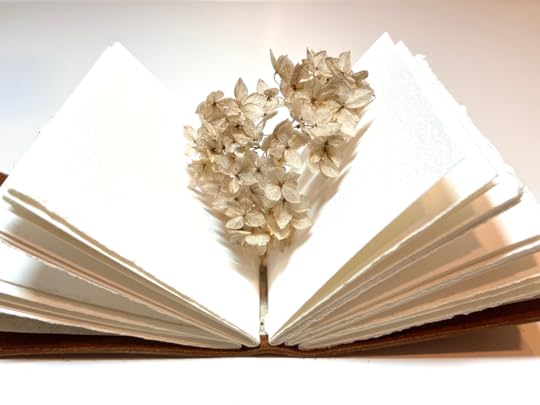
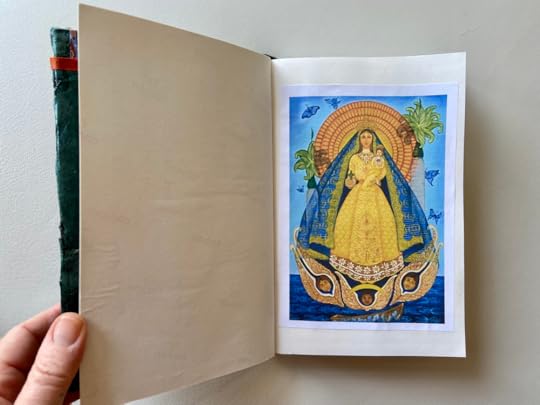 Create a double cover like the one shown below. Decorate the outside to share with the world. Decorate the inner cover with messages, images, or affirmations that are just for you.
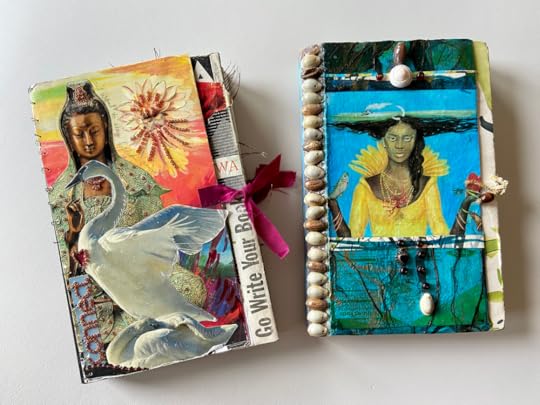
Make sure to share your results with me on Instagram @rebehuntman or Facebook @rebehuntmanauthor so I can see what you come up with!
February 16, 2023
A Room of Your Own: Create a Writing Space that Allows, Invites, & Inspires You to Write

It might be an office or an attic. A corner of a bedroom or laundry room. A table at a coffee shop you earmark just for writing. A chair you designate as your writing chair.
What is most important about your writing space, whether it’s an entire room or just a nook, is that you create a place—in both your environment and your psyche—that allows and invites and inspires you to write.
You can write in the space of a tool shed

In The Writing Life Annie Dillard writes that “you can read in the space of a coffin, and you can write in the space of a tool shed meant for mowers and spades.”
She insists, in fact that “appealing workplaces are to be avoided.”
“One wants a room with no view,” she says, “so imagination can meet memory in the dark.”
I differ with Annie on this point. I’ve written in libraries and coffee shops, in basements and attics, in cabins and cottages; I’ve written in my car. And, while I can write in each of these spaces, I’ve found that I’m most inspired when I’m surrounded by space and light.
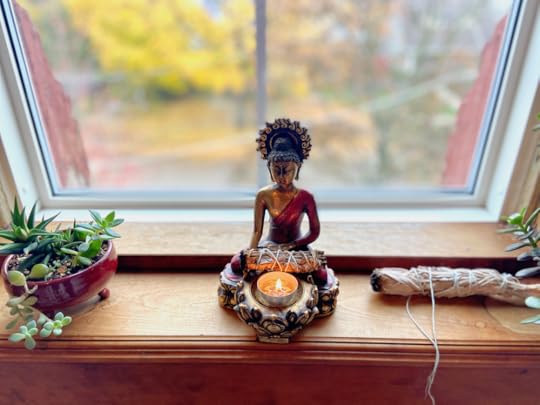
I like to be reminded that there’s a great big world outside my window that is calling me to write about it, and so when my husband and I were looking for a house, we were ecstatic to find one with a sunny attic.
Create a space that inspires your writing
I invite you to think about the kind of space that will feed your writing.
Are you like Dillard in that you prefer a space with as little distraction as possible?
Or do you prefer, as I do, a room with a view?
While you're at it, take a moment to consider the tools that inspire you to write. Is it a well-stocked mug of pens? A journal waiting for you on your nightstand?

Something magical happens when you enter your designated writing space. You see your books and notebooks, your laptop and pens. These are your cues. It is time to write.