Eric VanRaepenbusch's Blog
November 22, 2017
NEW BOOK! THREE GHOST FRIENDS FUN! FUN! FUN!
Now available is the latest book in the THREE GHOST FRIENDS series.
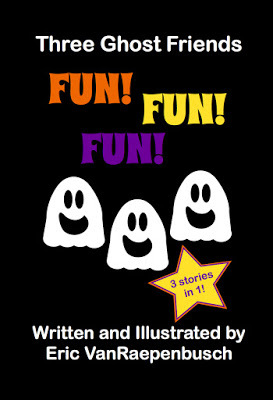
This is the longest, funniest, and silliest THREE GHOST FRIENDS book yet. And there is not 1, not 2, but THREE stories in this book!
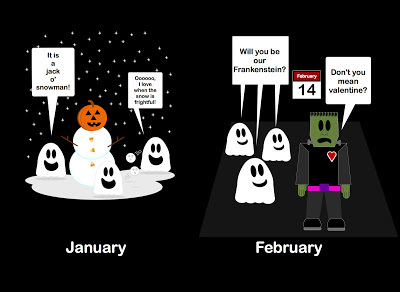
In story number one, two ghost friends are sad October is over, but one ghost friend shows them how much fun Halloween can be all year long!
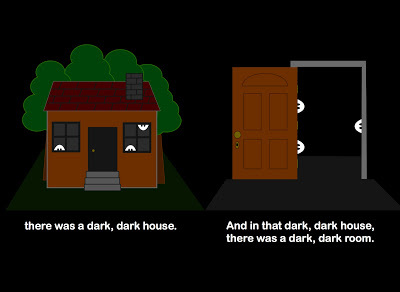
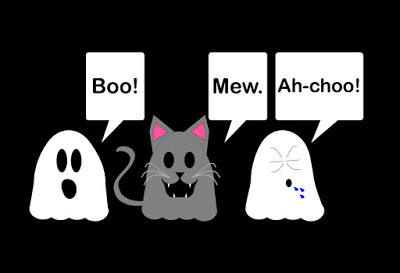
In story number two, three ghost friends share their own rendition of IN A DARK, DARK WOOD. Their rendition has a FUN, FUN ending!
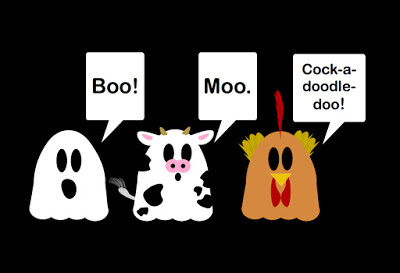
In story number three, three ghost friends play a rhyming game that shares 28 words that rhyme with BOO! It is fast and fun!
Buy a copy today!
This is the longest, funniest, and silliest THREE GHOST FRIENDS book yet. And there is not 1, not 2, but THREE stories in this book!
In story number one, two ghost friends are sad October is over, but one ghost friend shows them how much fun Halloween can be all year long!

In story number two, three ghost friends share their own rendition of IN A DARK, DARK WOOD. Their rendition has a FUN, FUN ending!

In story number three, three ghost friends play a rhyming game that shares 28 words that rhyme with BOO! It is fast and fun!


Buy a copy today!


October 26, 2017
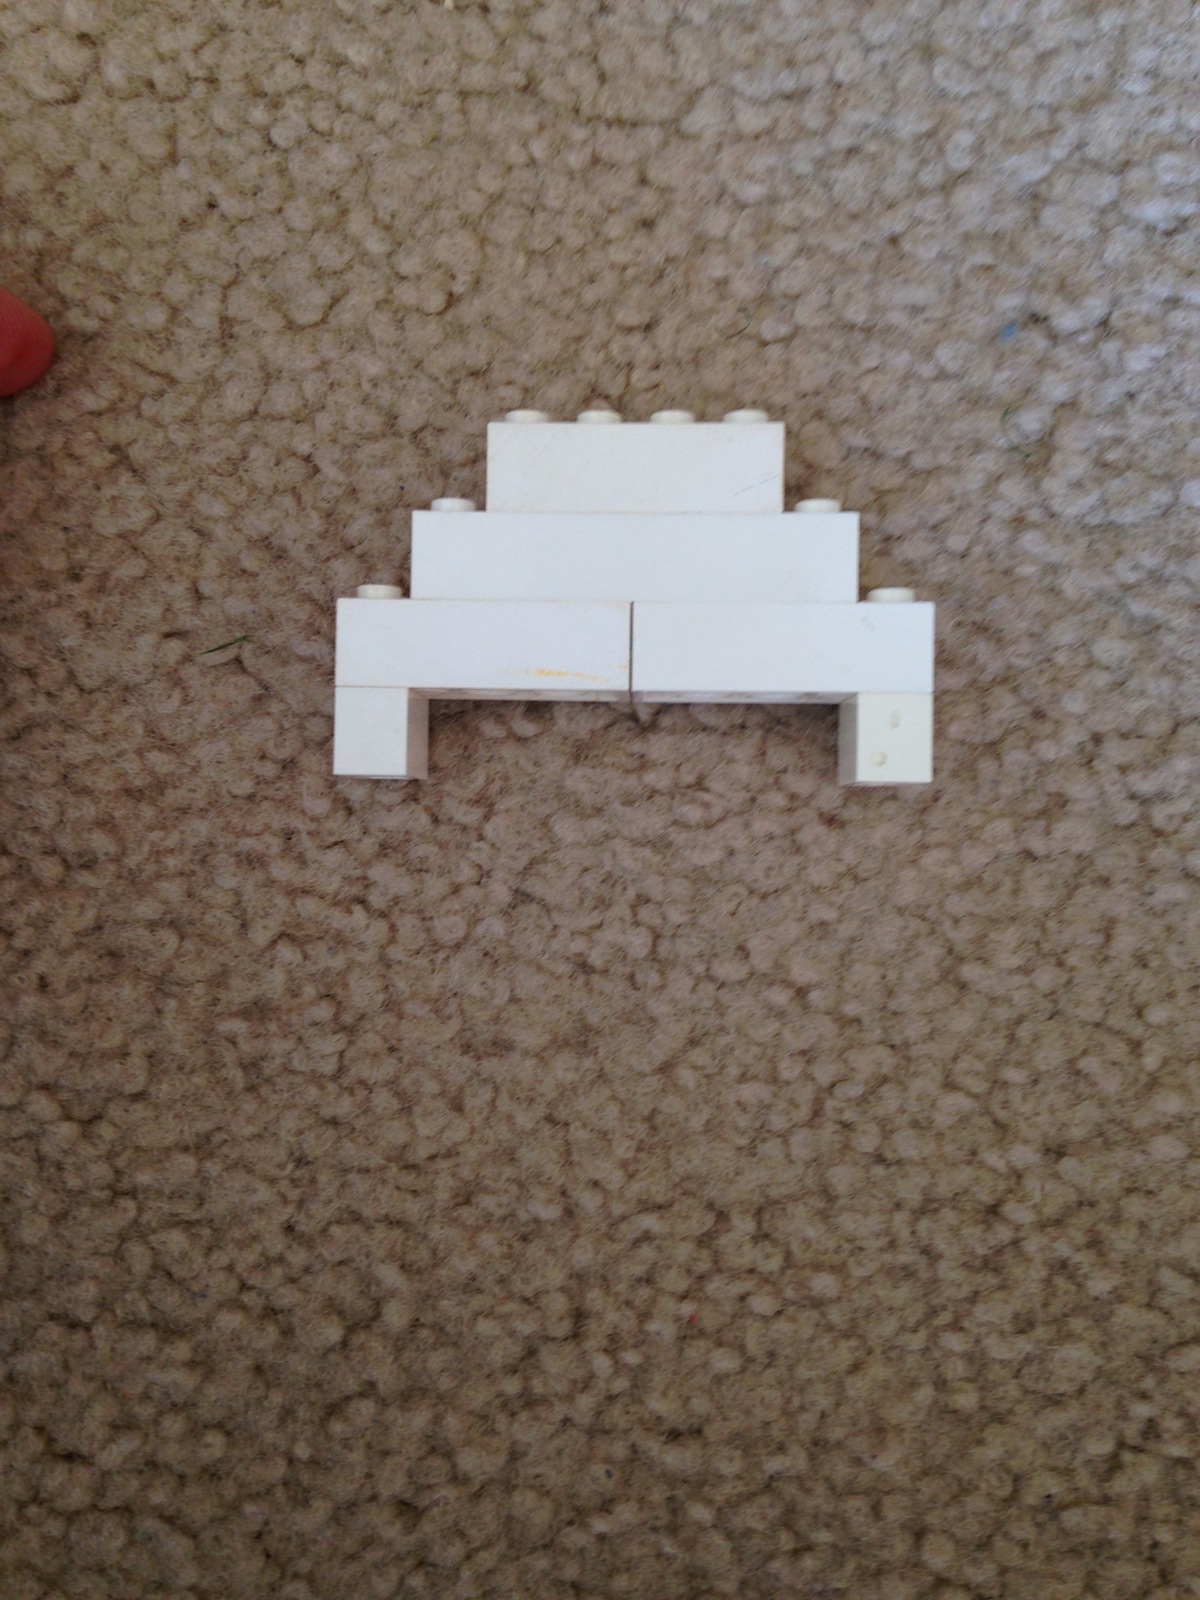
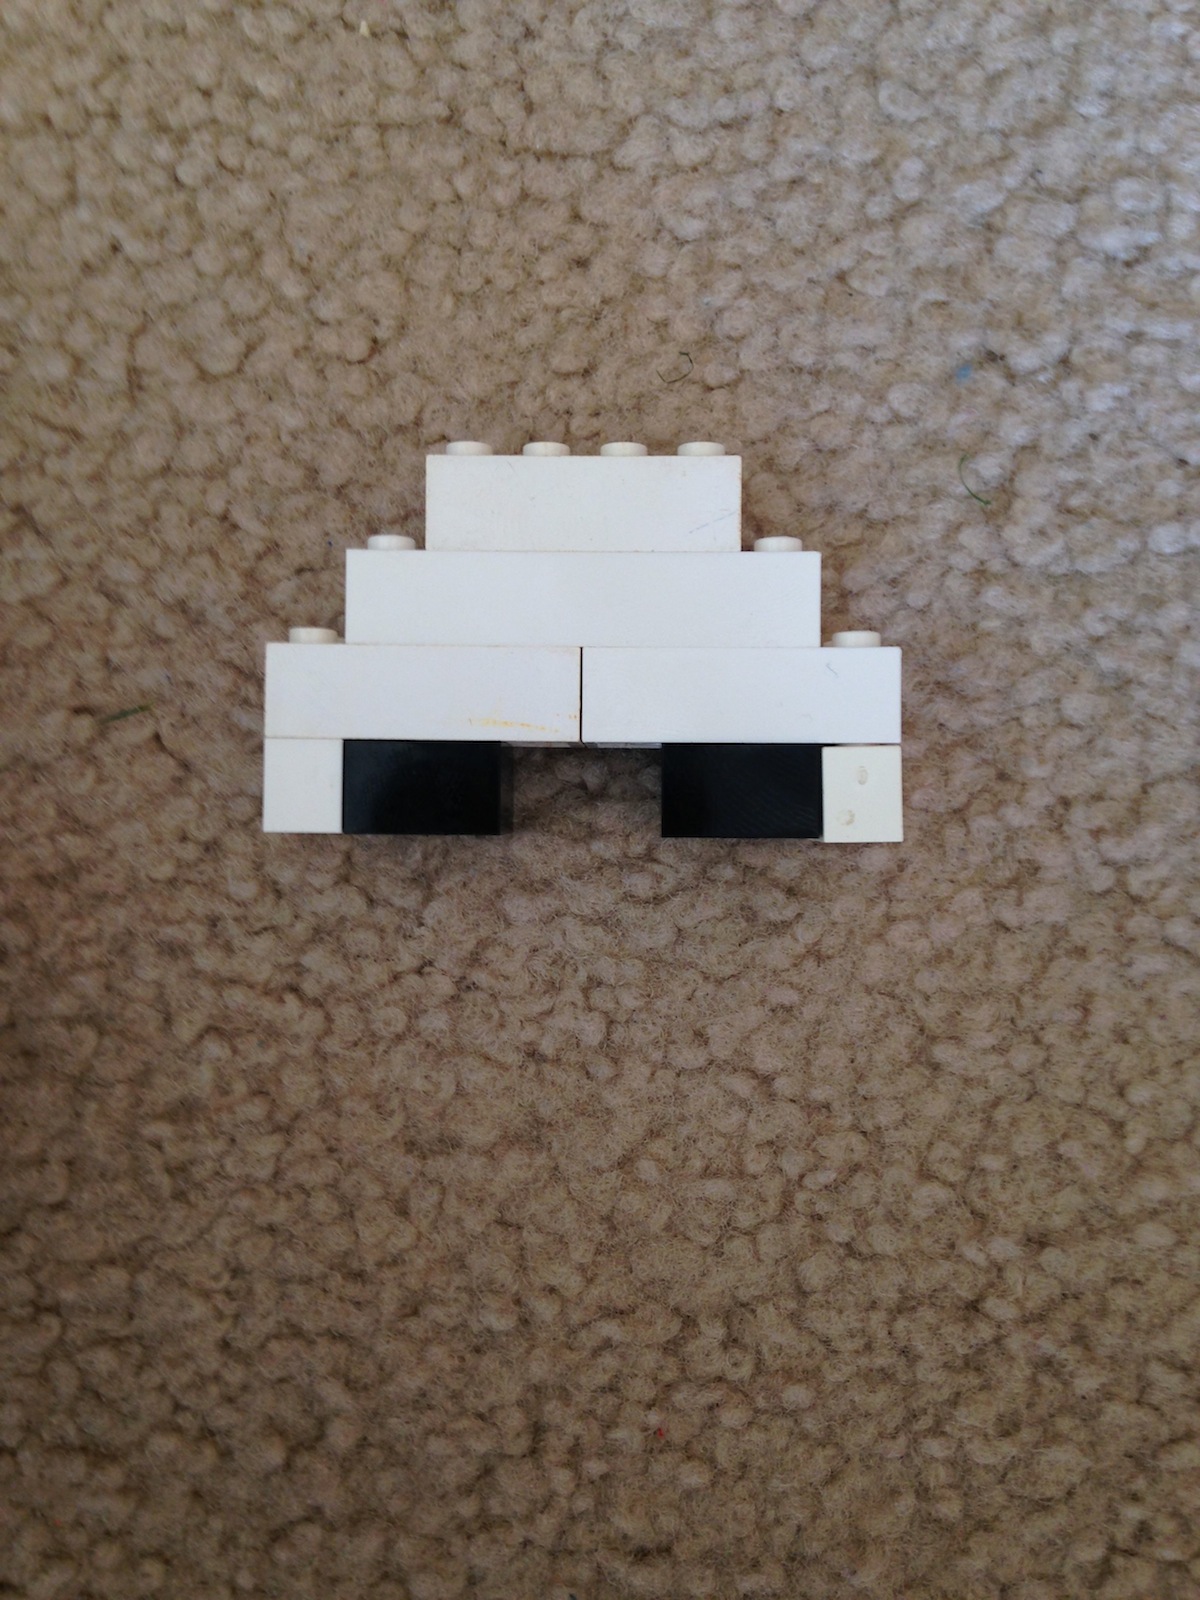
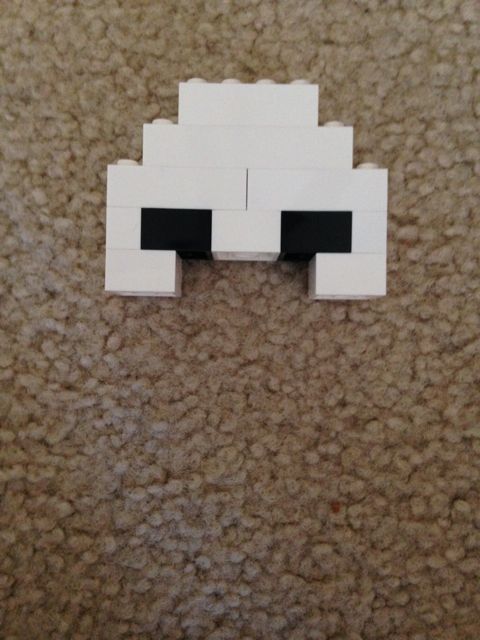
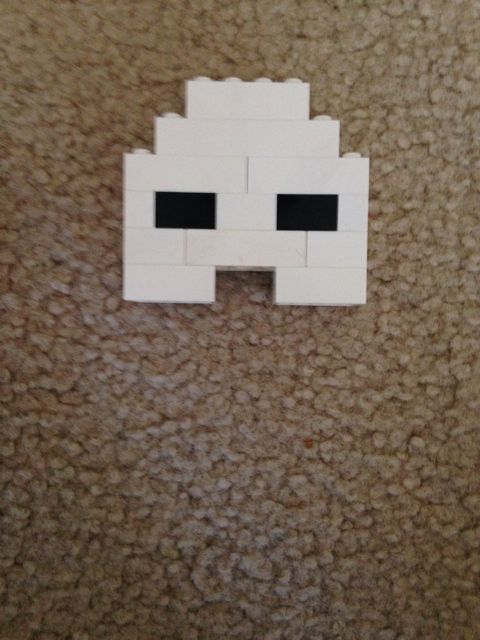
Lego Mini-Ghosts! Step by Step Instructions

Legos needed (to make one ghost):
(6) 2 x 4 - white
(9) 2 x 2 - white
(1) 2 x 6 - white
(2) 2 x 3 - white
(2) 1 x 2 - white
(3) 2 x 2 - black
Triple these amounts to make THREE GHOST FRIENDS!
Download the printable directions or follow the step by step direction on this blog post:
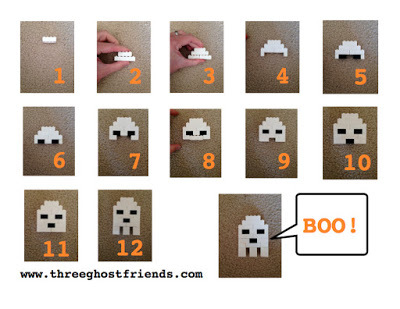 CLICK HERE TO DOWNLOAD THE PRINTABLE STEP-BY-STEP DIRECTIONS


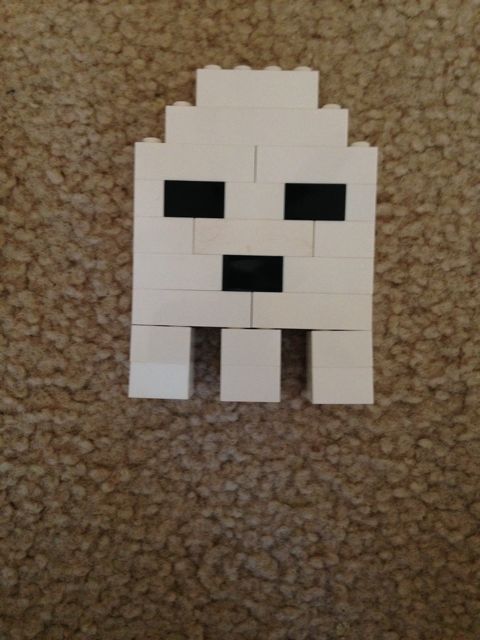
HAVE FUN!
Lego ghosts are featured in THREE GHOST FRIENDS: LEARN ABOUT OPPOSITES:
October 18, 2017
Easy DIY Math Manipulatives - GHOSTS! from craft sticks

Add a little art to your math lesson!
 I was cutting the ends off large craft sticks to make puppets for another lesson when I noticed the ends looked like ghosts!
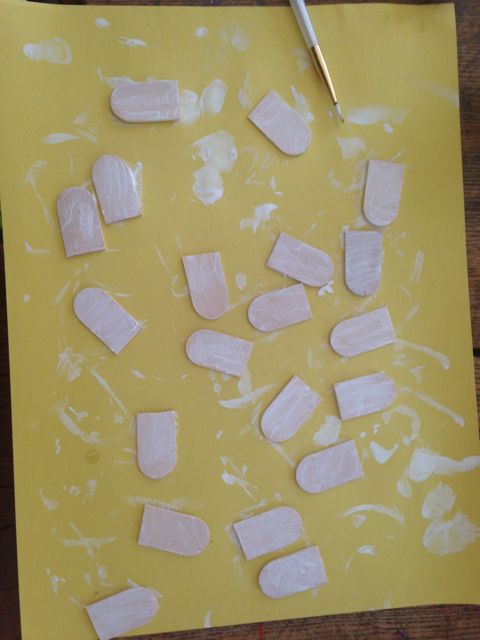 All the ends were cut one at a time with a pair of scissors. We painted them white to make them look more like ghosts.
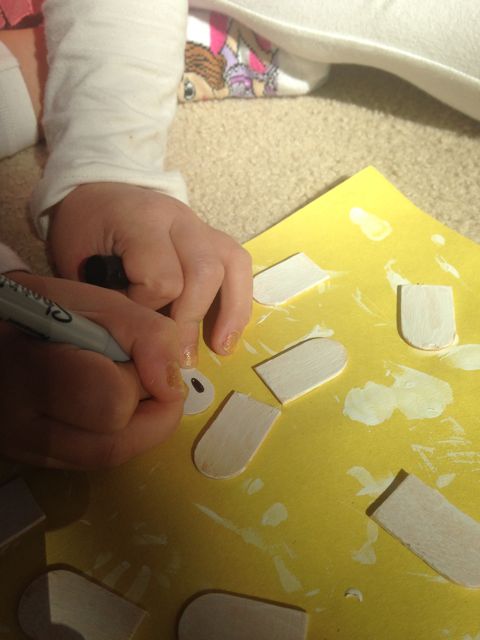 After the paint was dry we added ghost faces with a black permanent marker.
 It was fun to make them all different.
 We made 20 ghosts.
 Use the ghosts the way you would use any math manipulatives; add to the group, count, take away, count by groups, subitize, etc.
October 31, 2016
Pumpkin Seed Ghosts in the House
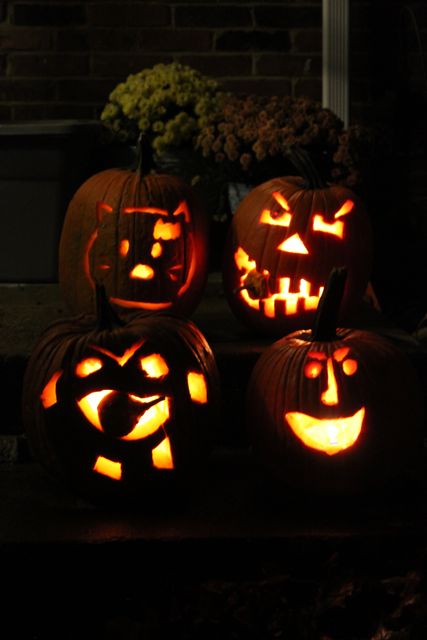 My children carved their pumpkins yesterday. Very spooky!
 There were so many seeds! I collected a few, washed them, and let them dry overnight.
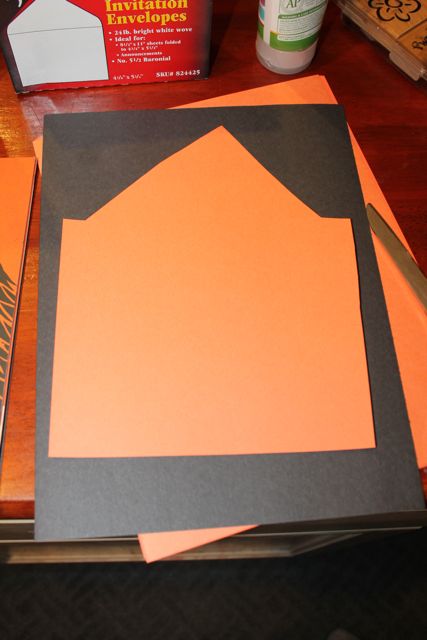 The seeds gave me an idea for craft to accompany Ghosts in the House by Kazuno Kohara, one of our favorite Halloween books this year. The book is illustrated in orange and black. I grabbed a few pieces of orange and black construction paper and cut a house shape out of an orange piece.
 I used an X-acto knife to cut window and door flaps.
 Then, I used a glue stick to paste the house to a black piece of construction paper.
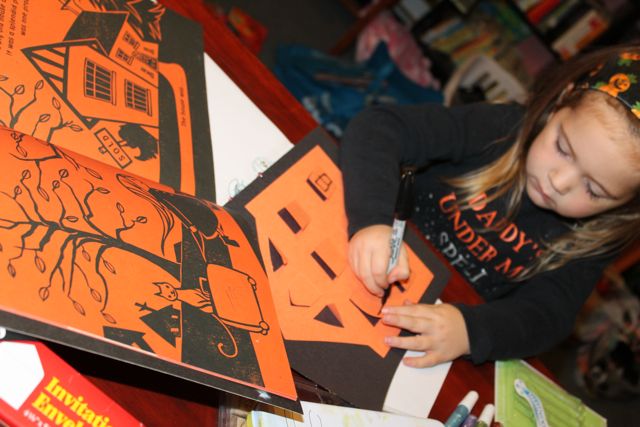 My daughter used a black marker to add details to the windows and doors. She used Ghosts in the House for inspiration.
 Next, she used the black marker to draw ghost faces on the pumpkin seeds.
 She dipped the back of the seeds in white glue and pasted them behind the flaps.
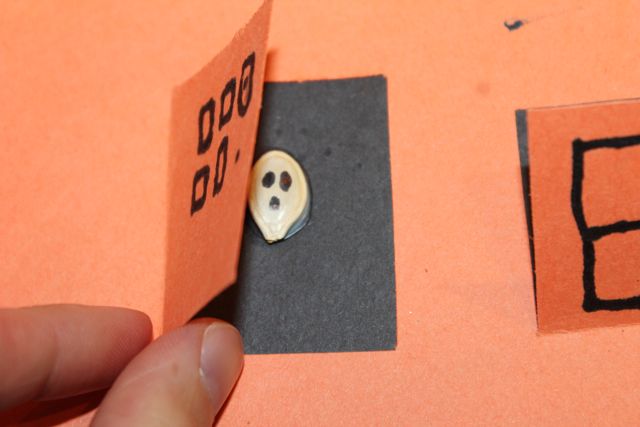 Peek-a-BOO!
 She added a few ghost pumpkin seeds to the outside too.
 This was my haunted house.
 Boo! Boo!
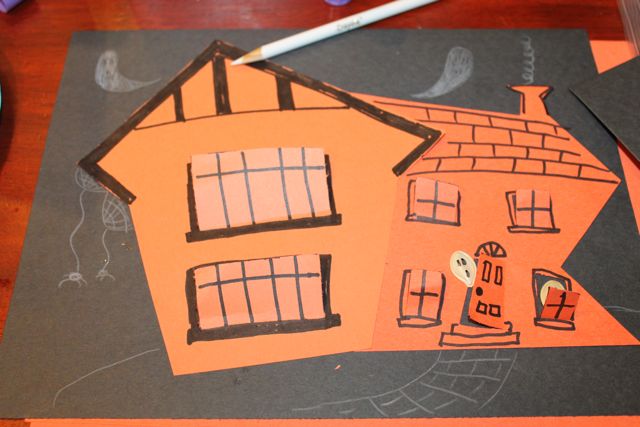 Try using a white colored pencil or white crayon to add more ghosts to the background.Ghosts in the House is available on Amazon:
October 24, 2016
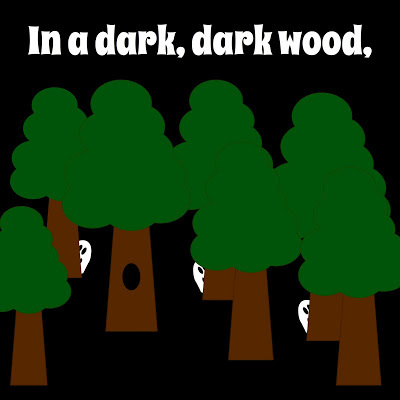
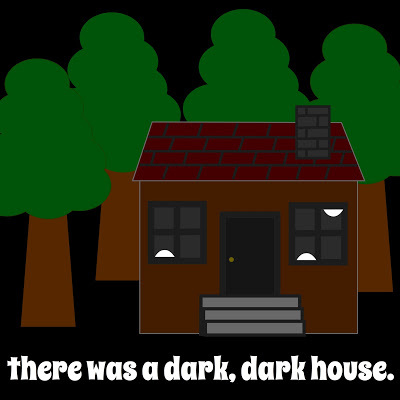
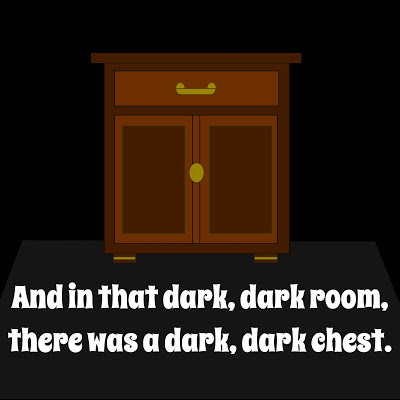
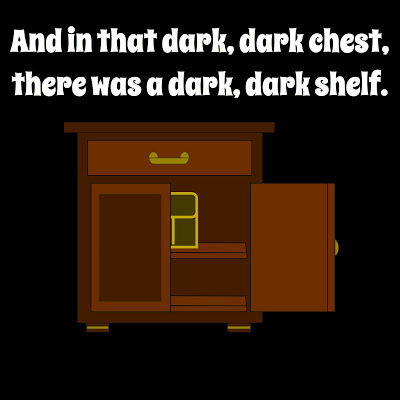
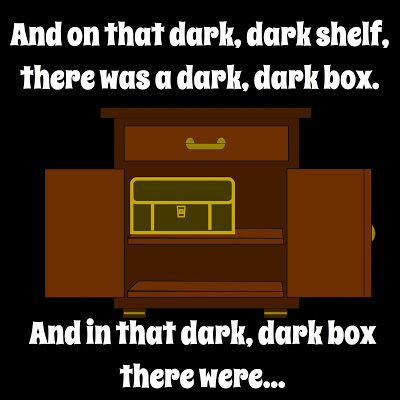
In a Dark, Dark Room...
My kids love the slightly scary, IN A DARK, DARK ROOM structured story. I have come across many variations (two of our favorite are IN A DARK, DARK ROOM by Alvin Schwartz and A BEASTY STORY by Bill Martin Jr. and Steven Kellogg). I thought there needed to be one that featured THREE GHOST FRIENDS. Enjoy the images below or download the PDF. Enjoy!


October 21, 2016
Ghost Apples!
Can you make Apple Ghosts?
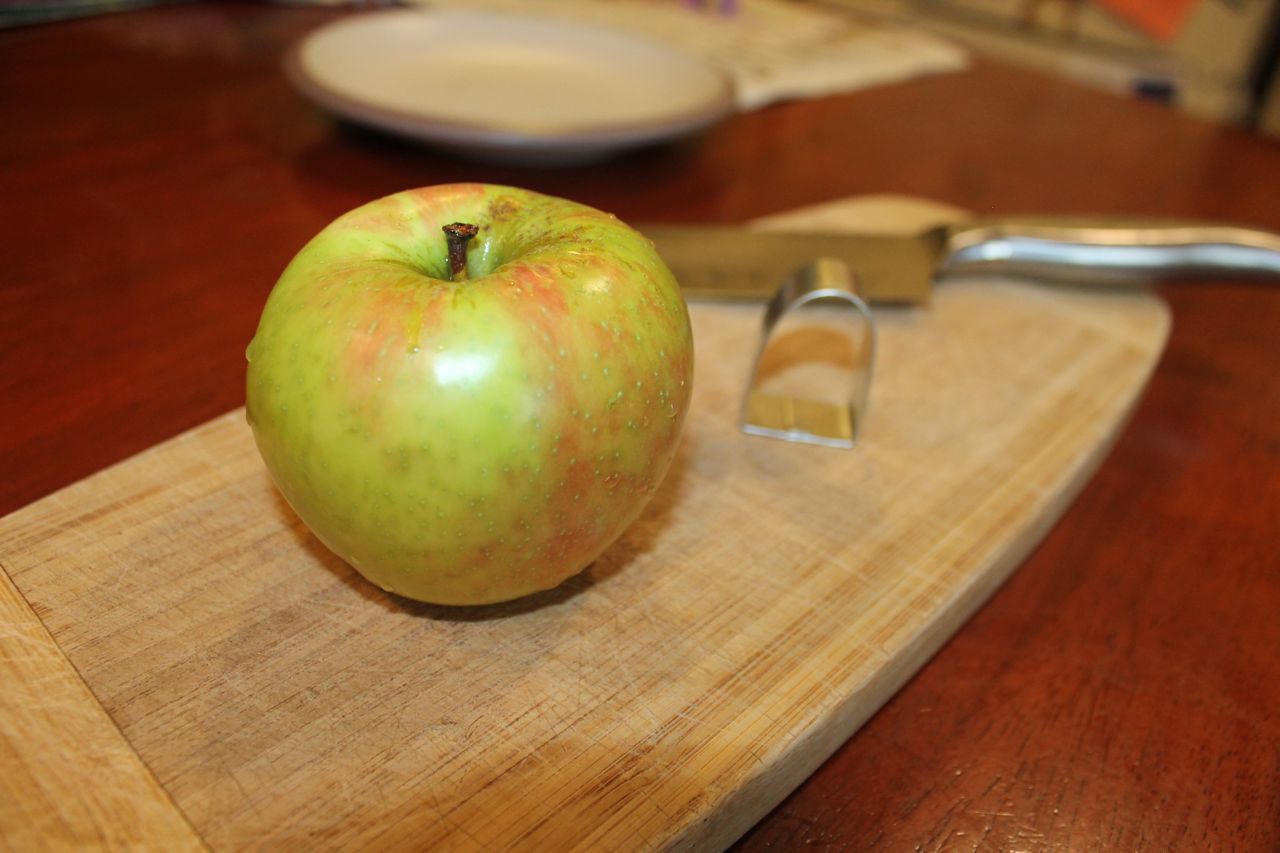
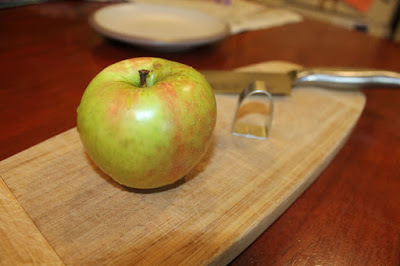 I found a tombstone cookie cutter.
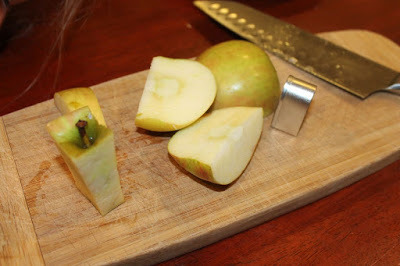 First, I cut around the core.
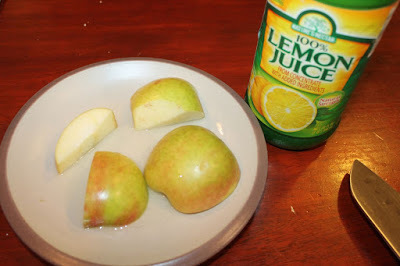 Then, we poured lemon juice on a plate and placed the apple slices in the juice. This will keep your apple ghosts from browning.
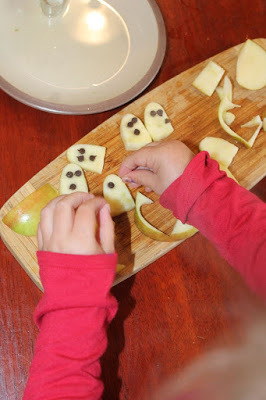
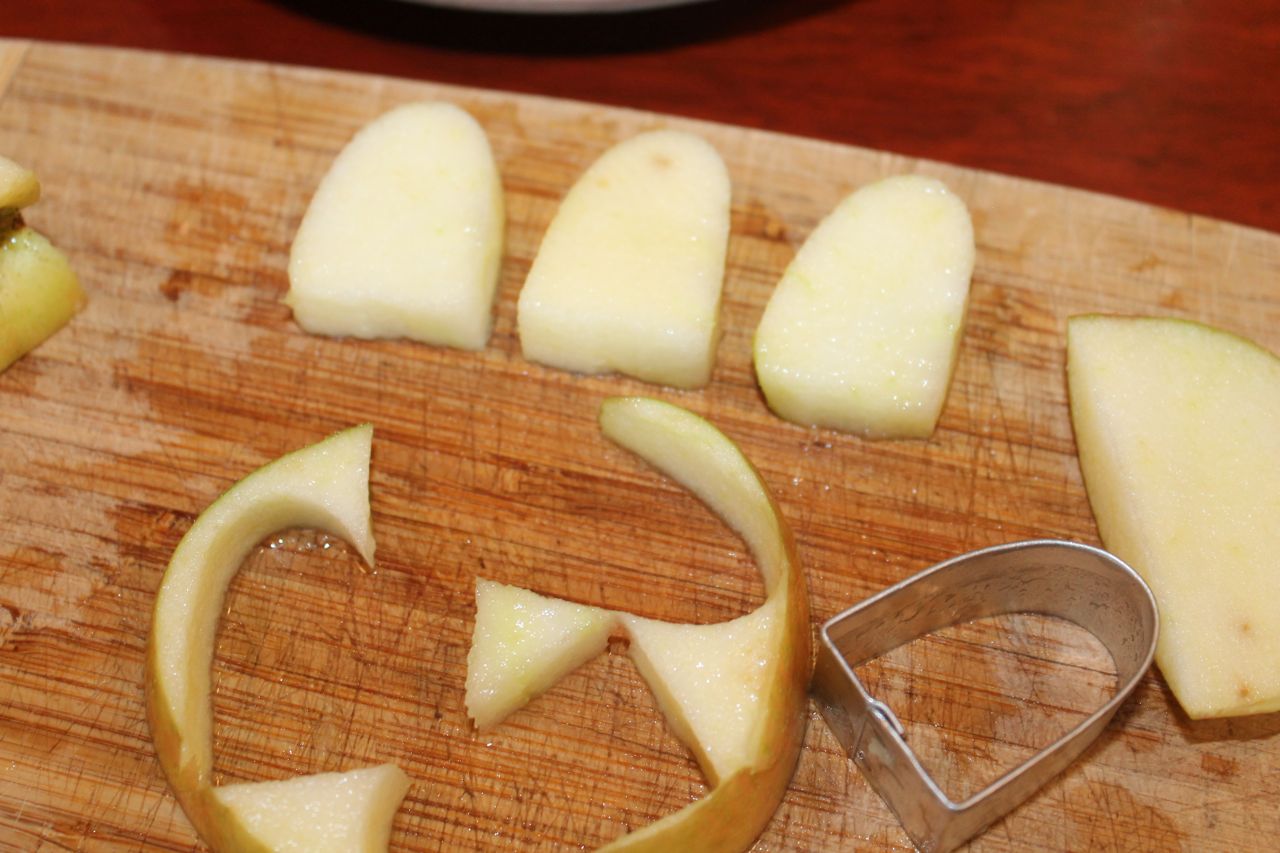
 I cut a thin slice of apple and then used the cookie cutter to make the ghost shapes.
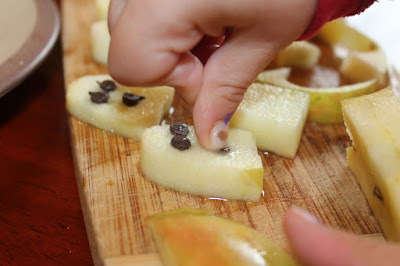
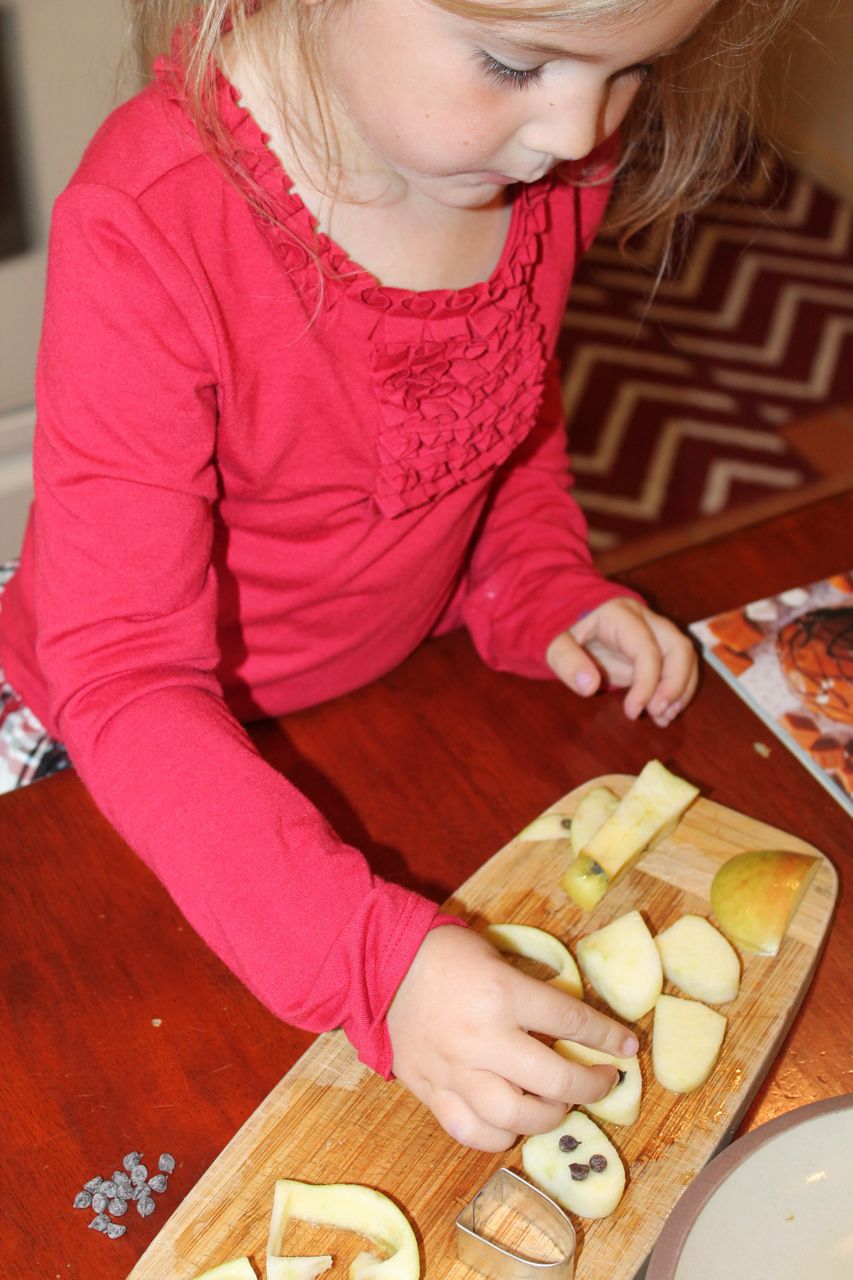
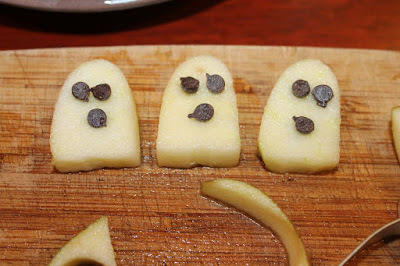 Mini-chocolate chips made the perfect eyes and mouth.
 Yum!
Yum!
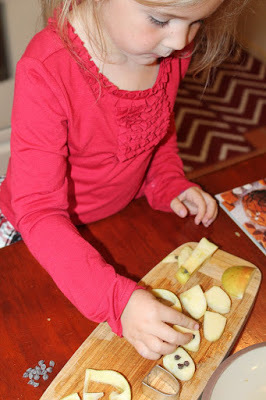 My daughter enjoyed putting on the eyes.
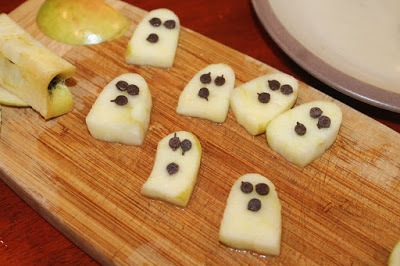 Boo!!!
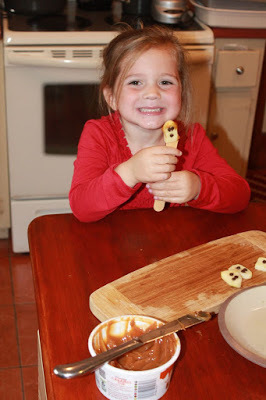 Put the apple ghosts on a stick and dip in caramel! Delicious!
 I found a tombstone cookie cutter.
 First, I cut around the core.
 Then, we poured lemon juice on a plate and placed the apple slices in the juice. This will keep your apple ghosts from browning.
 I cut a thin slice of apple and then used the cookie cutter to make the ghost shapes.
 Mini-chocolate chips made the perfect eyes and mouth.
 Yum!
Yum!
 My daughter enjoyed putting on the eyes.


 Boo!!!
 Put the apple ghosts on a stick and dip in caramel! Delicious!
October 19, 2016
Easy Thumbprint Ghost Craft + Other Halloween Thumbprints!

Today is Ed Emberley's Birthday (October 19). My daughter and I got out all of his drawing books including ED EMBERLEY'S COMPLETE FUNPRINT DRAWING BOOK. We started making thumbprint animals when I remembered I had a white stamp pad from our ghost stamping activity.
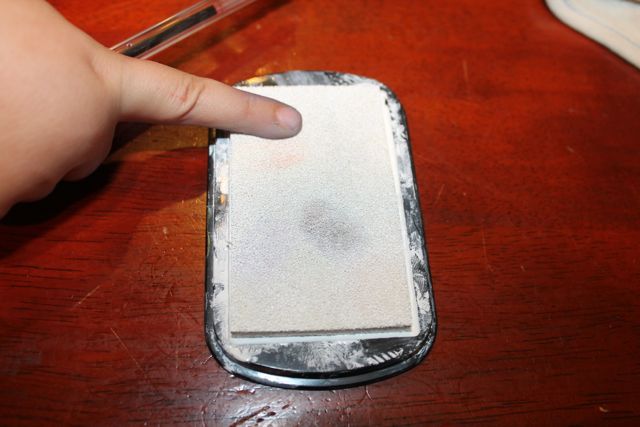 My daughter pushed her finger on the stamp pad.
 She said, "Look, Dad! They are saying BOO!"
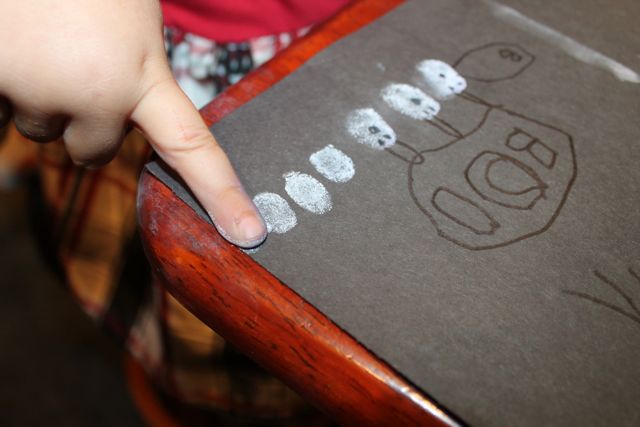 I guess the ghosts invited more friends because she stamped more!
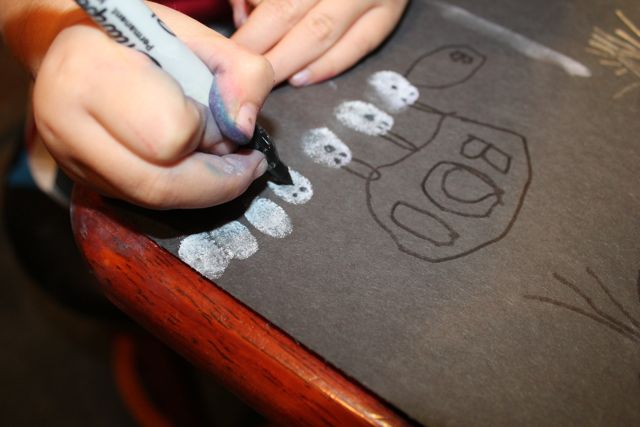 She added ghost faces with a black Sharpie.
 I experimented too. If I inked half of my thumb it made a nice ghost shape. For a few ghosts I inked the tip of my finger to add bumps to the bottom of the ghosts.
 Thumbprint ghosts would be a fun way to make a Halloween card for a friend.
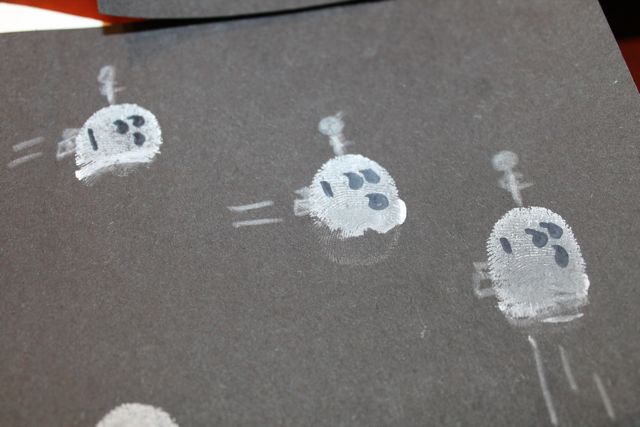 I made a few Thumbprint BATTLE BOOS too. I used a white colored pencil to add the antenna and zoomers!
 Ed Emberley's books kept us busy all morning.
 Try making other thumbprint Halloween creatures too!
October 11, 2016
Ghosts and Halloween Characters Made from Coffee Filters
My mother-in-law bought the wrong size cone-style coffee filters for her coffee pot and then two weeks later I bought the wrong size filters too. We both needed size #4 but we bought size #6 and #2. She gave me her #6 filters thinking I could create a craft with them. I accepted her challenge and below are directions to make Coffee Filter Halloween Characters that stand up on their own!

 The #6 cone-style coffee filter would become the halloween character, but I used the smaller #2 size filter to prevent black marker from bleeding through to the other side. I just slipped the smaller filter inside the bigger one.
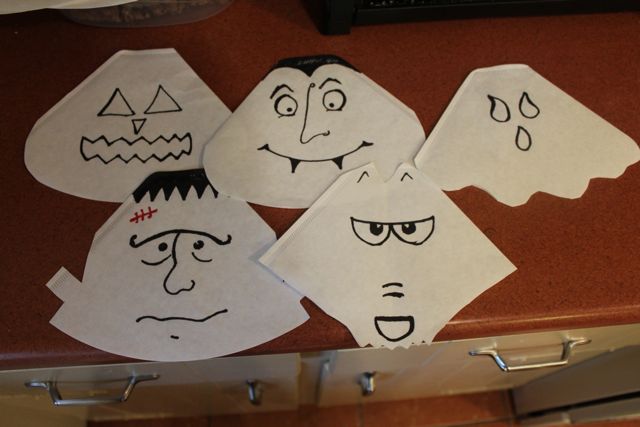
 The first character I made was a Frankenstein Monster. I cut parts of the edge to create the bolts in his neck. Be careful not to cut too much of the edge. You want your filter to stay intact.
 I used permanent Sharpie markers to draw the face.
 I made a jack o'lantern, vampire, ghost, and werewolf too.
 I was so excited that I forgot to take a picture of how I colored the filters. I used a washable Crayola markers and colored the coffee filter where I wanted color. I just put a little bit of red for the vampire's teeth!
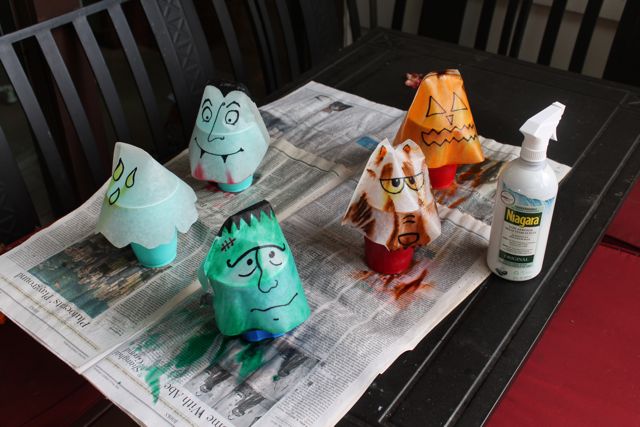
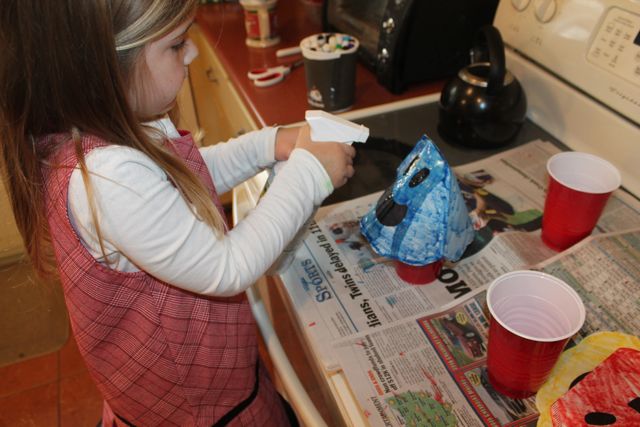
 Then, I took the filters outside and sprayed them with Niagara spray starch. The filters rested on Solo cups to dry.
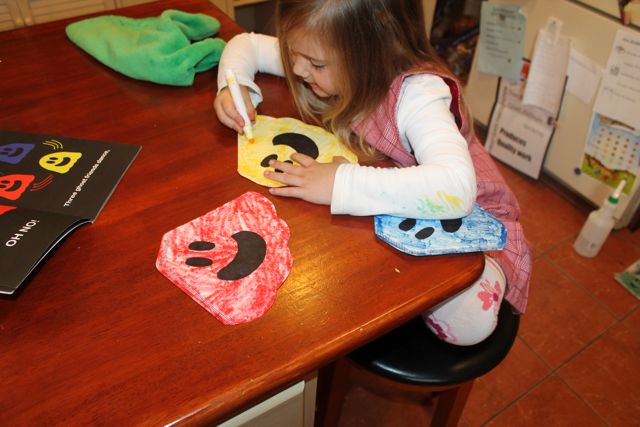
I am the author of THREE GHOST FRIENDS: LEARN ABOUT COLORS. A fun non-scary ghost book for younger children. I thought this craft would be perfect for my book too.
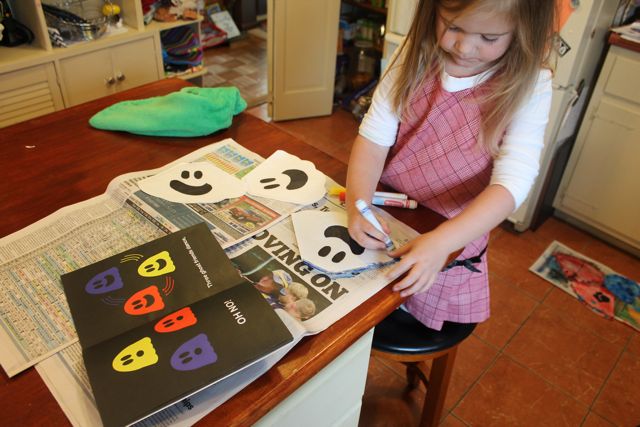
 All you need is the book (paperback or eBook), three coffee filters with ghost faces, and red/blue/yellow Crayola markers to begin.
 Later, you will need the Solo cups and Niagara spray starch.
 This proved to be a fun way to act out the book too. My daughter stacked the THREE GHOST FRIENDS just like the book.
 Early in the story the ghosts see a banana, a blueberry, and a strawberry. The ghost that eats the banana turns yellow. The ghost that eats blueberry turns blue and the ghost that eats the strawberry turns red. My daughter immediately wanted to color the coffee filters.
 Red ghost!
 She quickly colored both sides of the filters.
 She was able to act out the ghosts dancing just like the book!
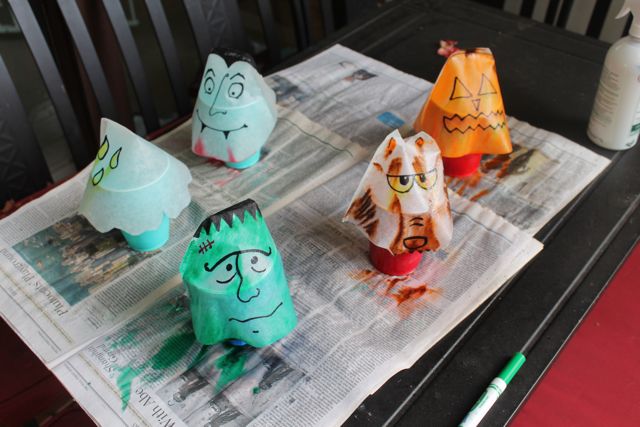
 After the book, she sprayed the colored coffee filters with the starch. Make sure you have newspaper down because they will drip.
 It took a few hours to dry.
 Here are our Halloween Characters once they were ready.
 They turned out awesome! My daughter thought they would be cool puppets!
 The THREE GHOST FRIENDS turned out great too!Check out all the THREE GHOST FRIENDS books on Amazon! If you can't wait for paperback and want to try it today....download the ebooks for Kindle or iPad/iPhone!

 The #6 cone-style coffee filter would become the halloween character, but I used the smaller #2 size filter to prevent black marker from bleeding through to the other side. I just slipped the smaller filter inside the bigger one.
 The first character I made was a Frankenstein Monster. I cut parts of the edge to create the bolts in his neck. Be careful not to cut too much of the edge. You want your filter to stay intact.
 I used permanent Sharpie markers to draw the face.
 I made a jack o'lantern, vampire, ghost, and werewolf too.
 I was so excited that I forgot to take a picture of how I colored the filters. I used a washable Crayola markers and colored the coffee filter where I wanted color. I just put a little bit of red for the vampire's teeth!
 Then, I took the filters outside and sprayed them with Niagara spray starch. The filters rested on Solo cups to dry.
I am the author of THREE GHOST FRIENDS: LEARN ABOUT COLORS. A fun non-scary ghost book for younger children. I thought this craft would be perfect for my book too.
 All you need is the book (paperback or eBook), three coffee filters with ghost faces, and red/blue/yellow Crayola markers to begin.
 Later, you will need the Solo cups and Niagara spray starch.
 This proved to be a fun way to act out the book too. My daughter stacked the THREE GHOST FRIENDS just like the book.
 Early in the story the ghosts see a banana, a blueberry, and a strawberry. The ghost that eats the banana turns yellow. The ghost that eats blueberry turns blue and the ghost that eats the strawberry turns red. My daughter immediately wanted to color the coffee filters.
 Red ghost!
 She quickly colored both sides of the filters.
 She was able to act out the ghosts dancing just like the book!
 After the book, she sprayed the colored coffee filters with the starch. Make sure you have newspaper down because they will drip.
 It took a few hours to dry.
 Here are our Halloween Characters once they were ready.
 They turned out awesome! My daughter thought they would be cool puppets!
 The THREE GHOST FRIENDS turned out great too!Check out all the THREE GHOST FRIENDS books on Amazon! If you can't wait for paperback and want to try it today....download the ebooks for Kindle or iPad/iPhone!
October 1, 2016
Favorite Ghost Picture Books Best for Halloween --
Does your family love reading Halloween books? If so, you are just like my family! You can imagine, as the author and illustrator of THREE GHOST FRIENDS, I especially love reading picture books about GHOSTS. Here is a list of my favorites:
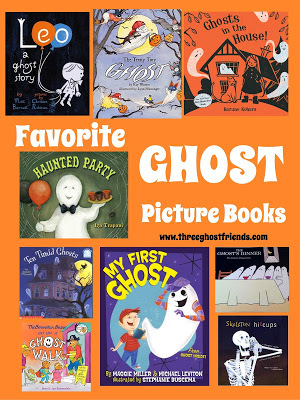
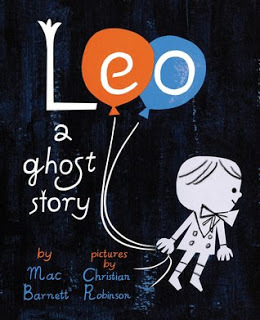
1. Leo: A Ghost Story by Mac Barnett and Christian Robinson. My family loved this book so much we did a huge family craft inspired by the book.
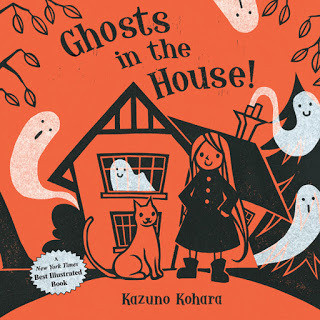
2. Ghosts in the House! by Kazuno Kohara. This book helped inspire designs during our ghost stamping activity.
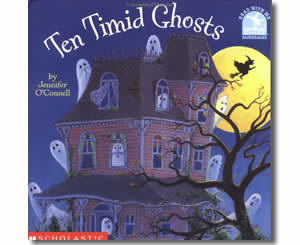
3. Ten Timid Ghosts by Jennifer O'Connell. A classic ghost book!
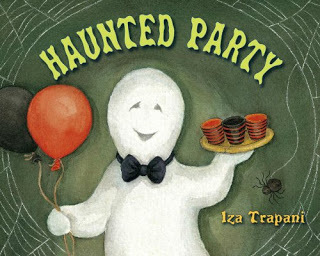
4. Haunted Party by Iza Trapani, one of our favorite author-illustrators!
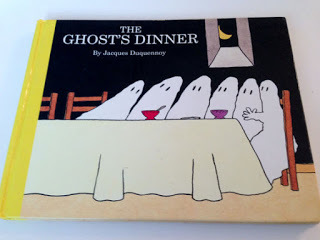
5. The Ghost's Dinner by Jacques Duquennoy. Fun! Love the salad and cheese ghosts!
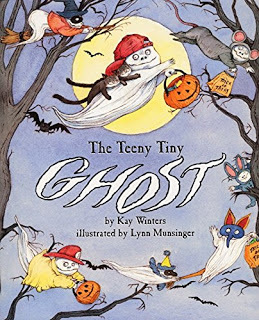
6. The Teeny Tiny Ghost by Kay Winters and Lynn Munsinger. My youngest son loves this whole series!
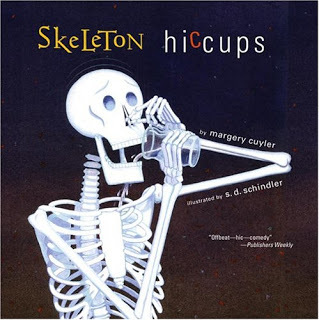
7. Skeleton Hiccups by Margery Cuyler and S.D. Schindler (There is a ghost in this book!). Without this book I wouldn't have written THREE GHOST FRIENDS!
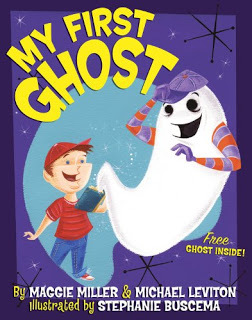
8. My First Ghost by Maggie Miller, Michael Leviton, and Stephanie Buscema. I just bought this book. I haven't read it to my kids yet, but I think they are going to love it.
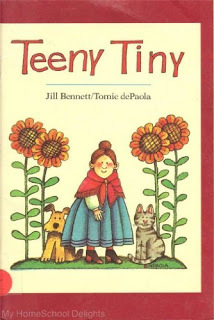
9. Teeny Tiny by Jill Bennett and Tomie dePaola. There are ghosts in this book too! My kids love this book because it is just a little bit scary.
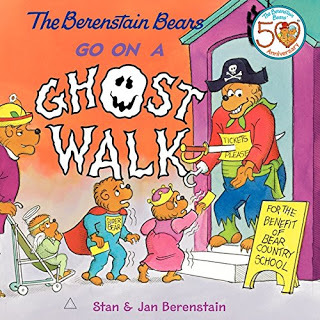
10. The Berenstain Bears Go on a Ghost Walk by Jan and Stan Berenstain. There are many Halloween Berenstain Bears books, but this is our favorite.
Also, check out my series -- Three Ghost Friends by Eric VanRaepenbusch
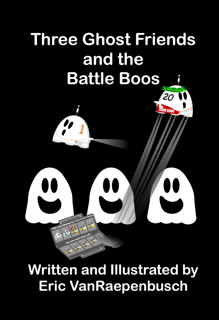 Three Ghost Friends and the Battle Boos
is the latest book in the series!
Three Ghost Friends and the Battle Boos
is the latest book in the series!
There are lots of FREE printables and activity ideas for the book too!
There are 5 books featuring the Three Ghost Friends:

1. Leo: A Ghost Story by Mac Barnett and Christian Robinson. My family loved this book so much we did a huge family craft inspired by the book.

2. Ghosts in the House! by Kazuno Kohara. This book helped inspire designs during our ghost stamping activity.

3. Ten Timid Ghosts by Jennifer O'Connell. A classic ghost book!

4. Haunted Party by Iza Trapani, one of our favorite author-illustrators!

5. The Ghost's Dinner by Jacques Duquennoy. Fun! Love the salad and cheese ghosts!

6. The Teeny Tiny Ghost by Kay Winters and Lynn Munsinger. My youngest son loves this whole series!

7. Skeleton Hiccups by Margery Cuyler and S.D. Schindler (There is a ghost in this book!). Without this book I wouldn't have written THREE GHOST FRIENDS!

8. My First Ghost by Maggie Miller, Michael Leviton, and Stephanie Buscema. I just bought this book. I haven't read it to my kids yet, but I think they are going to love it.

9. Teeny Tiny by Jill Bennett and Tomie dePaola. There are ghosts in this book too! My kids love this book because it is just a little bit scary.

10. The Berenstain Bears Go on a Ghost Walk by Jan and Stan Berenstain. There are many Halloween Berenstain Bears books, but this is our favorite.

Also, check out my series -- Three Ghost Friends by Eric VanRaepenbusch
 Three Ghost Friends and the Battle Boos
is the latest book in the series!
Three Ghost Friends and the Battle Boos
is the latest book in the series!There are lots of FREE printables and activity ideas for the book too!
There are 5 books featuring the Three Ghost Friends:
September 20, 2016
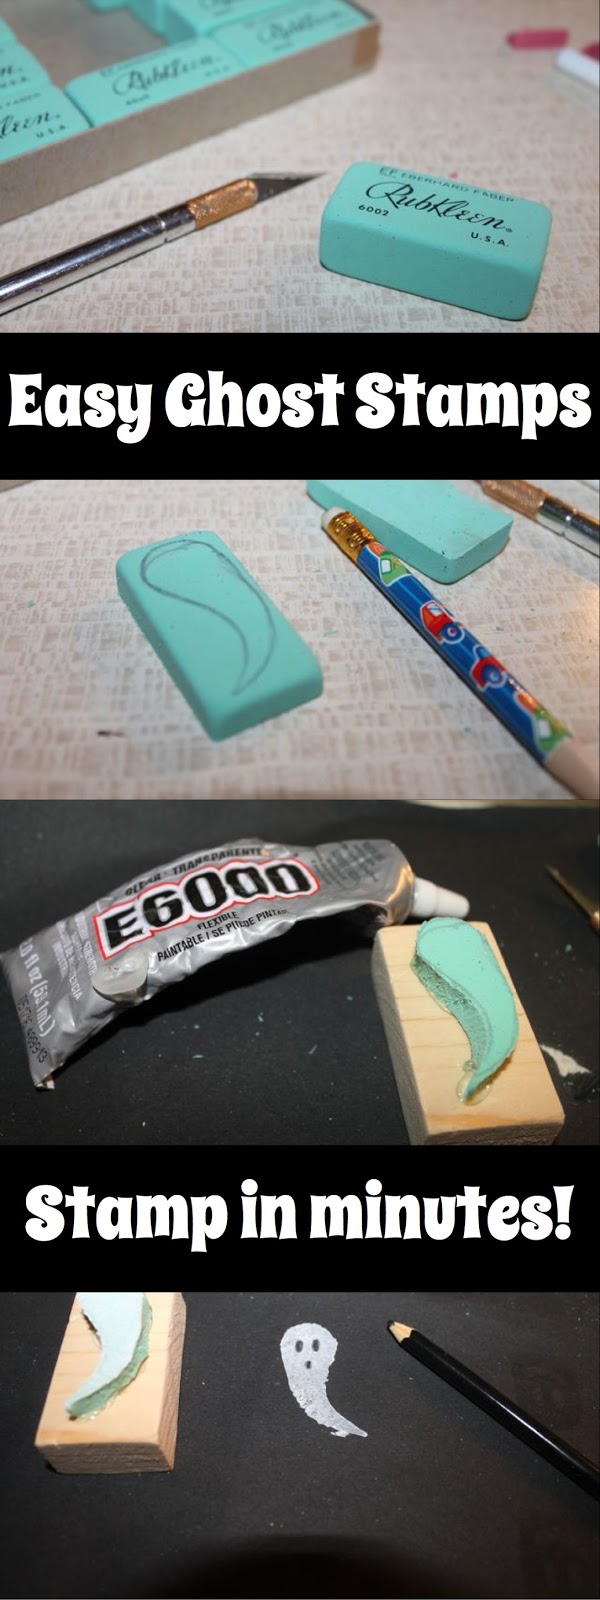
Easy, DIY, Homemade Ghost Stamps - Perfect for Scrapbooking, Card Making, Halloween
I bought a box of erasers at a garage sale for 50 cents over the summer. I liked the way they looked in the box. I never thought I would use them to make stamps.
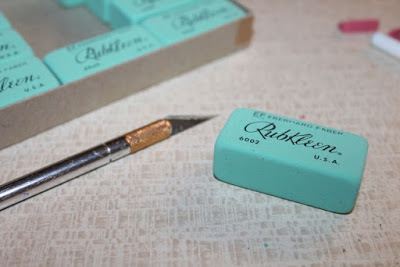 My box of erasers were green, but the more popular pink erasers work too.
 I cut an eraser in half with an x-acto knife. This allowed me to make two stamps from one eraser.
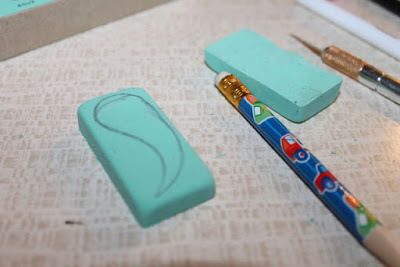 I sketched a ghost on the flat side of the eraser with a pencil.
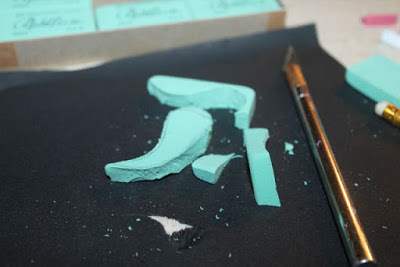 Then, I cut the ghost out with an x-acto knife.
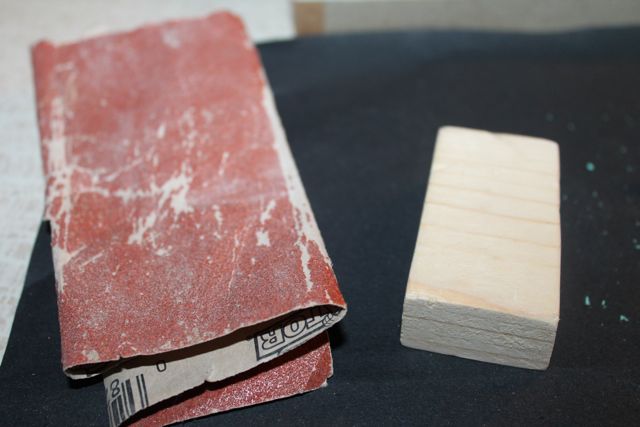
 I cut and sanded a small piece of wood.
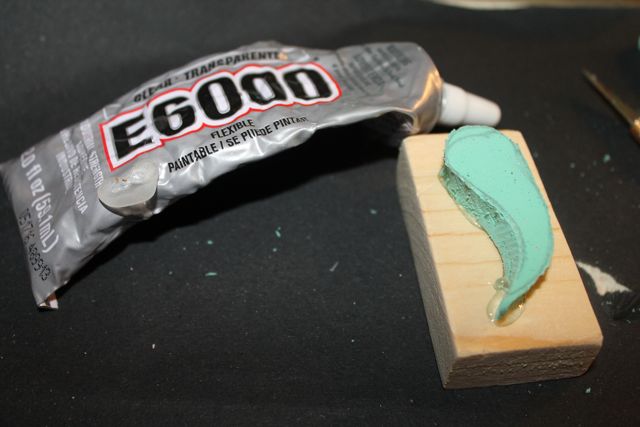
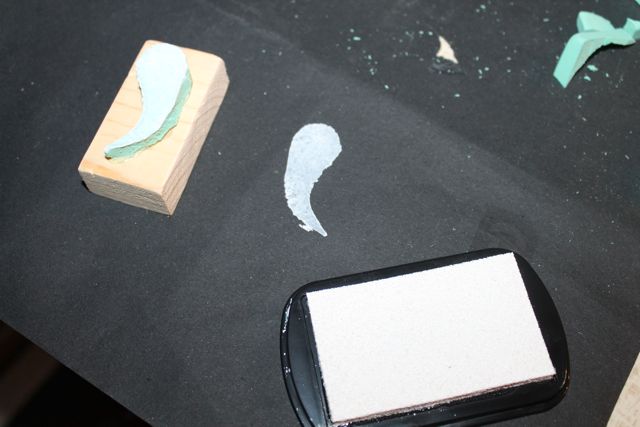
 I glued the ghost eraser to the wood with E6000 adhesive. I like this adhesive because it dries very quickly and it is very strong!
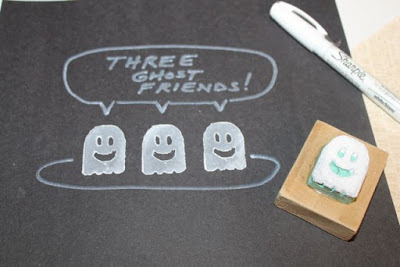
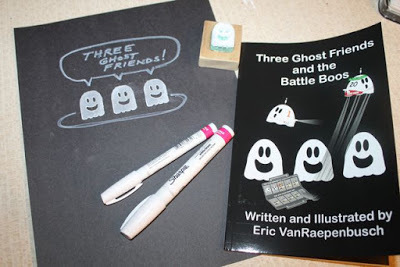
 Within minutes I was able to stamp white ink on black construction paper.
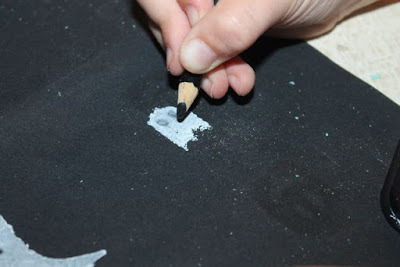
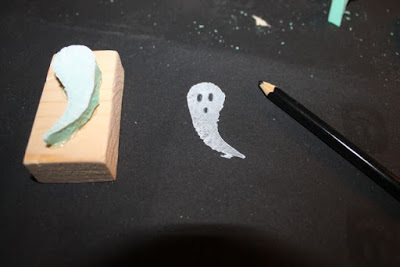 I added the ghost face with a colored pencil.
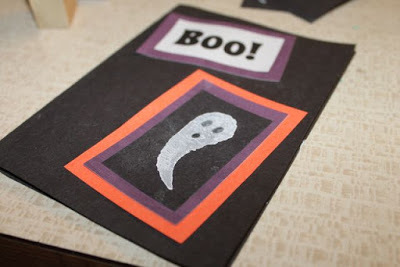 These stamps would be great for Halloween cards.
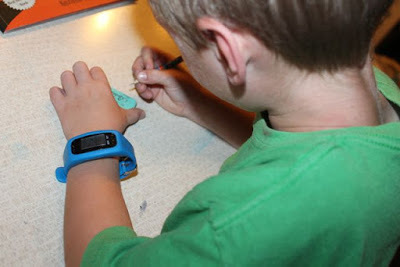 Is this craft kid-approved? I called upon my children to try it out.
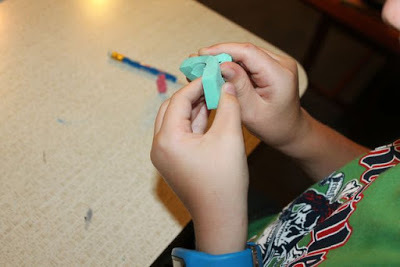 I did most of the cutting but he got to pull his ghost shape out.
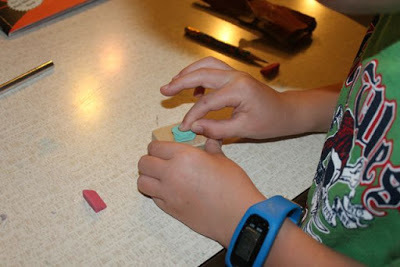 Time to glue.
 His ghost turned out great!
 Yes. Kid-approved!
 Do you want to carve a face into your stamp? Carve half-way down and then peel out the shape.
 I know a few good books you could read before and after this craft!
Have fun!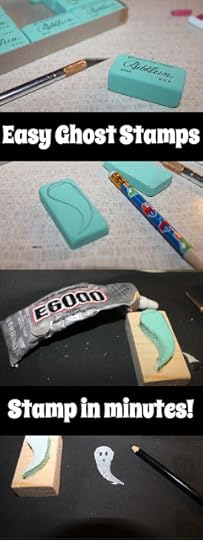 PLEASE PIN to Pinterest!
 My box of erasers were green, but the more popular pink erasers work too.
 I cut an eraser in half with an x-acto knife. This allowed me to make two stamps from one eraser.
 I sketched a ghost on the flat side of the eraser with a pencil.
 Then, I cut the ghost out with an x-acto knife.
 I cut and sanded a small piece of wood.
 I glued the ghost eraser to the wood with E6000 adhesive. I like this adhesive because it dries very quickly and it is very strong!
 Within minutes I was able to stamp white ink on black construction paper.
 I added the ghost face with a colored pencil.
 These stamps would be great for Halloween cards.
 Is this craft kid-approved? I called upon my children to try it out.
 I did most of the cutting but he got to pull his ghost shape out.
 Time to glue.
 His ghost turned out great!
 Yes. Kid-approved!
 Do you want to carve a face into your stamp? Carve half-way down and then peel out the shape.
 I know a few good books you could read before and after this craft!
Have fun!
 PLEASE PIN to Pinterest!