
Sam Dogra's Blog
August 12, 2023
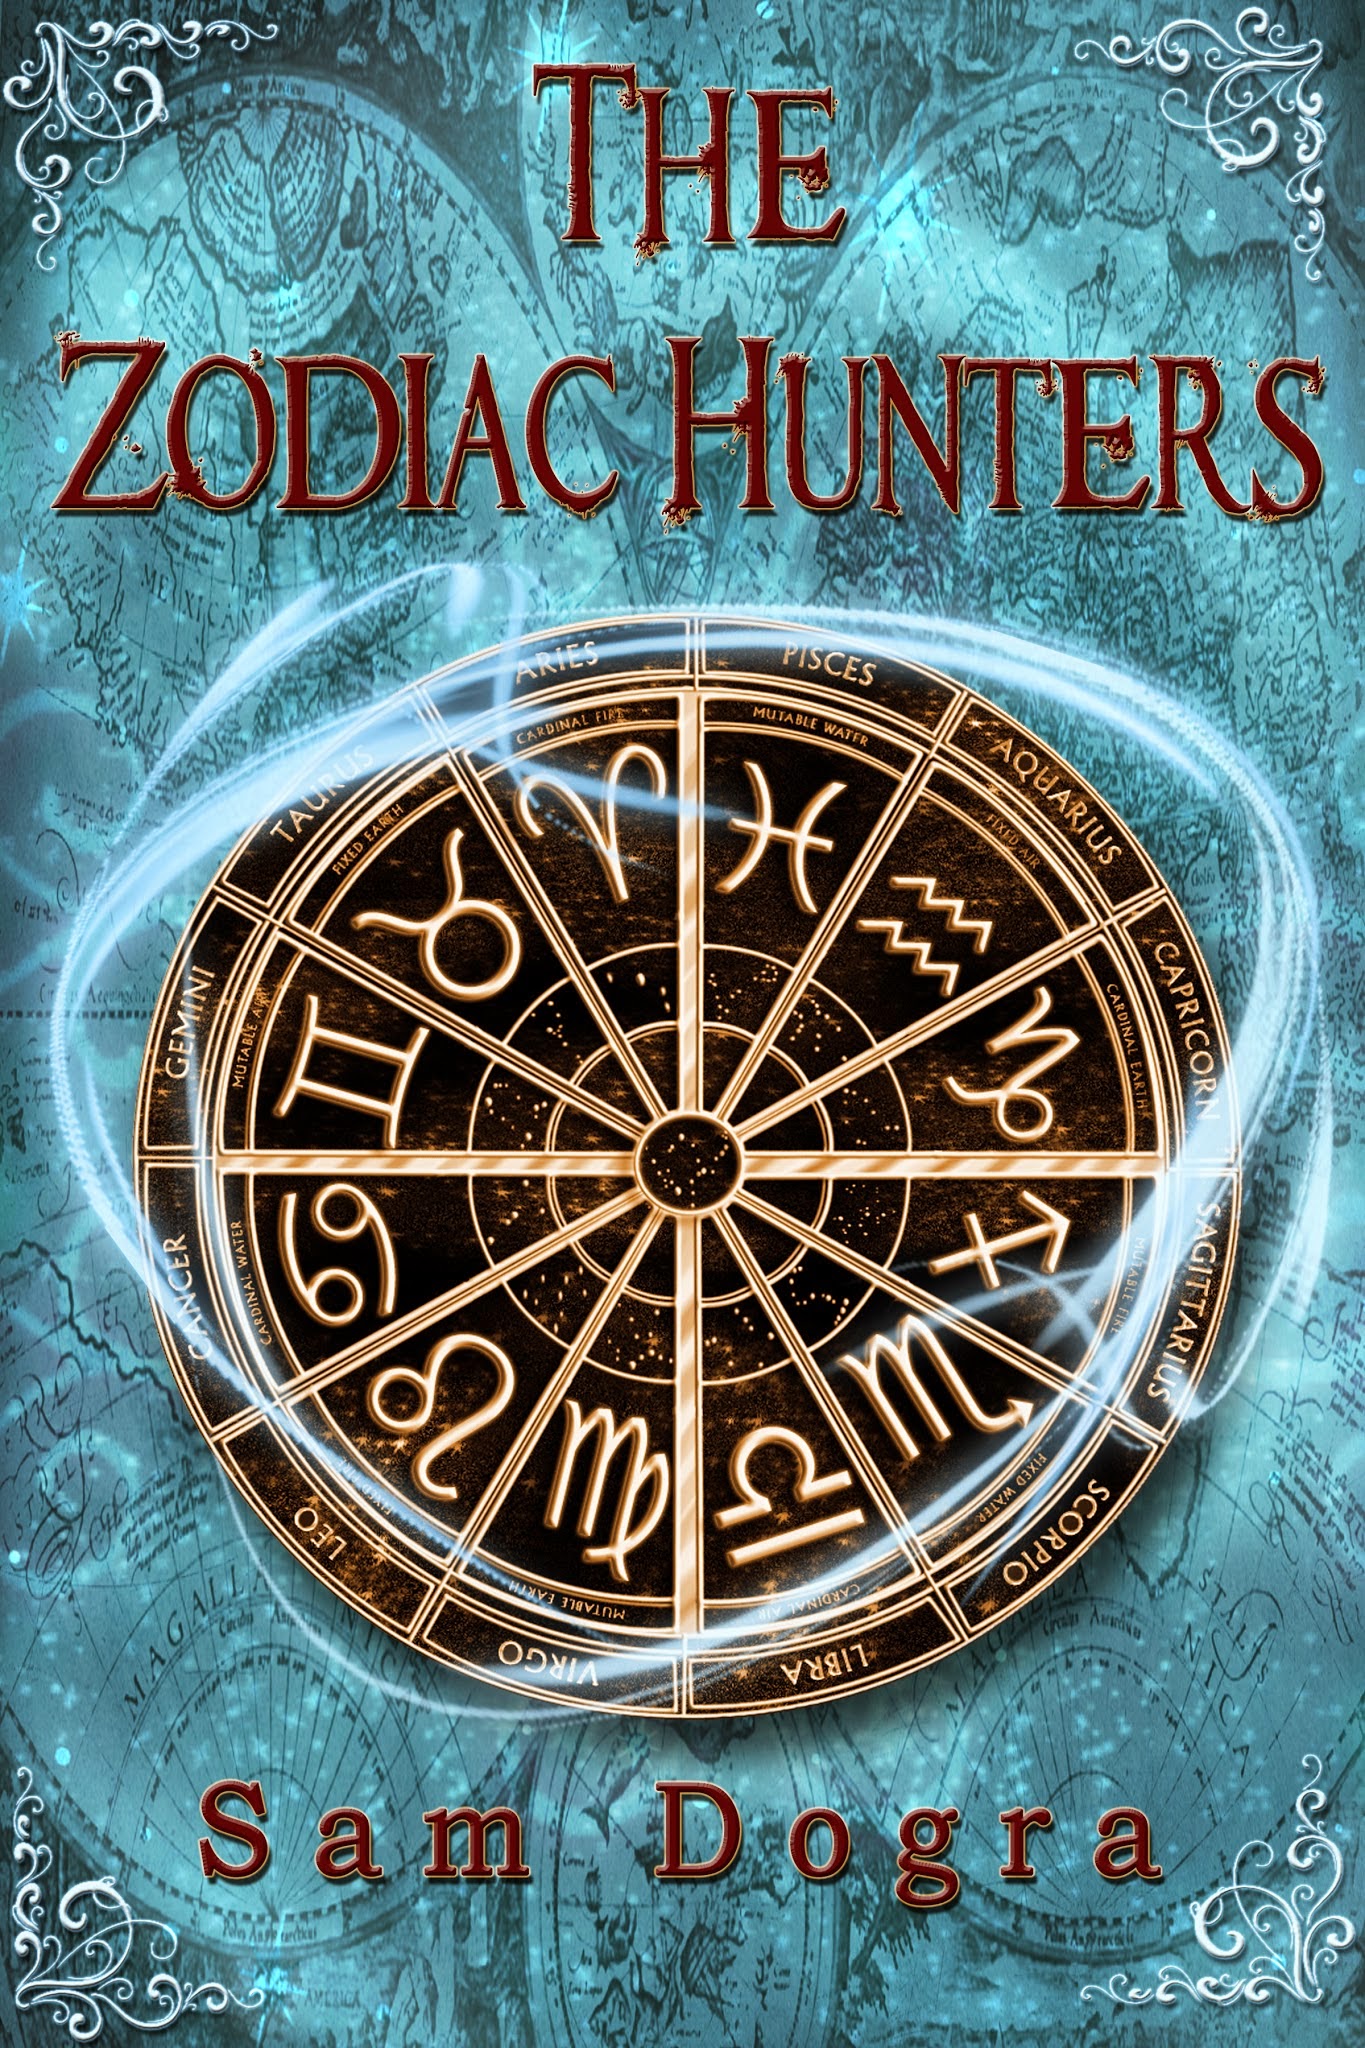
Magician's Pride: A free YA fantasy novella

Check out this FREE prequel novella to my Sorceror Saga series, and fall in love with the world of Azaria...
A talentedyoung Magician is about to take her first steps into the world of magic…andface the trials and responsibilities that come with it.
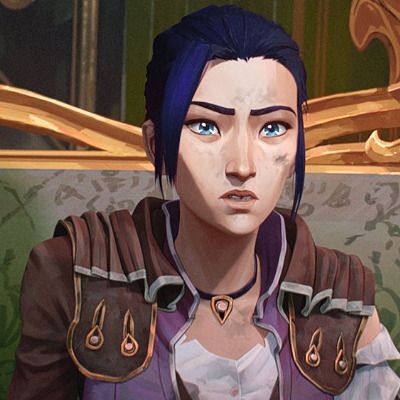
JessieBalthanders is exhilarated to finally embark on her magical career. As theyoungest mage to ever enter the prestigious Magician University, she’s keen todiscover which of the five disciplines will be hers to master, and make newconnections to those who share her power.
Yet noteveryone wants her to succeed, and a chance accident forces Jessie to contendwith a bitter, unwanted rivalry that could smother her bright future.
As shenavigates challenging lessons and fledgling friendships, Jessie will discoverthere’s more to learn than what studies alone can teach, and her determinationand drive will be as important as her skills if she wants to truly flourish inthe world of Magicians…


February 27, 2022
Why I Love Arcane

Hello again everyone! Once again I've not really had time to post much, but I've been burning the midnight oil for book 2 of my Sorceror Saga. I'm one chapter away from the end, meaning there's one more book to go before I can release them! I'm hoping for a Q1 2023 release, and I'll be sure to announce a date when the third book is almost complete.
Today, I'd like to gush about a TV show. Now I admit I rarely watch shows like this, mostly because I don't find much appealing, but I recently got into a show called Arcane. This is an adult animated fantasy steampunk story, based on the League of Legends games and serves as origin stories for several of their champions.
Now I know very little about League, but you don't need to in order to enjoy this show. The first episode had me completely hooked, and by the end I was crying there wasn't more. Every aspect of the show has been meticulously crafted, from the animation, the setting, the worldbuilding, the story, and most crucially, its characters.
We follow the story of two sisters, Vi and Powder, who are caught in the endless bitter rivalry between the shining city of Piltover and the dregs of the undercity. Tensions rise with the development of magitek, and a single heist gone wrong leads the sisters down very different paths.
The show hits all the marks for me. The quality of the writing and character development is top notch, and I love the dialogue and banter. Every character is beautifully flawed, and the show embodies the theme of 'good intentions aren't enough'. It's so gut-wrenching to see things almost play out as they were meant to, only for a spanner in the works to ruin everything, and it makes for edge of your seat watching.
My favourite character is Caitlyn. She's the daughter of powerful Councillor, brought up in a life of priviledge, but who still feels the plight of the undercity folk. She's an Enforcer, one of Piltover's police force, much to the chagrin of her Councillor mother and colleagues. She becomes entangled in the story when investigating a smuggler's operation turned awry.
Caitlyn is appealing for me as I can relate to her on a lot of levels- growing up well off, having some naiveity about the real world but still wanting to do good, and I also shoot rifles from time to time. She didn't get a lot of screentime in season 1, so I'm excited to see her develop further in season 2.
All in all, if you have access to Netflix and love great writing and fantasy, I highly recommend the show.
Have any of you seen Arcane? What did you think of it? I'd love to know, so please tell me!
September 26, 2021
How I Design my Book Covers
So, this month, I would like to delve into how I design book covers. Despite the famous adage, books are very much judged by their covers, and while it can seem overwhelming, there is a process that can narrow down the best cover to suit your genre.
I recently decided to spruce up my covers to the Goddess Saga, so I thought it would be fun to share how I did it. I do want to focus more on the mindset of choosing a cover, rather than the technical details, so I won't bore you with endless techno-babble.
And if you don't write, I hope you enjoy the behind-the-scenes peek!
1. Know your genre
This seems so simple, right? But it's easily the most important part. When you write a book, you should know the genre (and/or subgenre) it belongs to. Once you have that down, you need to look at current books of the genre and get a flavour for what the covers are like. Most genres have specific conventions that scream 'I am x genre' which is sure to attract readers who like to read it.
In my case, I write YA Fantasy, and this has two distinct designs; one with people in a fantasy setting, or one with a symbol/ object with magical glow effects. I lean more towards symbolic covers, so this is what I chose for my books.
A useful tip is to look at the Top 100 Amazon sellers in your genre category, download some covers and make a collage to see similarities and what makes them stand out.

A mix of covers in the YA Fantasy top 100, with my own thrown in to compare!
2. Gathering resources
With the most essential step done, next is to generate ideas for the cover. You might have become inspired by the covers you've seen so far. Pinterest is great for getting the creative juices flowing (just don't fall too far down the rabbit hole!).
Once I have an idea, now comes the most laborious part- looking for stock photos and Photoshop brushes. These must be for commercial use (as you're selling books) so double and triple check you have the right licences.
3. Fonts, fonts, fonts
What makes book covers different from other types of digital art is the fact you need typography. This is another part of the process that will make your book ooze your genre. Like with stock photos, if you download fonts, they must be for commercial use.
I use a different font for the title and author, and to add some flare I have a more elaborate font for the first letter of the main title.
I also use a gradient effect to make it pop more.

This is from my next book, but I use the same fonts and gradient effects...
4. Putting it all together
Now the creative part begins! This is where I combine the stock photos, add lighting effects, decide on the composition and font placement. It also helps to have some knowledge of colour theory and contrast, as the covers need to stand out when reduced to a scrappy thumbnail (such as if you're looking for books on your Kindle device).
And so here's the final product:

And there you have it! That's how I make my book covers. Which are your favourite book covers? Post them, I'd love to take a look!
September 19, 2021
Why I Abandoned My First Novel
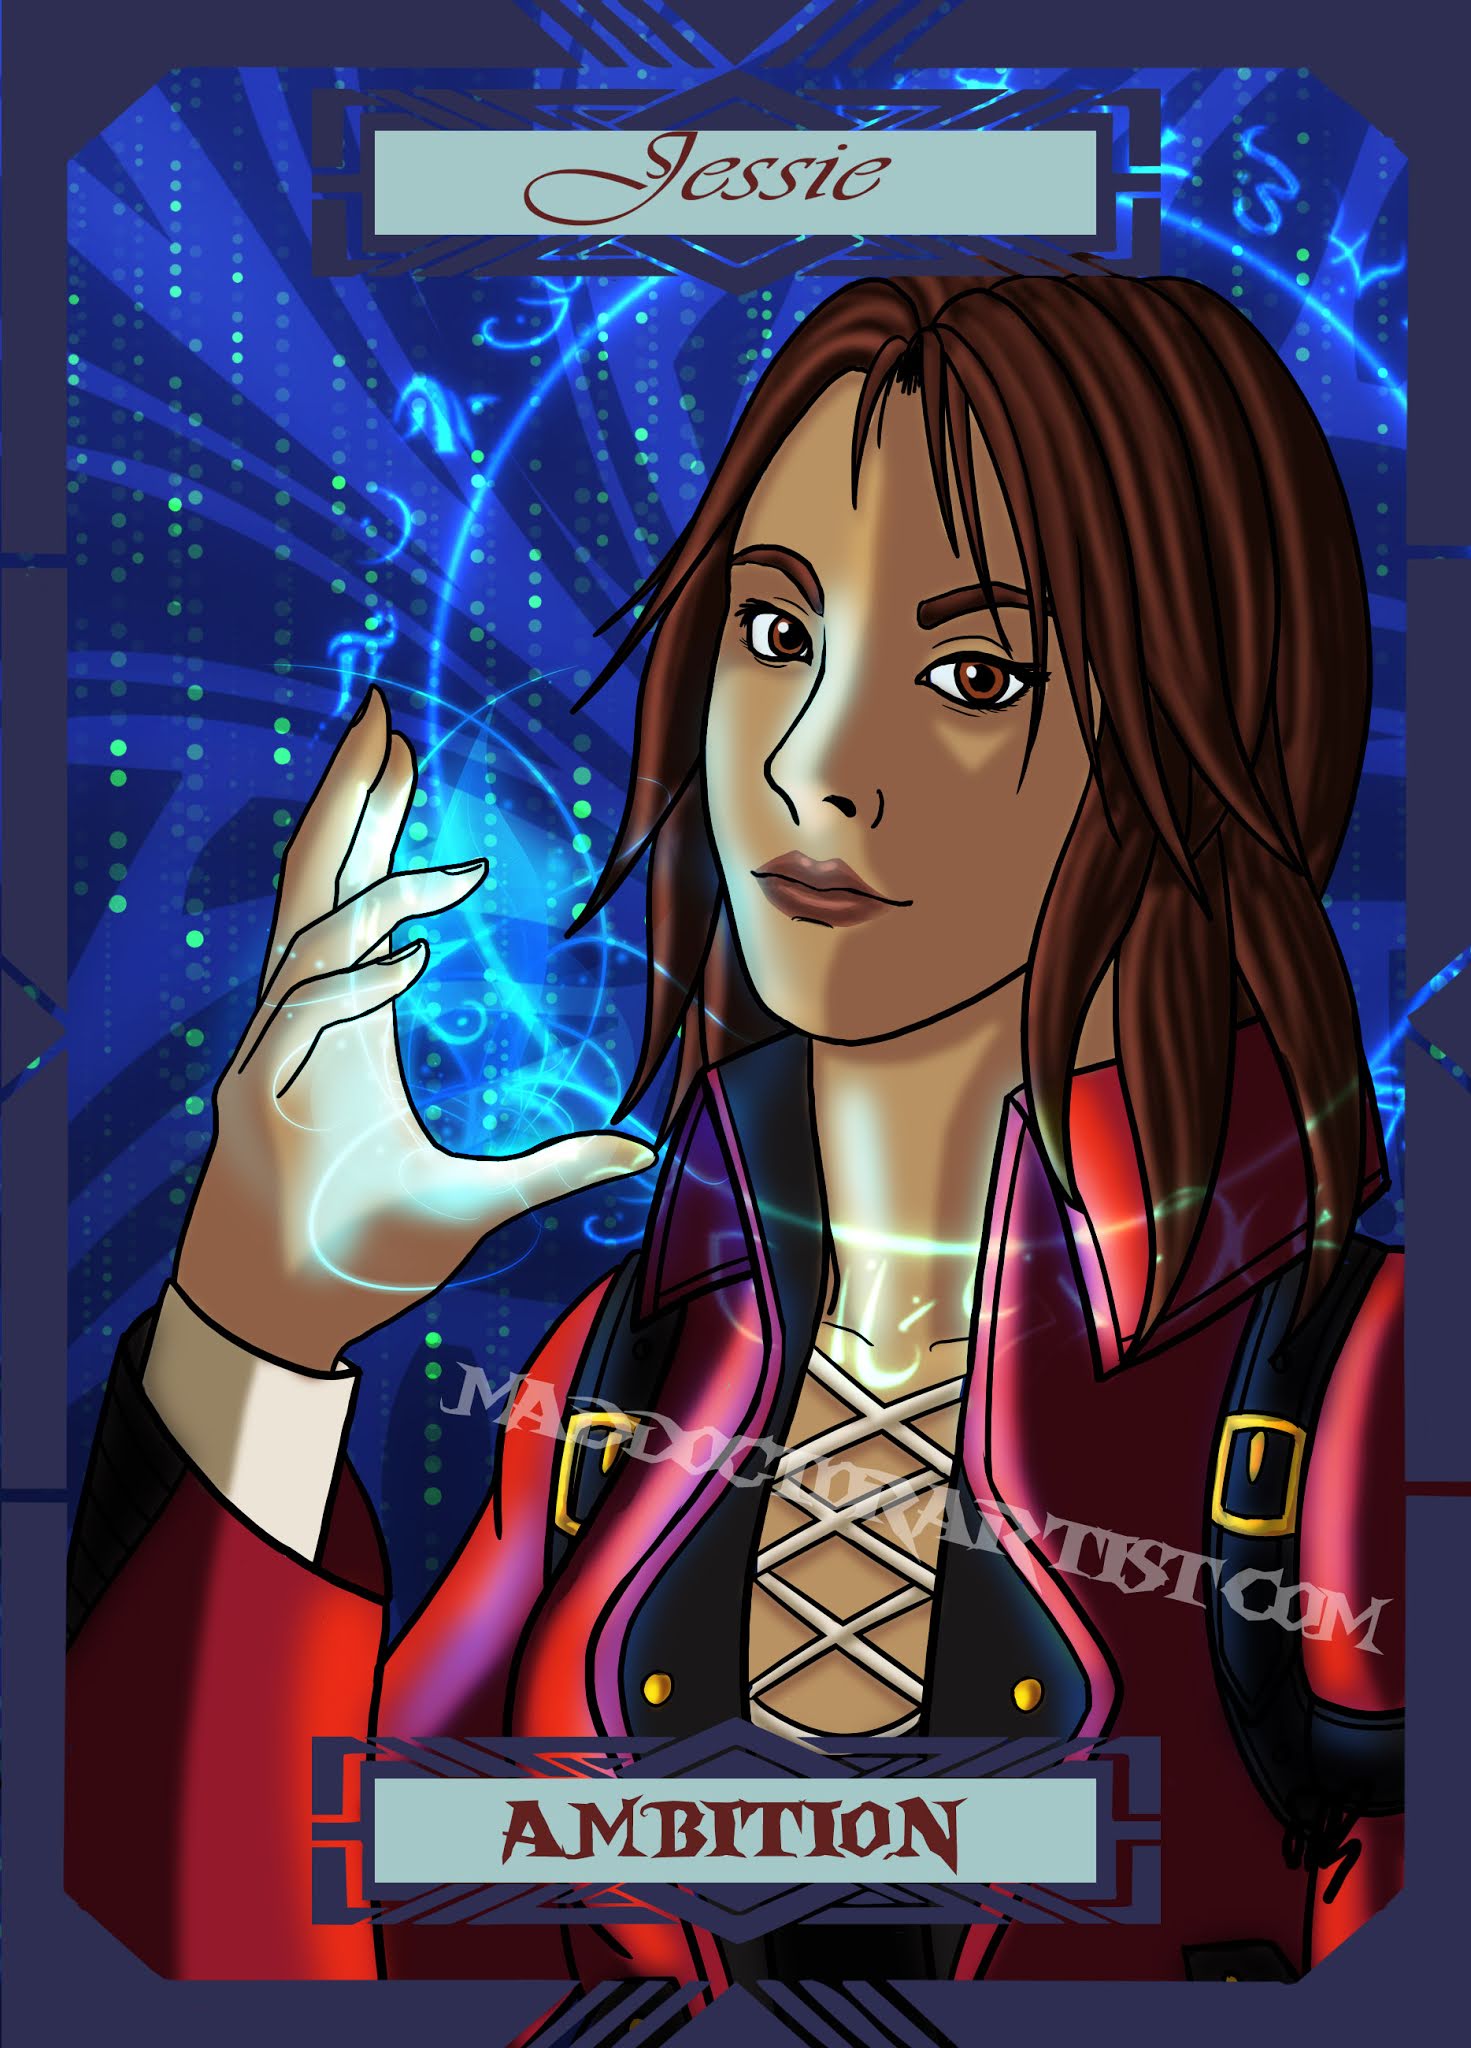
Hello everyone! Hope you're all doing well. I've been working hard on my next YA Fantasy trilogy, The Sorceror Saga. Set 300 years after the Goddess Saga (available here), these next books will follow the journey of Jessie Balthanders, a prodigal Magician born into an Azaria now imbued with the magic that was sealed away for a thousand of years.
You'll get to meet Jessie soon...
The original idea for this story, however, was set in its own world, and it was one of the first story outlines I ever wrote. I've always had an interest with writing, starting in my early teens with a short story about two boys who were sent back in time to help Edward Jenner invent the vaccine, then diving into fanfiction, before braving ideas with my own original creations.
But the first idea I attempted to put together was a story called 'Legend of the Zodiac', when I was 18 years old. I started getting into astrology when I was 17, as I found the symbolism and character typing intriguing, and my Dad had a fascinating book on the subject. Now while I don't believe movement of the planets can affect the future, I do feel a lot can be gained through self discovery and identifying your own weakness and strengths. Like the analytical Virgo I am ;)
Anyway, my story was about an orphaned pirate named Nick, set in a post-fossil fuel future where technology had regressed and sea travel and trade dominated the world. Given that my main source of inspiration for this was the game Eternal Darkness (a Gamecube game whose story spans all of human history), I wanted a story that explored ancient civilisations. I also devised 'Zodiac monsters' which also played a key part.
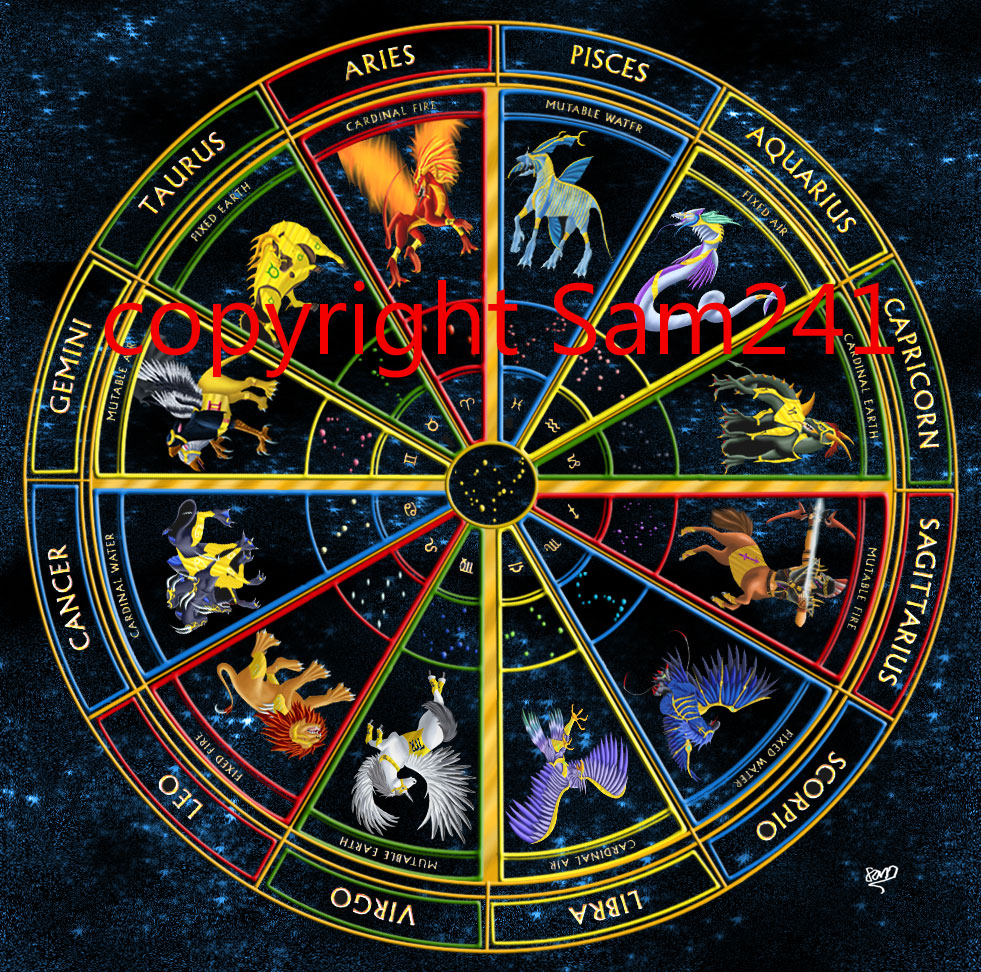 Apologies for the watermark but this piece was stolen and is still plastered all over the internet!
My first attempt to write the story gave me a 375, 000 word manuscript that, let's be honest, was a disaster. My idea was to have each chapter be about each Zodiac monster, so there was no character development, no scene breaks, poor dialogue and an inconsistent tone. Not to mention chapters that were long enough to be their own short stories! With my prior writing experience amounting to that short story and Sonic fanfiction, along with being an overly ambitious teenager, this was no surprise. A friend even gave me an email address of an agent to send it to, and of course I was politely turned down.
At this point I had the insight to realise I needed to work on my craft, so I continued with fanfiction and reading my favourite genre of books. Then I started to refine the original manuscript. I split it into three parts to make a trilogy, totally overhauled the characters, parts of the setting and plot, and added a lot more depth. I still have the Notepad file detailing all the necessary changes and set to work applying it...
 A cover mock up I made...
I kept at this on and off for years, in between completing my A-levels and getting into medical school. During this time I also found an online writing community called Authonomy. This was a now defunct website run by Harper Collins where you could post your work, get feedback and climb the rankings. The top 5 ranked would get a professional critique from Harper Collins themselves.
While I was never interested in getting into the top 5, I did connect with other fantasy writers and made some great friends. One of them was a paranormal romance author whom I swapped a critique with, and we seemed to get on well. We got talking about our books, and I had to admit something.
After 7 years of constantly trying to polish and improve my original idea, I was going round in circles. I'd gotten half way through the second book and was losing interest, constantly going back to the beginning and refining and revising. My friend therefore suggested I take a break and write something else.
Now as you can imagine, I was very reluctant to go ahead with this. After all, I'd grown so attached to my idea, and I'd been working on it for so long, how could I just leave it behind? However she eventually convinced me, so I opened a new document and wondered what my next idea should be.
Since my friend was a romance author (and I am generally not a fan of how traditional romance is written), I decided to try my own take on the genre. Hence I came up with a magical spell that curses people to fall in love; a slight dig at the instalove trope which is widely despised.
And thus the Goddess's Binding was born...
Today, I have no plans to go back to Zodiac. While it was painful to leave behind, it was ultimately the best choice. I've learnt a lot more about the writing craft, have thousands more words under my belt, expanded my media consumption and so I'm in a much better position to write the stories I want to tell and present them in fresh and interesting ways. Zodiac was too ambitious for its own good, and I lacked the skill to pull it off. There's still potential to simplify it into a middle grade story and streamline things, but I'm happy just to keep it as a failed first attempt, an important stepping stone in my writing journey.
Thus I'd advise if you are a new or young writer is try not to get too attached to your first idea. By all means write it and have fun, but if you're serious about publishing and your idea is precious to you, it might be worth testing the waters with an idea you're not so passionate about first. That way it can be a learning experience, and help you make your most important idea as good as it can be. This was my experience, and I'm glad my friend pushed me to change.
Did you ever have to abandon a writing project? Did it break your heart, or were you relieved to move on? I'd love to know!
September 12, 2021
Goddess Saga Sale!

My trilogy of YA Fantasy novels, The Goddess Saga, is on sale this week! Click here to grab the whole series...
Cursed by the Goddess, a healer’s daughter must fight for her freedom…even if it means unleashing a forbidden power that could destroy her.
Seventeen-year-old Eliza dreams of becoming a healer. Yet over her shoulder looms the Binding; an ancient spell that can seize anyone’s heart against their will. It already took her sister, and she’ll do anything to avoid the same fate.
Her nightmare is realised when an accident strands her with Ryan, a bounty hunter on the run. Now Eliza has no choice but to join his game of cat and mouse.
As a relentless tracker edges ever nearer, a blood-thirsty cult hungers for revenge, and her own feelings turn against her, Eliza must find a way to break free.
But overcoming a thousand-year magic has a price.
The kingdom…or her life.
July 11, 2021
My Top Five Trusted Medical Websites (For Patients)

Hi there! Today's topic is delving into the medicine side, and I'm going to recommend some validated medical websites.
There's an ocean of medical information out there on the internet, but it can be hard to tell which ones are genuine and which ones are pushing dodgy products. Especially in this climate of fake news and social media virality, it can be difficult to know whether you can trust what you're reading.
So there are my top five trusted medical websites:
1. Patient.info (https://patient.info)
This is an excellent resource for both patients and healthcareworkers, as it contains information on almost all conditions and several medications. It also now has videos and other media to complement its detailed writing. I tend to always get my information leaflets from here.
2. NHS (https://www.nhs.uk)
The NHS website is also quite comprehensive and very easy to access, and is kept quite up to date. It's not as detailed as patient.info in places but its structure is more user-friendly.
3. Lab Tests Online (https://labtestsonline.org.uk)
Want to know what your tests mean, why they were requested, what does a positive or negative result mean? This website is fantastic in explaining test results of all sorts (bloods results, swabs) and provides information in a simple to understand format.
4. Arthritis Research UK (https://www.versusarthritis.org)
I love the resources this charity provides for musculoskeletal disorders. At medical school their examination methods was invaluable, and I love their exercise sheets. They also have excellent information booklets and provide a charity helpline.
5. Live Well With Pain (https://livewellwithpain.co.uk/resources/resources-for-your-patients)
Chronic pain is growing burden and not well understood, though our ideas about it have changed quite a bit over the last few years, with a move away from harmful opiate medication and more focus on restoring function. This website is for both healthcare professionals and patients and provides some great tips and explanations for the condition.
So there are five trusted medical sites I recommend to patients- do you have any to add?
July 4, 2021
Outlining versus Discovery Writing
Hello again! Today I'd like to dip into the writing side of things and discuss the two main methods of plotting out a book. This is an essential step when thinking about how to get a story on paper, but there are two extreme ways to go about it.
The first is outlining, which is the side I fall on. Writers who outline can write out exact plot beats, character moments, scenes and list out things usually in chronological order. This gives a clear map of the entire story, which can then be expanded upon. Outlines aren't rigid, however, and can still be changed further down the line if things develop differently to planned.
The second is discovery writing, or 'pantsers' (people who write by the seat of their pants). Here you write the story and see where it naturally goes, coming back to edit for consistency or changes. It's more free-form, and some people prefer the lack of structure to get their ideas down.
In actuality, most writers fall on a spectrum between the two, and I didn't realise at first but I actually do incorporate elements of the discovery method. I thought therefore it would be useful to share my experience to give some insight into how these methods are not as completely opposed as they appear.
The shackles of an outline
 Planning an outline is quite a precise effort...
After this I fleshed out her backstory and what her journey would be, along with other characters.
A problem with this however came up with the third book, The Goddess's Blessing. I had a seven year break (due to my medical training and falling out of love with writing), so it was difficult to come back to. For this book I ended up re-writing the outline several times, with the last one being a complete depature from the original plot when I came up with a new character.
While it did make the final product much better, I did find it quite inefficient as I was spending more time re-writing the outline that writing the actual book!
So for my next book, I wanted to try something new...
The freedom of discovery
The world is yours to explore...
For my current book in progress, The Sorceror's Lament, it required quite an extensive re-write of the original outline initially (I wrote it several years ago), but even then I found elements lacking. Rather than waste time with a 30th re-write, having gone down that path for my last book, I decided to just keep the main plot beats in mind and write without a guide.
This proved a much better use of my time, as I was able to see Jessie (the new protagonist) clearer, and she's ended up quite different to how I initially planned her. This has also been the case for newer characters who've appeared who weren't in the original outline.
The book is almost done, and I've written the bulk of it in three months- quite an improvement over 7 years! I've also not had to re-write elements as much, given that I only outlined a chapter or two ahead at a time (and the ending), which has also been quite a time-saver.
The best of both worlds
Of course, every author is different and will lean more one or other method, but I thought it would be fun to share that even outliners can wander down an unknown road, and I'm sure there's many discovery writers who appreciate having a bit of stucture to work with!
My advice for writers is to experiment and see what works for you- be wary of books or how-to guides that claim one method is better than the other, as it depends so much on your workflow, personality, other life commitments and much more.
Are you a discovery writer or an outliner? Why do you think your chosen method works better for you? Please share, I'd love to know!
May 9, 2021
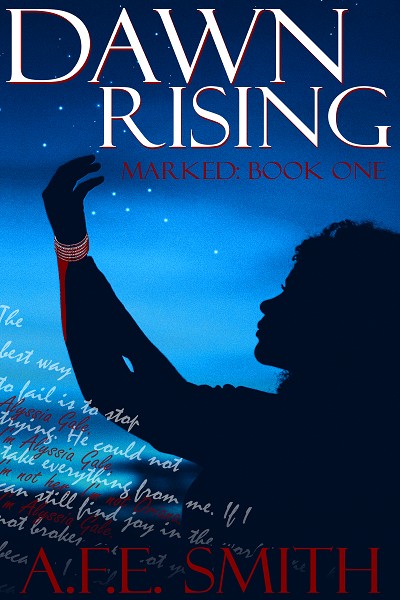
Astounding Journeys: Fantasy Novels and Series Starters Giveaway

Hello everyone! This May I'm going to be part of a special promotion via my newsletter, the Astounding Journeys giveaway. Pick from a selection of free first in series fantasy novels, all of which have an emphasis on a quest or journey.
To get access to these books, all you have to do is click here.
Of the titles available, my recommendation would have to go to Dawn Rising, by A.F.E. Smith. I was lucky enough to get to read this book in its early beta stages, and I was captivated by the writing style and fascinating characters. Follow Alyssia Gale, a misfit who's never felt she belonged, as she's suddenly pulled into a dark and dangerous fantasy world; one she's only ever seen in her dreams.
GODDESS SAGA SALE
As well as this exciting giveaway, I'll also be doing an Amazon US sale for my YA Fantasy series! Now you can snag the complete Goddess Saga trilogy for under $2.00. But be quick, as the promotion ends 15th May...
Please note the $0.99 deal for The Goddess's Blessing will start on 11th May (due to an Amazon glitch), so keep it bookmarked for then!

April 25, 2021
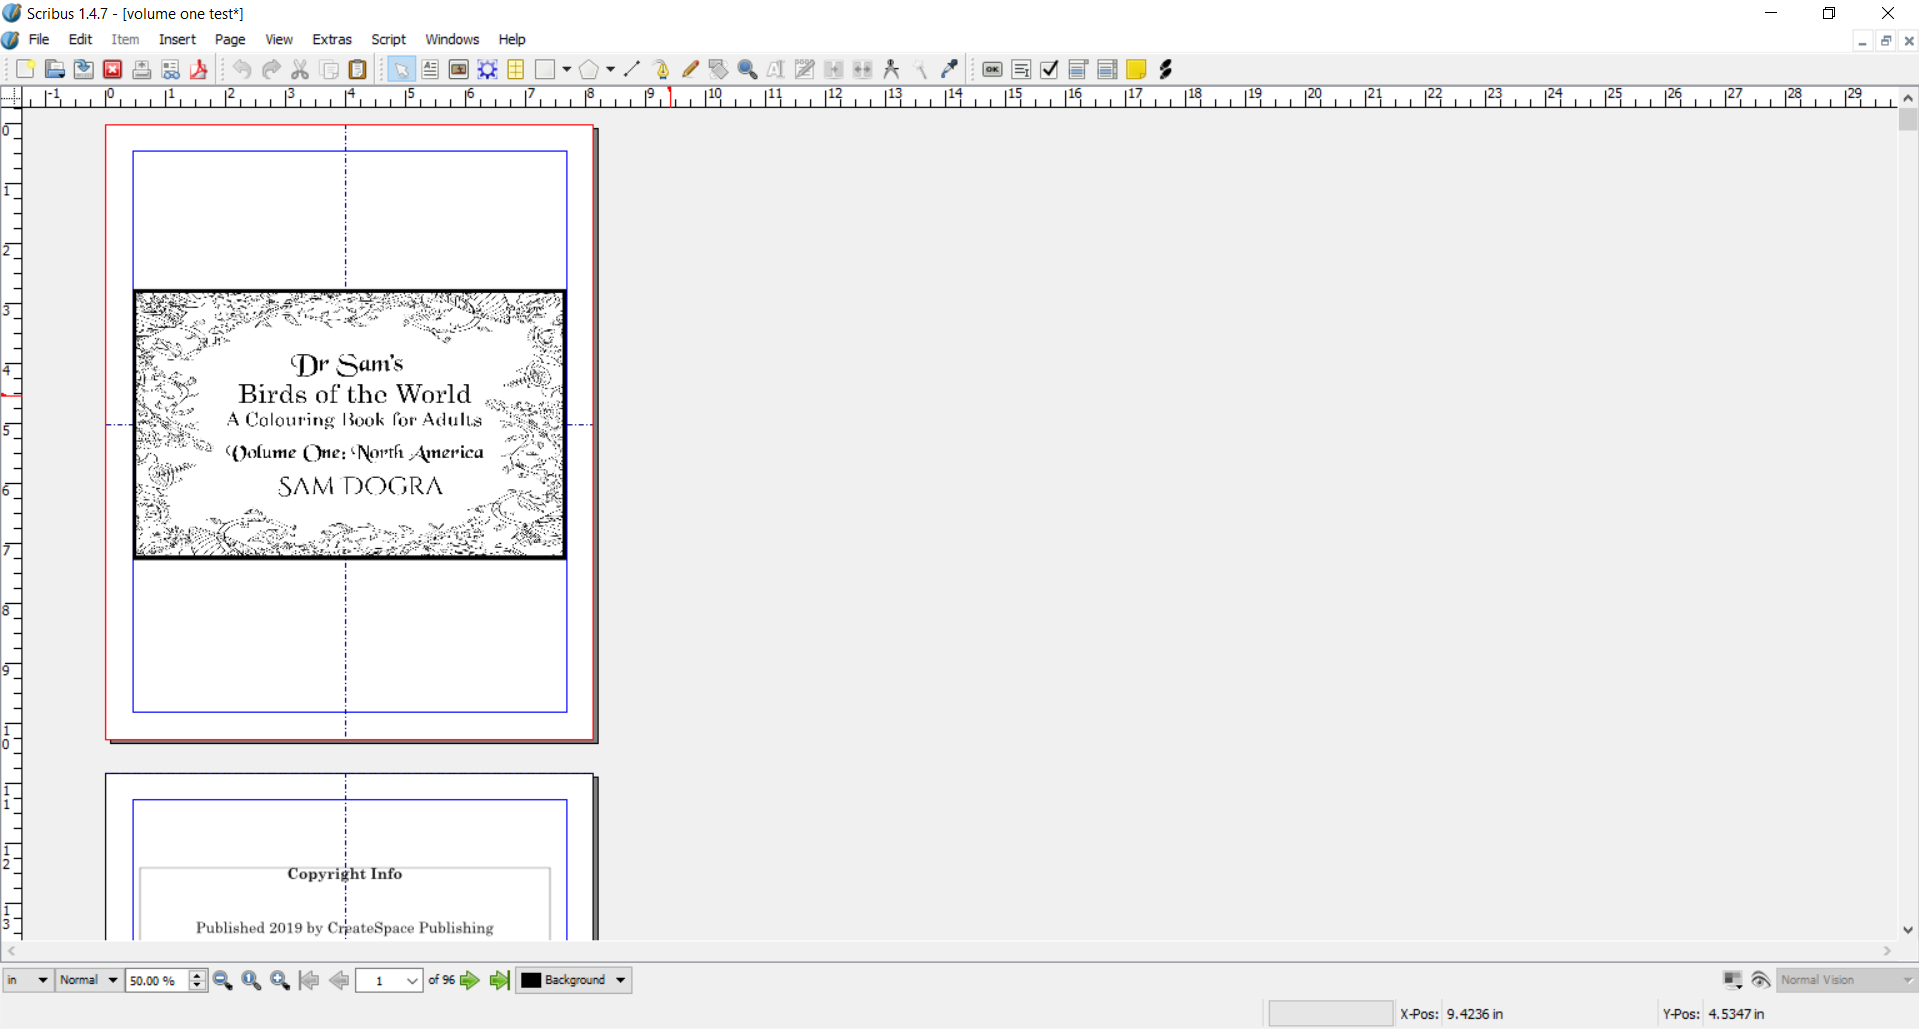
How to Self Publish A Colouring Book

Hello! Well, it's been a tough year, as we pass the anniversary of when this pandemic really started to blow up and disrupt our day to day lives. Being a frontline healthcare worker, this was very frightening, especially with so many unknowns, but I was one of the lucky ones who had a very supportive workplace, and we adapted very quickly to remote consulting.
However, even with the success of the vaccine rollout and the hope of things returning to normal on the horizon, it's left a lot of people with overwhelming anxiety. And something that's come into vogue over the last decade to combat this has been the advent of adult colouring books.
Being an artist myself, I thought it would be fun to get into this area, and now I have two published colouring books in my Birds of the World Series.

Now this is very different to publishing a novel, so I thought it would be helpful to share how I produced these two books.
1. Plan what sort of book you want
There are various types of colouring book out there, from animals and faces to mandalas and abstract shapes. Think about what type of colouring book you want to make. For me, I love all things bird, and so I use birds and nature backgrounds for my lineart. But there's plenty of options to choose from, so pick something you're passionate to dive into.
You'll also need to plan how many images there will be in total.
And this should go without saying, but don't use other people's art unless you've paid for a commission!
2. Draw some art!
The biggest and most labourious step is to draw the images. This can be done either digitally or traditionally. For the digital approach, you can use art programmes such as Photoshop, Krita or FireAlpaca, or any vector-based image software. Images need to be certain dimensions (for self publishing, look at the book size templates on Amazon KDP and pick one), and the resolution needs to be 350dpi or higher, else the lines will look blurry when printed out.
For traditional media, create your pieces, ink them, then scan them in to make a digital copy (again need to scan at 350dpi or higher).
I opted to group my birds by continent, so each book will feature birds of one continent only (e.g. Africa).

If you are doing very intricate lineart, make sure to take breaks often and don't rush. I actually developed tedonitis in my right hand when I was making the first book because I was impatient to get the pictures done. And who says doctors make the worst patients? ;)
3. Additional images
Now you've created the meat of the book (the images to be coloured), there are a few other bits to do. Most colouring books have a 'this book belongs to' page, and I like to also include a test page- this will help readers/ colourers check what pencils/ pens are suitable to use. The paper for self-published books isn't as absorbant as formal artist paper, so bear this in mind, and advise readers to put some paper/ card between pages so as to not spoil the other pages.
I also made a border image to keep with the nature theme of the book.

4. Putting it together
Now this is where things can get complicated. Some artists use Powerpoint to lay out the images- I didn't find this effective myself as when you save to PDF the quality goes way down, and it makes for very blurry images.
One option is to use Adobe InDesign, which is a desktop publishing software. It's part of the Creative Cloud, but it's very expensive on its own, so unless you have a friend with it or have the Creative Cloud anyway, it's quite a pricey way to go about this stage.
However, there is also a third way, which is the way I used: Scribus [https://www.scribus.net/]. This is a free, open source desktop publishing software. Now be warned- it doesn't have the easiest user interface, and what you see on screen doesn't always correlate to changes you made (sometimes you need to restart the software), but there are a lot of tutorials out there, and once you've got the hang of it, it's pretty straight foward.
My books feature some bird facts along with the images, so I made a template to accomodate for this. Scribus allows you to make image boxes and text boxes, and I used these to make template pages. I then duplicated these for the amount of images needed.
These are some things to also consider:
a) Do you want the images to bleed to the edge of the page, or be within a border? Keep in mind it can be difficult to colour at the spine as there will be some overlap from the other pages.
b) Do you want to put images on the same page back to back? Some people like to cut out and frame their coloured piece, so putting two images together means the other image will have to be sacrificed. Also there is the issue of colours bleeding through the paper which may spoil the other image and render it non-colourable.
5. Proof-reading and checking it all over
Once you've added the images, added text and tweaked the intro pages, be sure to check it all over to make sure the images are on the right pages. For me, I needed to keep the left hand page blank to ensure all the images were on separate pages.
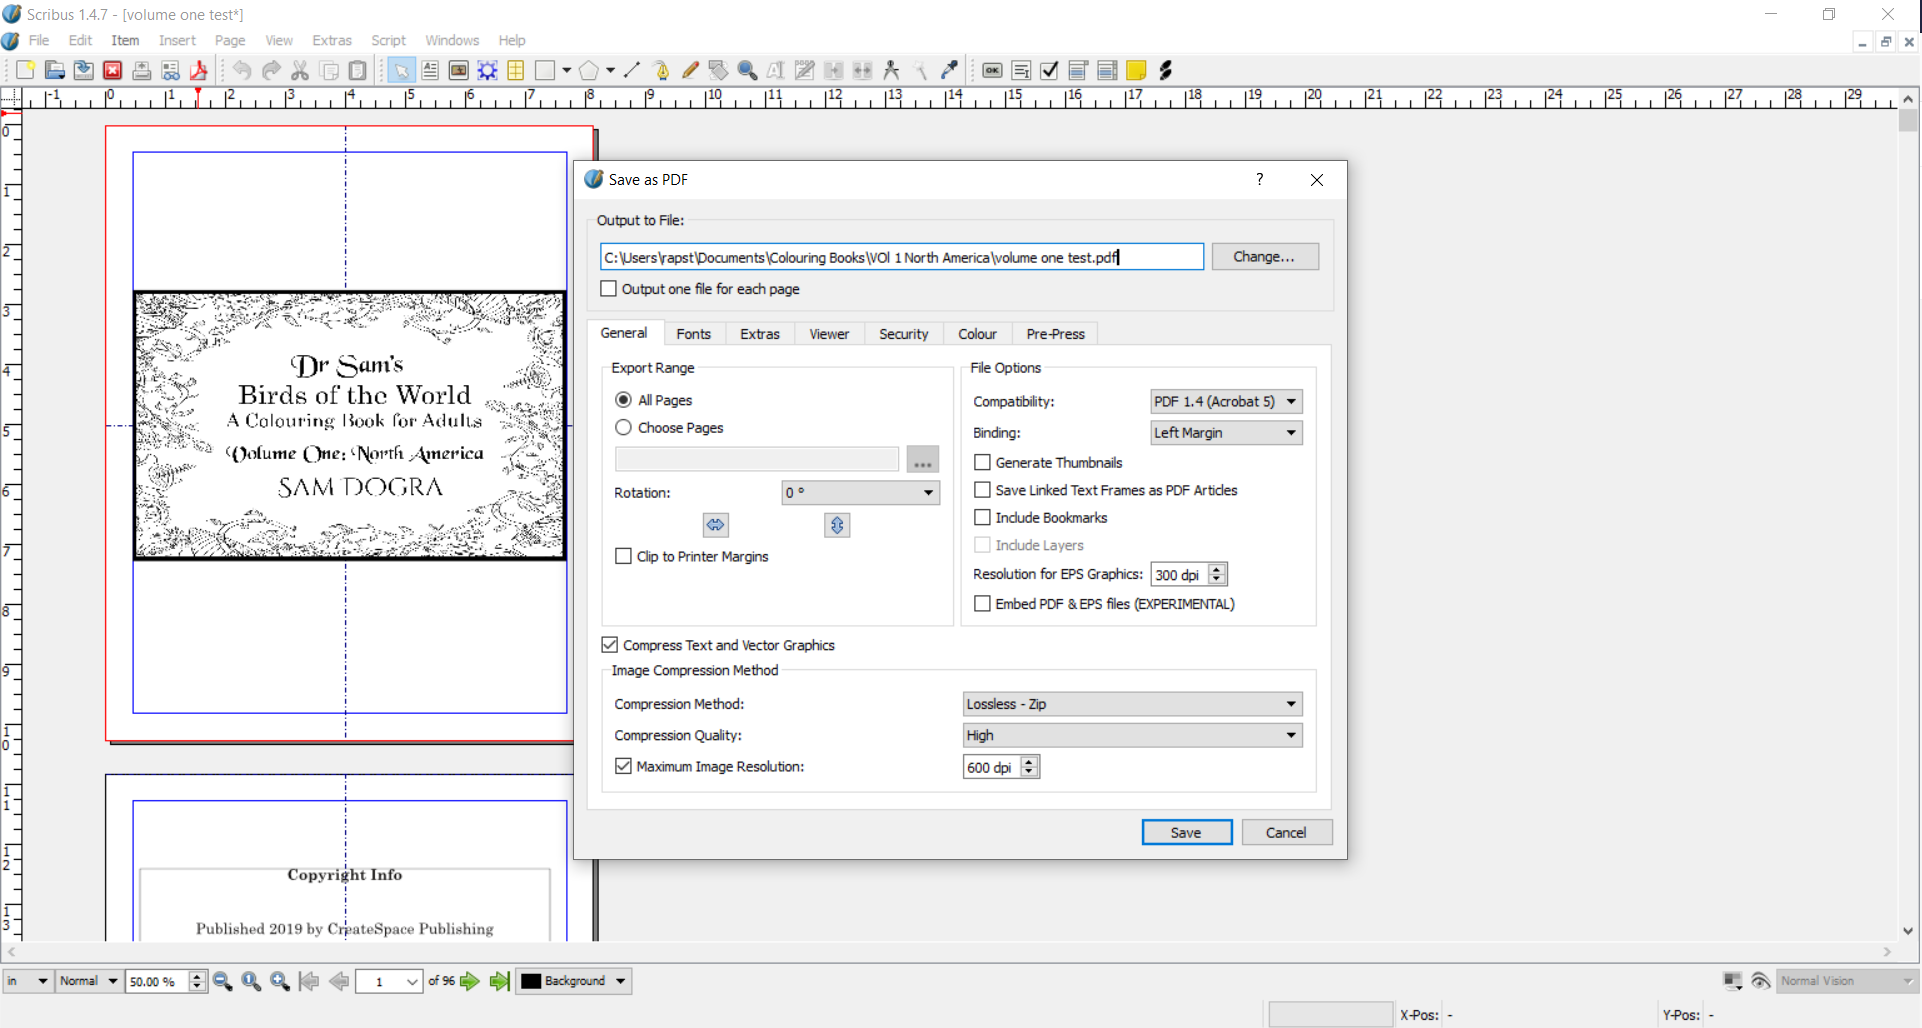
With that all checked, save the file as a print-ready PDF at the highest quality so the images remain crisp.
6. Making the cover
For this part, take a look at other similar colouring books and see what styles catch your eye. In my case, I like a darker background with a colourful border, so that's what I incorporated into my covers. I also tried to feature the most well-recognised bird from the continent.
To turn this into a paperback cover, you first need to know how many pages your book will be, then go to the Amazon KDP help page [https://kdp.amazon.com/en_US/cover-te...]- this page lets you generate a cover template, which will show you where to align the covers and avoid the areas that will be cut to size.
This file will also need saving as a print-ready PDF, at 350dpi quality. Photoshop does this, but if you don't have Photoshop, just make a new template in Scribus, put the image there and save it that way.
7. Publish via KDP
Sign in to your KDP Amazon account (this is slightly separate to your normal Amazon account but uses the same password). On the main screen, select '+ Paperback' from the menu. I mean, you could make the colouring book an ebook, but it would make it a bit tricky to colour for those who use traditional media!
The first page is the Book Details- this is where you put the title, subtitle, author, description [blurb] and keywords. There a lot of tutorials on keywords out there, this is an important element not to overlook so do research into this. It's not too different to novels, but of course there will be specific words for colouring books.
Click Save and Continue, and here you upload the contents. Choose the size of the trim (which you should have picked earlier to make sure your images were the right size). I opt for white paper as this is easier to colour on, and I have a bleed so I check that option as well. Upload the PDF of the INTERIOR and the PDF of the COVER, then use the previewer tool to check things are lining up. KDP will not let you continue if there are massive errors.
Save and Continue again, and lastly is the book pricing and which territories you want to sell it in. Pretty self explanatory!
Now at the bottom of this page is the option to ask for 'proof' copies- these are test copies that you pay for to see what the physical book comes out like. I strongly recommend doing this, as I found a few errors that I hadn't picked up digitally, and you want your book to look as professional as possible.
And then, once you're happy, click Publish!
8. Teething problems
With paperbacks, Amazon are very strict about quality, and you need to follow their guidelines. I had a few problems with this initially, as some of my pages weren't bleeding when they should have been (that sounds so morbid) and I couldn't have text on the spine as there is a minimum page limit for this. But eventually I ironed things out, and hey presto, my colouring book was live!
Both volumes are available to buy now:
And so that's it- simple, eh? I have to say this was far more time consuming that when I published my novels, but I had fun learning a new process, and I've had some good feedback so it's certainly been worth it.
Have you wanted to publish a colouring book? What sort of subject would you do? I'd love to know!
Also, if you know any aspiring artists who've wanted to look into making a colouring book, feel free to share this post. They may find these tips useful.
March 28, 2021
My Writing Process
So I've been writing since I was 14, and I've learnt a lot about writing (as you can imagine). These have come from all sorts of sources, initially books (both instructional and from reading fantasy fiction) and advice from other writers I met, and then after the YouTube boom I've gleaned a lot of fantastic stuff from there as well. Some channels I recommend are:
Hello Future Me
Just Write
Brandon Sanderson (in particular his educational lectures)
Overly Sarcastic Productions (their Trope Talk series)
Resonant Arc (though they focus most on video game stories a lot of elements carry over into novels)
Tale Foundry
Step One- Ideas and Outlines
As you may have read from my author interview, the original idea for The Binding came when I was taking some blood samples to the lab during my first hospital job. I had a scene emerge in my mind—a girl sitting alone in a forest, because she wanted to protect her heart. I took this concept and expanded it, creating the Binding spell, laying down some rules, and then went on to develop Eliza as a character. All this I jotted down in a Word document as a series of questions to help flesh things out.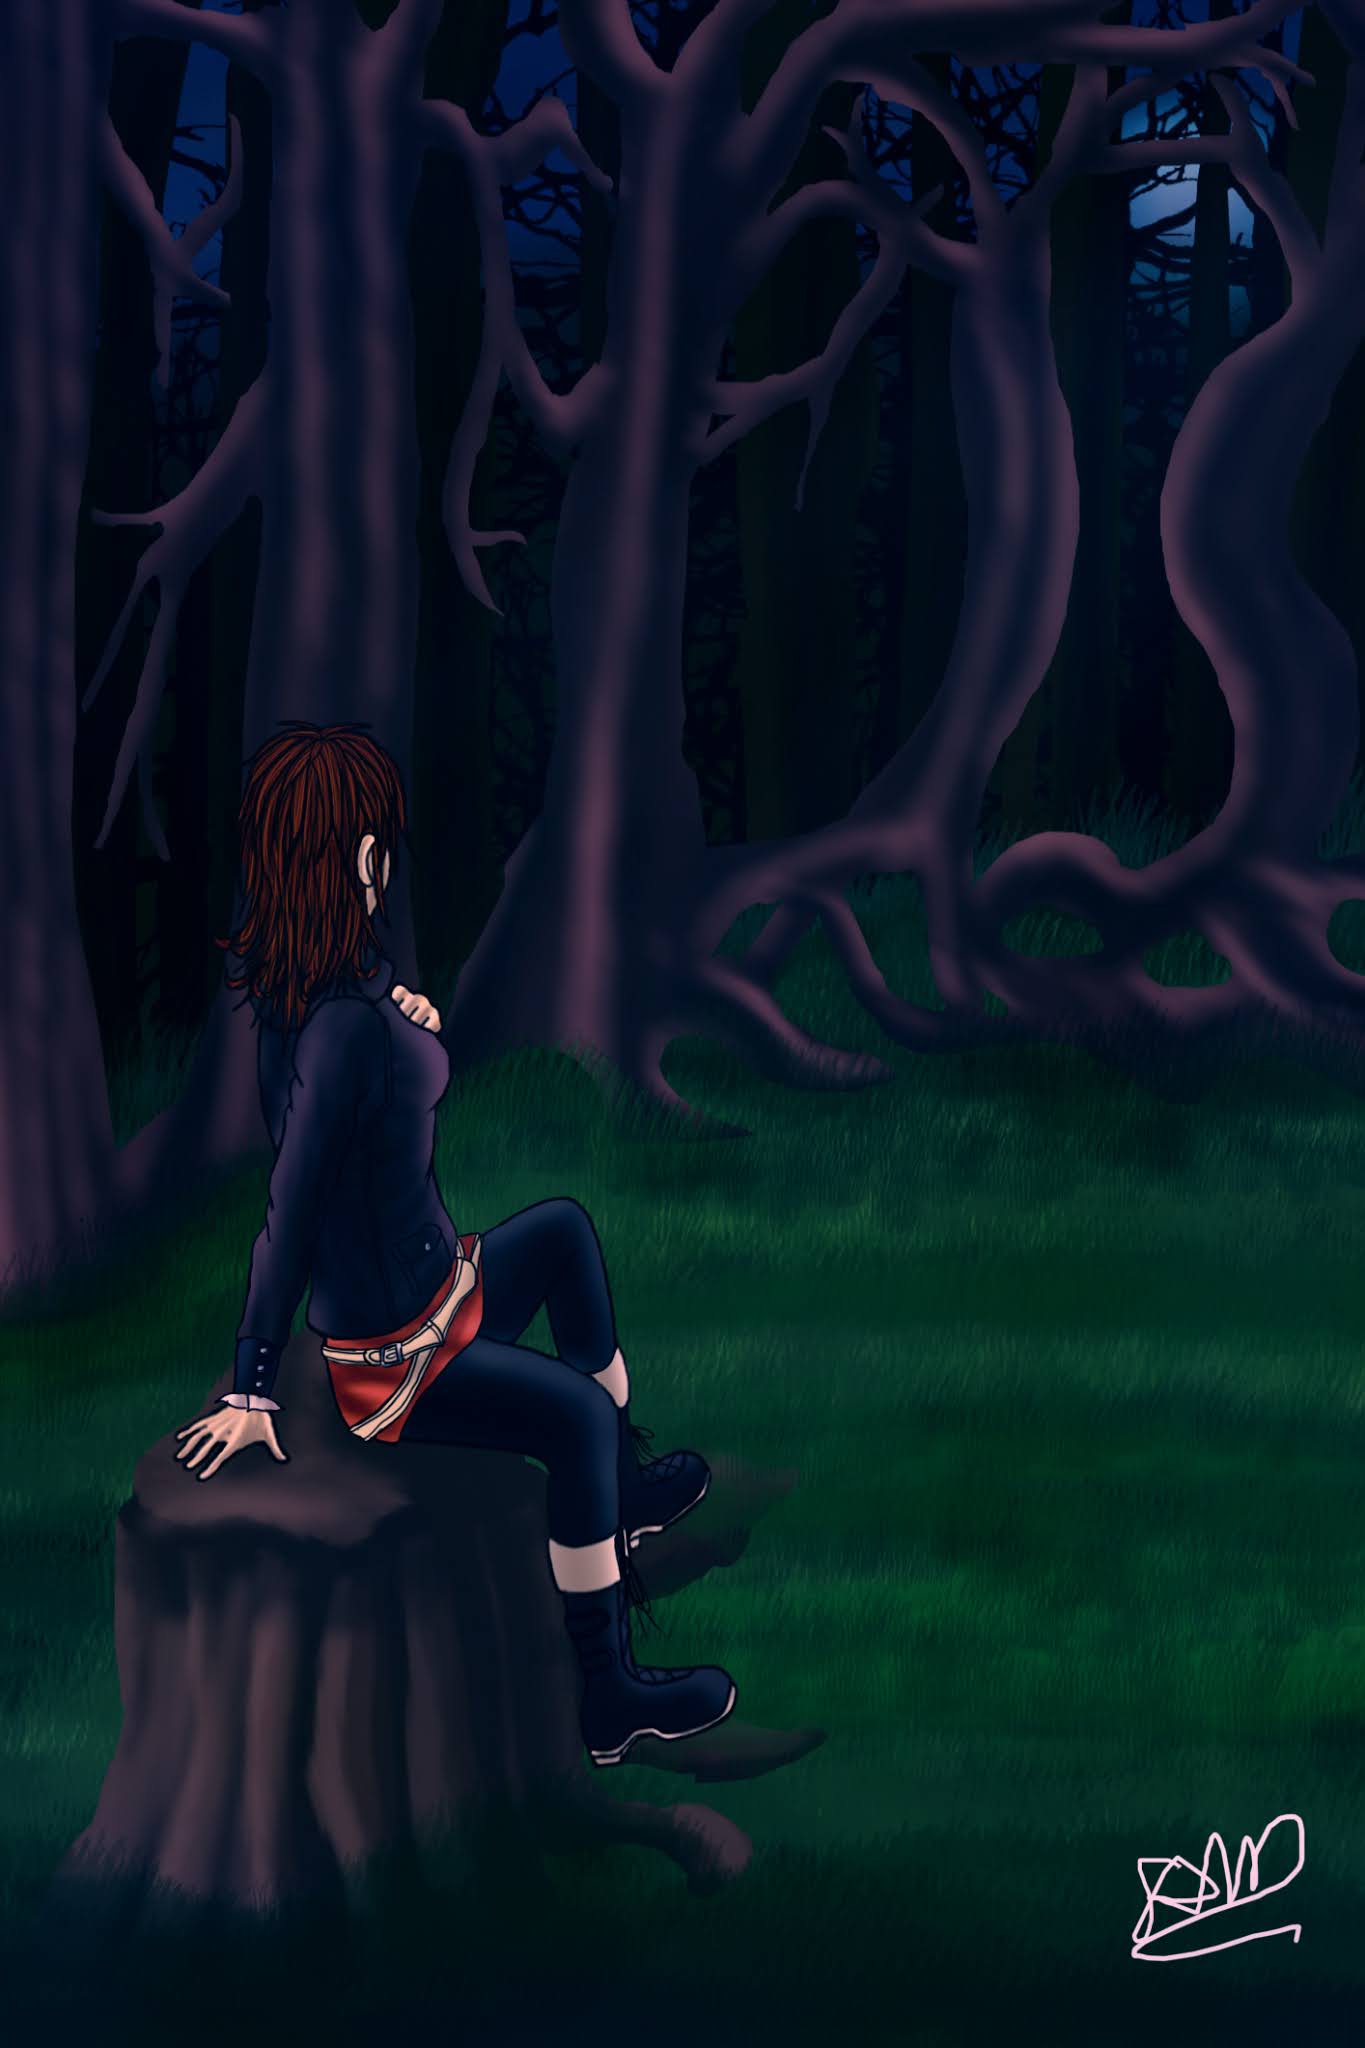
Once I had a clear idea of what the general themes would be, I then wrote out the outline for the story. I am very much a planner type of writer, and I find it easy to follow an outline rather than write and see where things go. The outline isn't set in stone, however, so if a character interaction changes the direction of a story I will adapt and re-outline. I had to do this for The Goddess's Blessing (the last book of the trilogy), which changed the second half of the story entirely from the original.
Step Two- First/ Second Draft
With the outline complete, now comes the hard part- the actual writing! This means putting rough chapter markers in the original outline, and then fleshing everything out. I do tend to refine quite a bit- which is where I will write 400-500 words and then go back and tidy it up a few times. A lot of authors warn against this as you can get stuck in the same scene for ages, but I've found this method good for me, as I can do this relatively quickly and move on. This saves time later with the first edit, and allows me to focus on expanding things like characterization (which is one of my weaknesses) rather than the technical parts.
I also highlight or make a note of areas I can't quite figure out and will need to come back to. I keep the notes in a separate Notepad document.
This is also the bit where I can re-write the outline if the story seems to be going in another direction. This helps me keep things flexible without abandoning structure altogether.
Step Three- Editing
The bit most authors dread, but I actually find the first edit quite fun! This allows me to inject more characterisation, spruce up dialogue and cut down on unnecessary filler words ('just', 'even', 'eyes widened' are particularly bad ones for me). I quite like Brandon Sanderson's tip where you only focus on one thing per edit (so one edit for technical issues like word choice/ sentence structure, one edit for characters/ dialogue, one edit for plot points etc).
So edit 1: adding more character thoughts/ reactions, smoothing out/ refining dialogue and ensuring a consistent voice, removing filler words, removing too much 'tell' areas, also writing down a list of overused words
Edit 2: world/ geography consistencies, temporal consistencies (how long it takes to get from one place to another), adding in additional relevant worldbuilding or removing irrelevant details
Edit 3: checking for accurate word choices, checking my list of overused words and cutting these down (I use the 'Find' option in Word for this), making sure I'm using consistent hyphens/ spellings/ capitalisations
For each run-through of the story I'll also try and correct any typos I come across.
At this stage it's also good to send the story to some trusted beta readers who can give external feedback to point out things you might not have thought about.
Step Four- Polish
This bit I find the most tedious, as at this point I'll have read through the manuscript so many times. For this I take a slightly different approach to editing.
Once I'm happy that the story itself has been trimmed and tided and the plot and character elements are as good as they can be, next comes the technical part- to catch grammar/ spelling errors/ typos. I start from the last chapter and work backwards, using an e-reader to read the text aloud. I use Free Natural Reader and Balabolka for this- both are free to download.
This is really good for catching typos and tense changes, and is better than reading aloud yourself as the e-reader will always read what's on screen, whereas your brain may insert or inject words that aren't there. Don't be tempted to set the reading speed too fast- you should get it to match the tempo of your own reading speed.
Reading backwards also stops you getting caught in the 'rhythm' of the story, as this can make you overlook thing as you've already read it so many times.
Once you've self-proofed, this is when you should send the manuscript to a trusted editor so they can check for any other remaining errors. Different types of editor edit for different things so make sure you pick the right type.
Step Five- Formatting
This step used to be a huge headache, but now I have ready-made templates from my previous books it's super easy. Definitely learn to use Word's Styles Feature, as this makes it much quicker.
Once you've made the corrections from the editor, it's time to make the book publishable.
Ebooks and paperback books have specific formatting (to make sure there's no misaligned text or random blank pages) and these need to be adhered to, to make sure the books look right. Different distributors also have different formatting (Amazon vs Smashwords) so make sure you have separate templates for each.
A new site has come around called Draft2Digital which is another way you can format your books. I used them recently and their user interface is quite straight-forward.
Step Six- Cover and Synopsis
Fortunately I am an artist as well as a writer, so this saves me having to hunt down a cover artist. Of course making a cover is still time-consuming and needs to be the best it can be, to attract readers. To know where to start about covers, I recommend David Gaughran's free course, where he covers not only this but pretty much everything you need to know about self publishing.
And then comes the synopsis- the bane of most writer's existence, but oddly enough I don't find it too much of a hassle. I put this down to being a doctor- I have to document patient stories in their medical notes succinctly and in summary, so it's something I'm quite used to!
It also helps to read the synopses of other books in your genre to get an idea of what tone to go for.
Step Seven- Preparing for Publishing
And so the last step involves checking and re-checking to make sure the books are ready to go.
On Amazon KDP, there is a preview tool to check ebooks and paperbacks, and you can also order proof copies of paperbacks to check they print properly and that the cover looks good.
A look inside the proof copy of The Goddess's Blessing
Once these are all ready, you're ready to go live!
If there are any errors Amazon picks up, they will notify you so you can make the changes. But if all goes well, your book will pop up on the market place, ready for your readers to devour.
And so these are the steps I take in my writing process. Of course this isn't the only way to do it and there are thousands of other methods out there. Are you a writer? What works for your in your process?


