Our Adventures in Egg Dyeing
Two months ago I started homeschooling my daughter, and Pinterest became my go-to for fun activities to help her learn. An egg dyeing experiment with shaving cream and food coloring popped up in my feed, and we decided to give it a try!
First step first- dye your eggs a base color! I used yellow, so they were a nice, pale color. They were even paler than the egg carton itself, as I had no vinegar to add to the food coloring and water. Want a bright color? Add vinegar to the dye. Paler? Emit the vinegar.
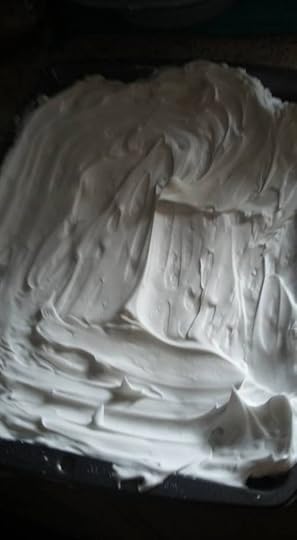
The next day we prepared to have a blast! Step one- line a cooking tray with shaving cream. I picked up a cheap can at the dollar store. No need to invest a lot of money for something you’ll use so much of and wash away! We spread ours on a cookie sheet.
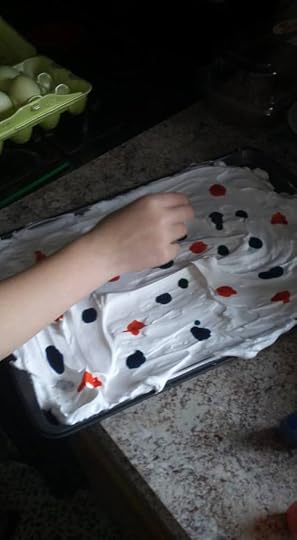
Next add drops of food coloring across the dye- I let Hope do it herself after the first batch. She enjoyed dropping it and watching it roll down the shaving cream.
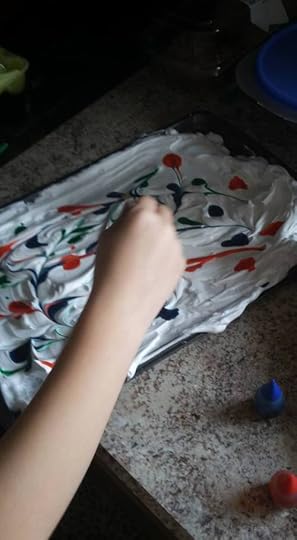
Next use a thin tool (we used the end of a paint brush) to swirl your colors. Careful not to mix them too much!
Now the fun begins- roll your egg through the shaving cream to pick up those colors!
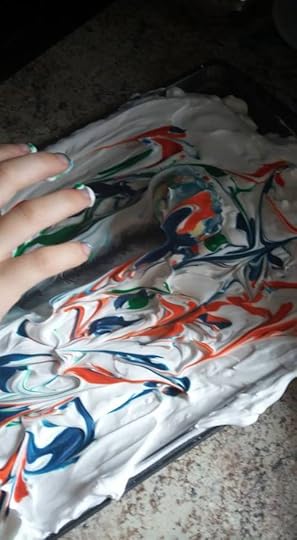
Once you’ve rolled 2-3 eggs, depending on how big your tray is, your colors will be too swirled together to use. Rinse, re-line with cream, and add more color! Don’t forget to swirl them lightly with your thin tool before rolling more eggs!
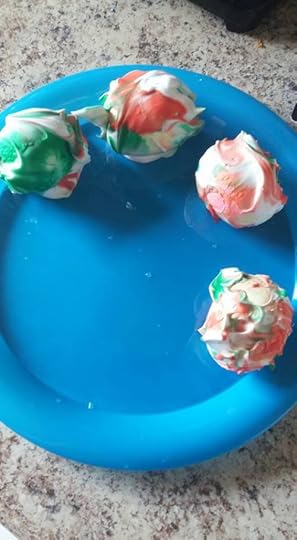
Set your goopy eggs on a surface they won’t stain- we used a cheap plastic plate. They need to sit for a half hour before you remove the shaving cream and excess dye. We watched a favored kids’ program on TV while we waited. When the show ended, it was time for the big reveal!
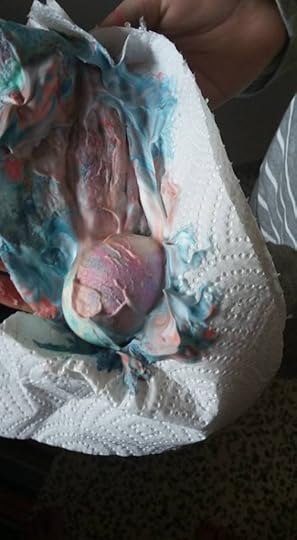
You can wipe them clean with a paper towel if you prefer, although I found this to be too much wasted paper. After the first two eggs I switched to rinsing them under the kitchen faucet- it didn’t remove the color, but got the shaving cream and excess dye off the eggs with no problems.
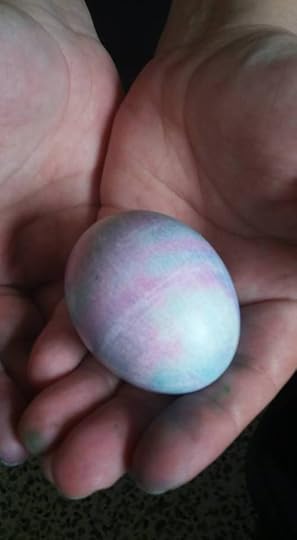
Ta-da! Done, and they came out beautiful!
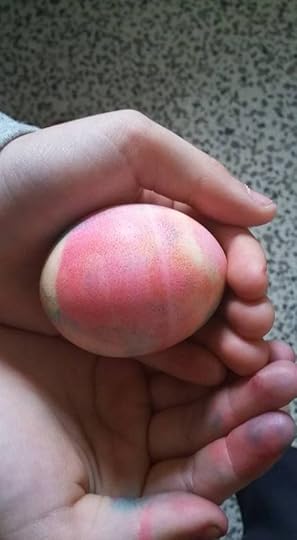
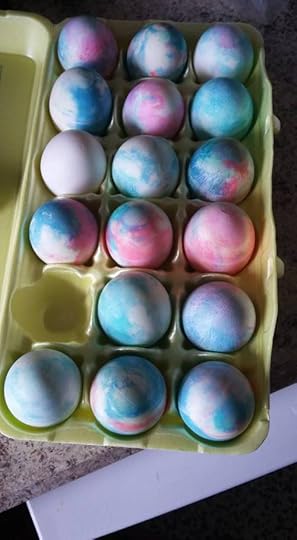
All in all, I think they came out fabulous! I’d definitely do this again, with only one change- disposable gloves! We both had messy, tie-dyed hands when we were finished, but it was totally worth it for the bonding experience and the fun.