
How To Make A Quilt Rack
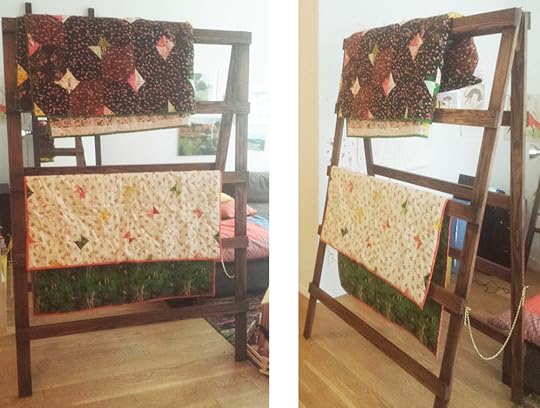
After seeing Anna Joyce's Vintage Drying Rack on Instagram, Heather and I fell in love. We knew we had to have one! So after searching for countless hours, with no success, we decided to just make one. So with the help of my boyfriend, James, we headed over to our local Lowe's and created our own Quilt Rack.
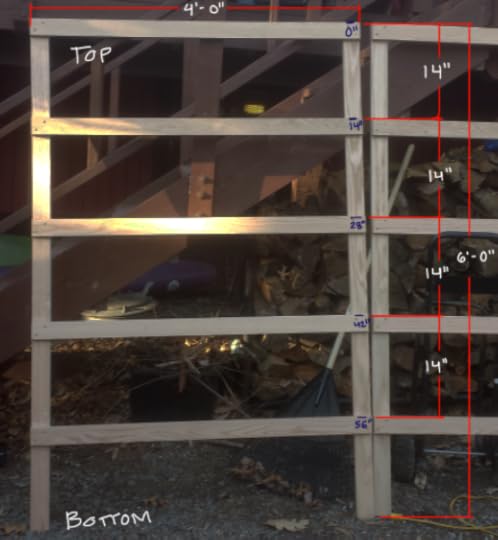
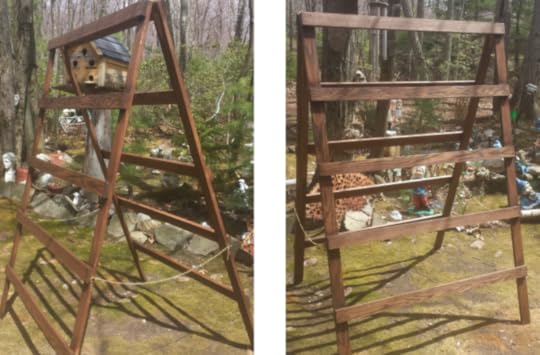
Materials (available at your local Lowe's or Home Depot):The finished dimensions of this piece is: 6' Tall x 4' Wide x 1 1/2" Deep (when flat)
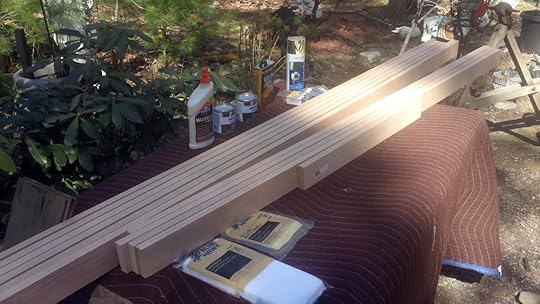
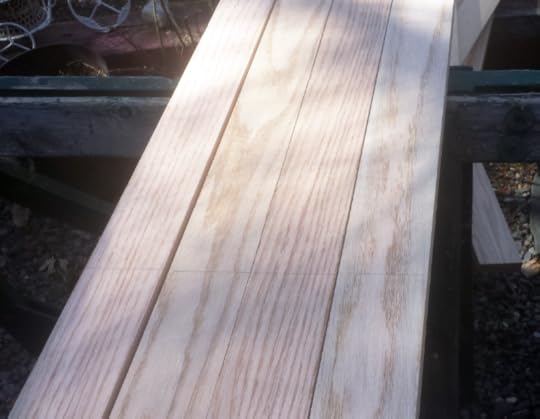
4 Pieces of 1"x3"x6' Red Oak*5 Pieces of 1"x3"x8' Red Oak*A Small Test Piece of Red Oak2 - 2 1/2" Cabinet Hinges**Box of 1 1/4" Brass ScrewsA couple 3/4" Brass Screws4 Brass Cup Hooks2 - 36" Brass Chain (smaller gauge)Wood GlueRustoleum Kona Wood StainWipe on PolyGold/Brass Spray PaintStaining PadTack ClothFine Sandpaper*1" x 3" lumber is ACTUALLY 3/4" x 2 1/2" in size. Lumber has a nominal size (1"x3") and an actual size (3/4"x2 1/2"). So make sure you know the real dimensions of the lumber before you buy hardware.
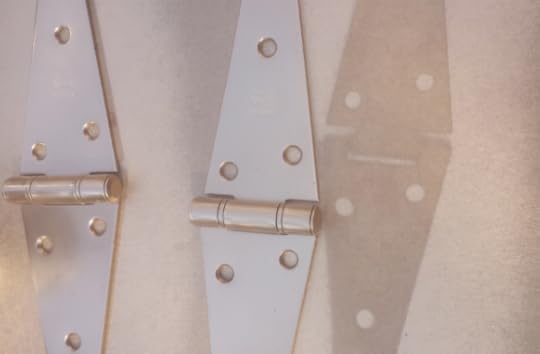
**There were no Brass Hinges available when we went to Lowe's. So we bought 2 steel hinges and spray painted them to match the rest of the brass hardware.
Tools:DrillDrill BitsScrewdriving Bits (make sure you have the bit that matches the head of the screw you use)Circular SawTable and/or Saw HorsesSanding Block (a hard piece of wood that you wrap sand paper around)How To:
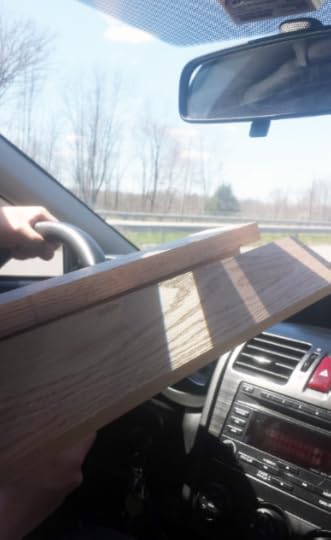
1. Go buy materials. Make sure that the lumber will fit in the car. We were cutting it very close.
2. Test the stain on the extra test piece and spray paint the hinges with the gold/brass spray paint.

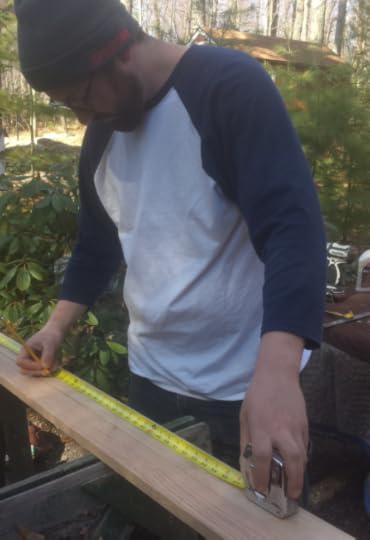
3. Cut Lumber to appropriate sizes. Remember, measure twice and cut once. Here is a cut list:
4 - 6' Pieces (Verticals)10 - 4' Pieces (Horizontals)
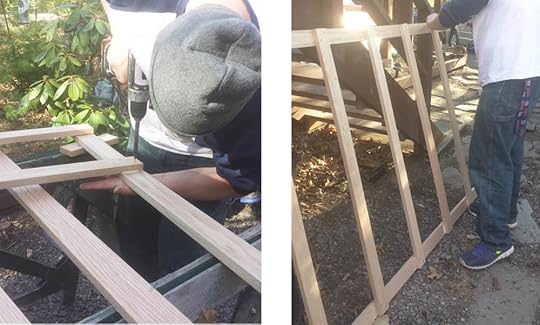
4. Pre-drill holes for screws. You want to drill with a bit smaller than the screw. Pre-drilling prevents the wood from splitting. James chose a diagonal pattern for the screws, but they could be straight across.
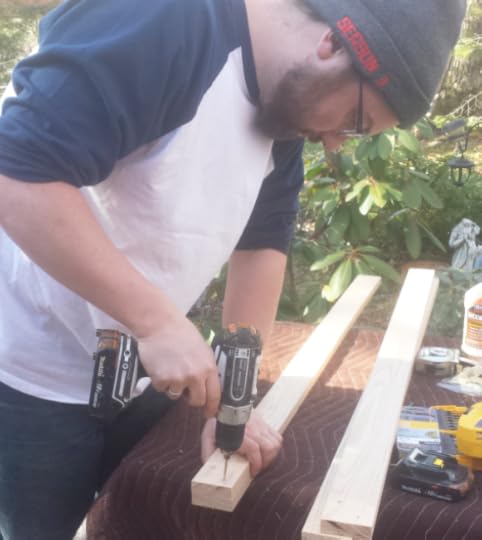
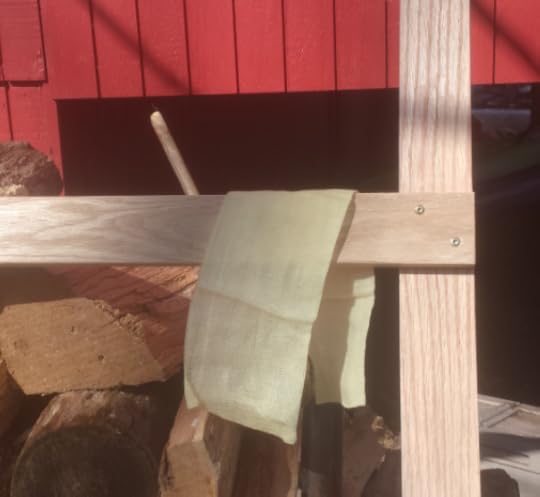
5. Mark 0", 14", 28", 42", 56" down from the top of the 4 - 6' pieces (see diagram below). These marks will be where you place the top of the horizontal 4' pieces. There will be 5 horizontal and 2 vertical piece per side. Apply a little wood glue* and screw in the 4 brass screws, 4 on each horizontal piece, 2 on each side, to each of the 10 horizontal pieces.
*glue acts as a lubricant. So always hold the lumber in place.

Wipe away excess glue with a paper towel.
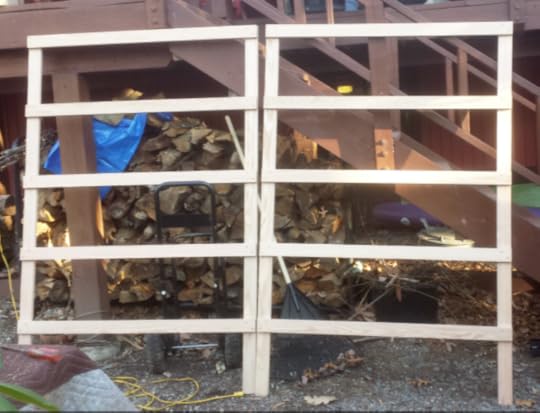
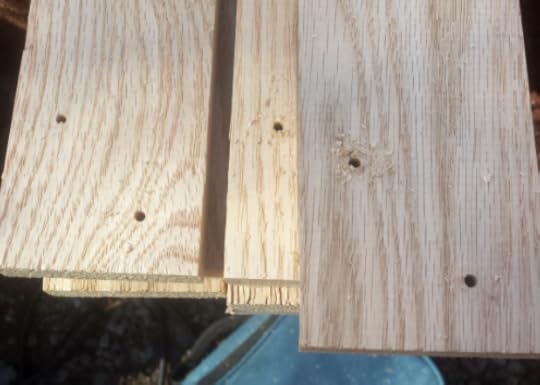
The image above shows how the 2 pieces look like when put together.
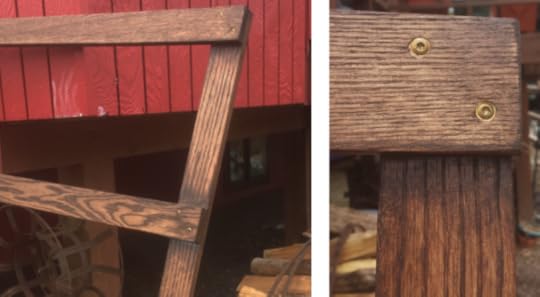
6. Sand edges until smooth and sand off any excess glue.
7. Use a tack cloth to remove dirt and dust. This is important. If you do not do this then the stain will not be smooth.
8. With the staining pad, stain the wood. You want to work from the top down, getting both sides as you go. Wipe away any drips immediately.
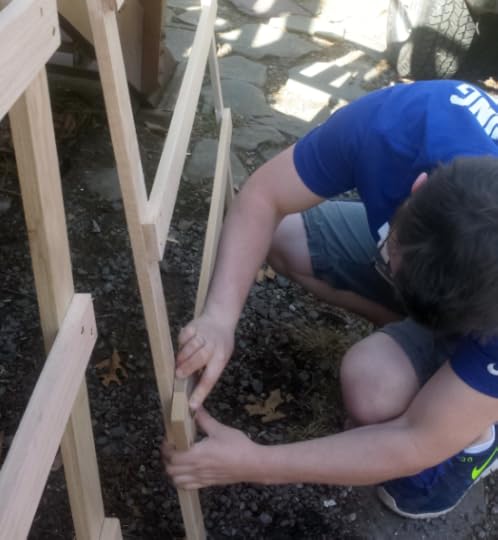
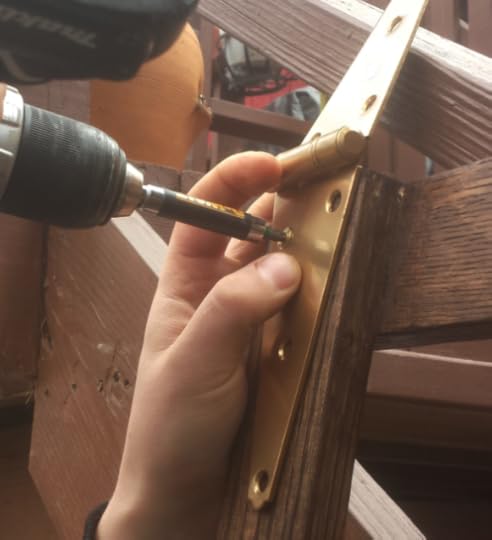
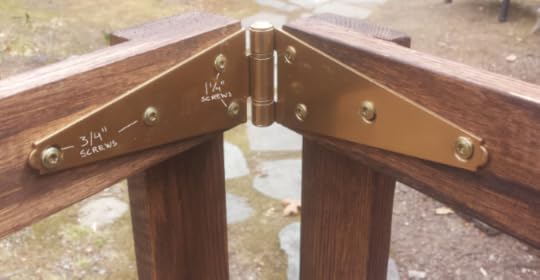
9. Attach the 2 hinges onto the inside top of the rack. Use 1 1/4" screws where the 2 pieces of wood overlap and 3/4" screws where there is just the vertical piece.
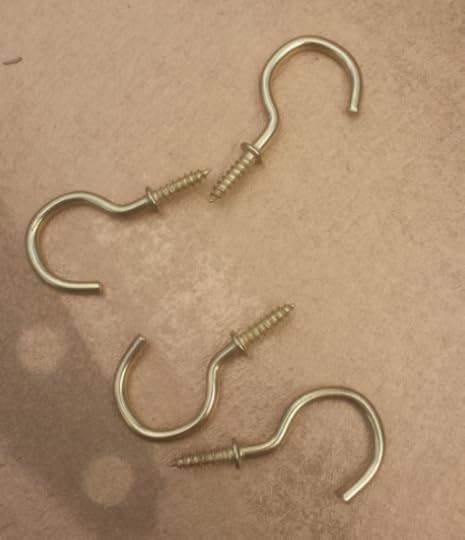
10. Pre-drill 4 holes, one on each of the 3/4" side of the vertical pieces for the cup hooks. screw in the cup hooks by hand.
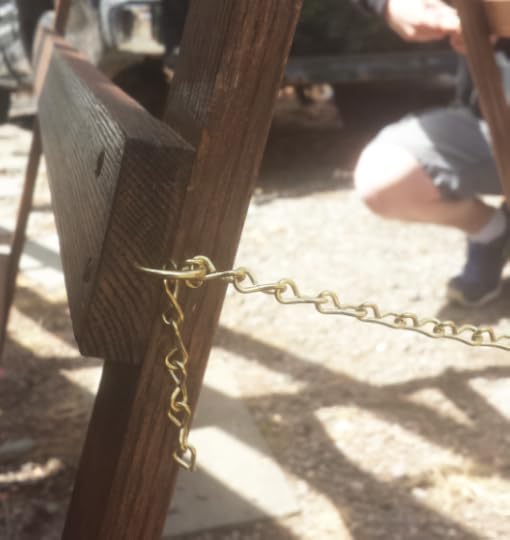
11. Place the brass chain through the cup hooks and voila! The Quilt Rack is finished!
(This project was created and made by James Kolpin and Megan Garner)


Heather Ross's Blog

- Heather Ross's profile
- 26 followers

