let's decorate jars
Hello! It's been a long time since I've blogged regularly and I hope that you're enjoying these Sunday updates as much as I do creating them. If you're a first time visitor here's a little recap. The past two projects have been made from emptied tin cans (pencil cup, luminary); today I thought we'd venture into jelly jars!
You will need
Jars
My favorite jars for tinkering are from Bonne Maman preserves. I like the short shape, gingham lids, and best of all, their labels easily slide off with a soak in warm soapy water. Of course, any glass jar will do.
You will need
Jar
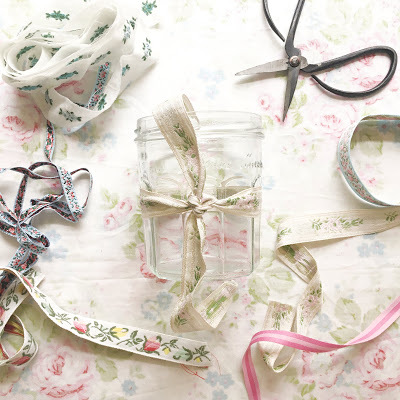
Ribbon
Scissors
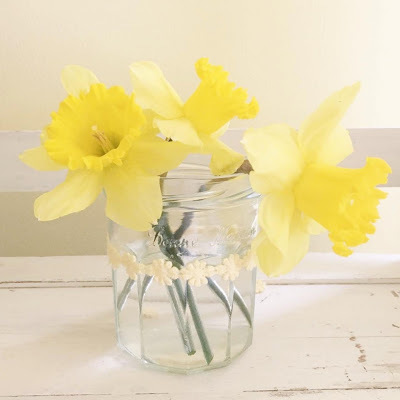
Embellishing a jar can be as simple as tying a scrap of ribbon around its base.
You will need
Jar
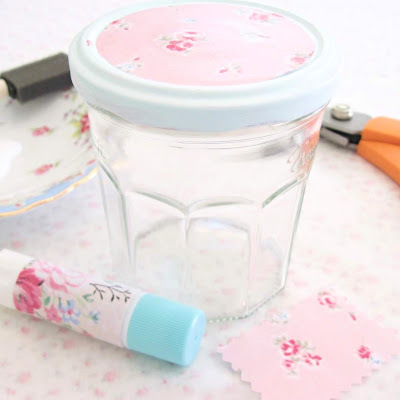
Decoupage medium (Mod Podge)
Foam brush
Glue stick
Paint (craft, spray, leftover house paint)
Paper
Scissors
Embellishing a jar can be as involved as painting the lid and topping it with a circle of paper with a new label to match.* Seal top with decoupage medium.
You will need
Jar
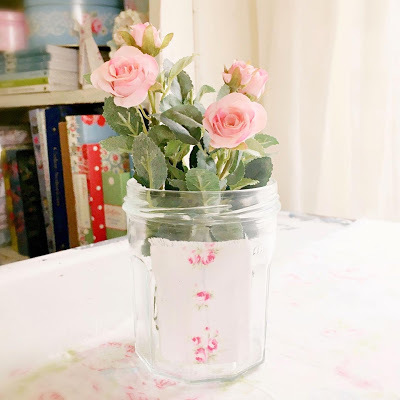
Fabric
Glue stick
Scissors
This jar simply has a torn piece of fabric glued to the front.
You will need
Jar
Word processing program
Scallop-edged scissors
Sheet of adhesive mailing labels
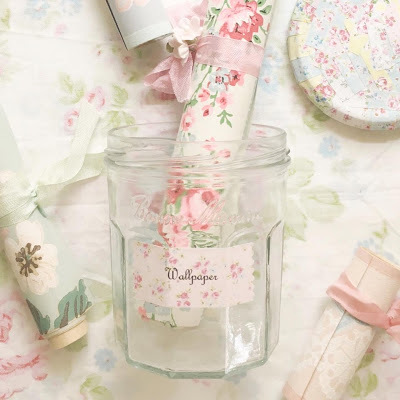
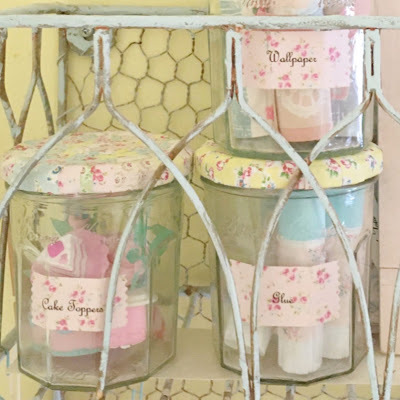
I use jars in the Girlie Office to display small supplies. For this project, upload a floral fabric image and size to fit a mailing label, add text on top in an unfilled box, and print to create pretty labels**; trim sides with a scallop-edged scissors if you have one handy. Use label scraps to cover the lid.

Happy tinkering + please stay safe at home + well!
xo
elyse
PS
Show me your projects by tagging #tinkeredtreasures or #tinkereverything on Instagram
Using the book Tinkered Treasures, CICO Books
{search your favorite bookseller or library}:*Tinkered Treasures - Tinkering Recyclables - Relish Jars, p. 72**Tinkered Treasures - Getting Started - Making Pretty Paper & Pretty Labels, p. 16

You will need
Jars
My favorite jars for tinkering are from Bonne Maman preserves. I like the short shape, gingham lids, and best of all, their labels easily slide off with a soak in warm soapy water. Of course, any glass jar will do.

You will need
Jar
Ribbon
Scissors
Embellishing a jar can be as simple as tying a scrap of ribbon around its base.

You will need
Jar
Decoupage medium (Mod Podge)
Foam brush
Glue stick
Paint (craft, spray, leftover house paint)
Paper
Scissors
Embellishing a jar can be as involved as painting the lid and topping it with a circle of paper with a new label to match.* Seal top with decoupage medium.

You will need
Jar
Fabric
Glue stick
Scissors
This jar simply has a torn piece of fabric glued to the front.

You will need
Jar
Word processing program
Scallop-edged scissors
Sheet of adhesive mailing labels
I use jars in the Girlie Office to display small supplies. For this project, upload a floral fabric image and size to fit a mailing label, add text on top in an unfilled box, and print to create pretty labels**; trim sides with a scallop-edged scissors if you have one handy. Use label scraps to cover the lid.


Happy tinkering + please stay safe at home + well!
xo
elyse
PS
Show me your projects by tagging #tinkeredtreasures or #tinkereverything on Instagram
Using the book Tinkered Treasures, CICO Books
{search your favorite bookseller or library}:*Tinkered Treasures - Tinkering Recyclables - Relish Jars, p. 72**Tinkered Treasures - Getting Started - Making Pretty Paper & Pretty Labels, p. 16


No comments have been added yet.