
Preserving Sweet Corn 3 Ways
Sweetcorn Season = Peak Summer.
I am a Midwestern gal, through and through. And let me tell you, we take our corn seriously.
That coupled with the growing interest in preserving more of our foods brought about this article. I’ll share my family’s favorite ways to enjoy and preserve this beautiful bountiful crop.

I revere these harvests. I honor them by eating as much local, sustainably raised sweet corn as possible. Then, by putting up some of the summer flavor each year. I freeze, can and ‘relish’ the heck out of this crop- and I want you to be able to savor these flavors all year long too. We’ll get you preserving corn for your family, too.
But, like any homegrown or local food, NOTHING beats Fresh Eating!
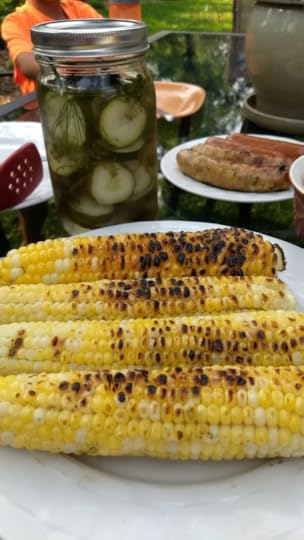
Tips for Fresh FeastingEat the day it is picked (or fine, within 48 hours)Do NOT overcook. Love those popping kernels!Boil 3-4 minutes- hold the heat by draining water and letting the lid sit barely askewSteam for 2 minutes- just an inch of water in the bottom of the panGrilling Fresh Sweet Corn- soak in salt water for 30-60 minutes first (if you can). Pull the tassels, or they WILL start on fire. I enjoy both shucked and un-shucked grilled corn. 15 minutes rotating ¾ times on 350-400F grill. Click HERE for more details.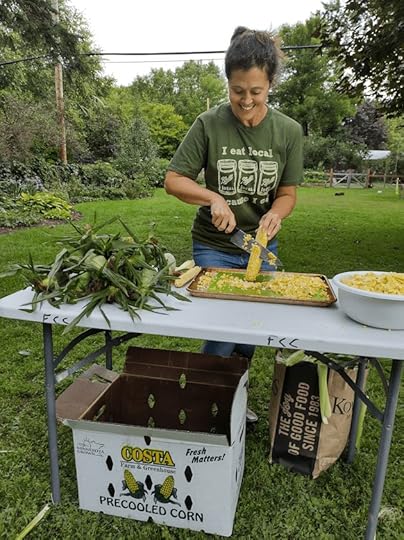 Let’s Get Shucking
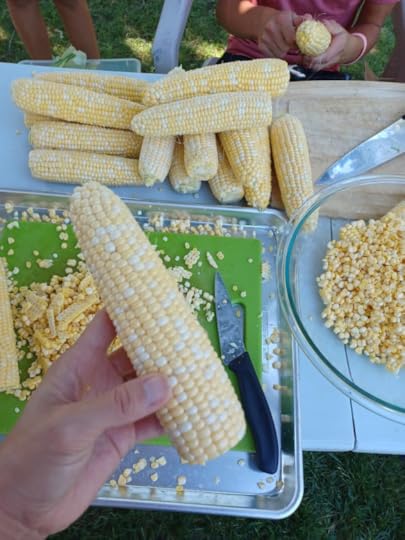
For real, shucking corn is a hot topic online! While there are many tricks and hacks that I’ve for shucking corn to remove the silks, I end up going back to the old school ways. I don’t want to microwave my corn or chop off the bottom and waste any kernels. When you’re doing this to 50-60 cobs, a little waste off each cob adds up to a lot of wasted corn!
*A note on disposing the husks* The husks add up to a LOT of ‘green’ organic matter. They can be added to your compost pile, but your pile will benefit from a little chopping and/or ripping to disperse the husks better. You can also bring corn husks to most food scraps collection sites. Just please do not add them to your trash- they add a lot of methane emissions to the landfills.
 Freezing Sweet Corn
I think freezing sweet corn kernels is the easiest way to preserve corn. If you can, search out corn that is still in its ‘milk stage’. This first pick of a corn crop is usually the sweetest and has a white milky substance that oozes from the kernels. Hence, early-stage corn is referred to as being in the ‘milk stage’. This ‘milkiness’ signals more sugars and less starch. The less starch the better for freezing.
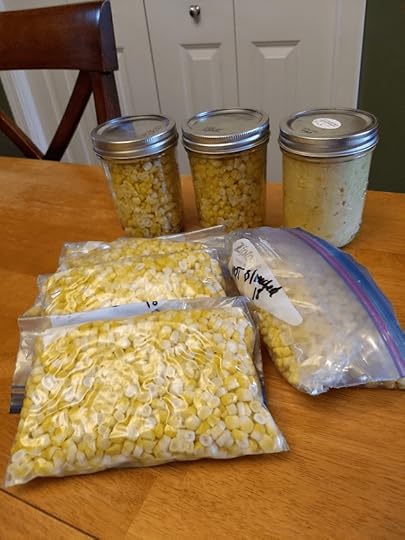
Safest way to freeze is to cut kernels from the cob and parcook. Just a ½ cup water for every 10-12 cups of corn kernels, which is my normal batch. Cook with lid on for 5-6 minutes, stirring once or twice. Then remove lid for another 5 minutes to cook off the water. Spread out to cool (no ice bath) before placing into freezer containers. I’ve used both rigid freezer containers and freezer bags for corn.
I also tested freezing a small bag not blanched or parcooked. It degraded quickly in the freezer, was really starchy when cooked and we ended up giving that to the chickens.
**1 ear of corn = 1 cup of kernels**
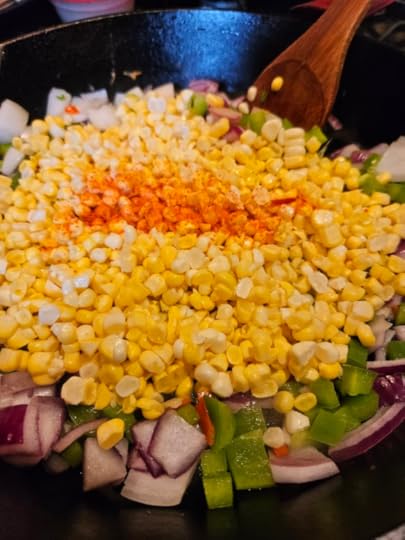
I follow many of Crystal’s recipes in her book, Freeze Fresh. I especially like her frozen Creamy Parmesan Confetti Corn, a great side dish to brighten winter tables. See this recipe being made to the right.
I enjoy a little creamed corn as well. I like freezing the corn ‘milk’ and bits that I get from my ‘second go’ at the cobs is perfect to use in my Corn Chowder Soup recipe.
I usually also freeze one or two bags of corn ON the cob. There’s something special about eating this once or twice in a winter. It pairs perfectly with a pork roast.
To freeze whole corn cobs:
Shuck, then toss whole or halved cobs into boiling water and parcook for 10 minutes. Then submerge into an ice bath until cooled, then drain to remove as much water as possible before placing into freezer bags. These take time and space- which is why I usually only do a few each year but are such a treat.
Corn does not have the required acidity levels (like tomatoes) or sugar content (like jellies and jams) to be safely water bath canned on its own. But if you make into a Pickled Corn Relish, you have a great addition to any summer potluck. Only water bath can corn if adding vinegar!
 Pickled Corn Relish with Zucchini Fritters makes a satisfying summer meal!
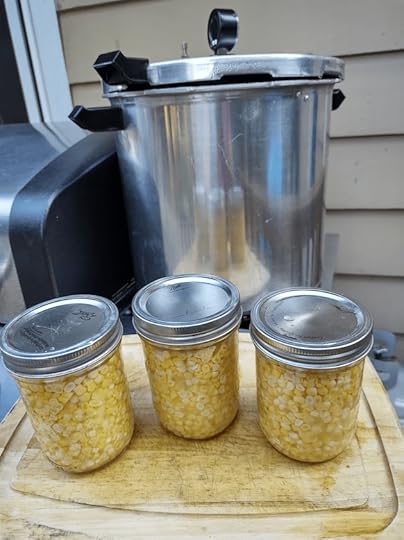 Pressure Canning
Once I started pressure canning, I felt like a real modern-day homesteader. Pressure canning corn and green beans changed how I gardened, and how we eat during the winter. I urge you to try some basic pressure canning recipes to rediscover preserving skills. If you are worried about this, you are not alone. You also have many trusted resources to follow online.
I follow the National Center for Home Food Preservation’s recipes for all my pressure canning. These are well tested recipes that I feel comfortable using. They even have a easy to read guide to using pressure canners for beginners.
Let’s walk you through our process of processing enough corn to last us over winter.
Start to finish it is an all-day project with all hands on deck, but it is enjoyable work, with instant and long lasting rewards.
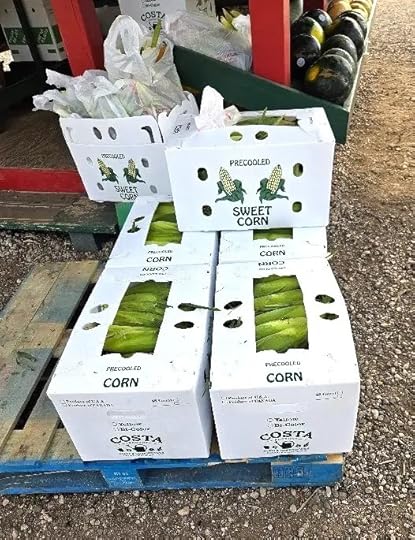
We buy two boxes of sweet corn from our local farmer and get shucking (see early content on shucking). Each box of corn is about the same as a 5-gallon bucket, and two of these equal one bushel. Most pressure canning recipes deal in bushels.
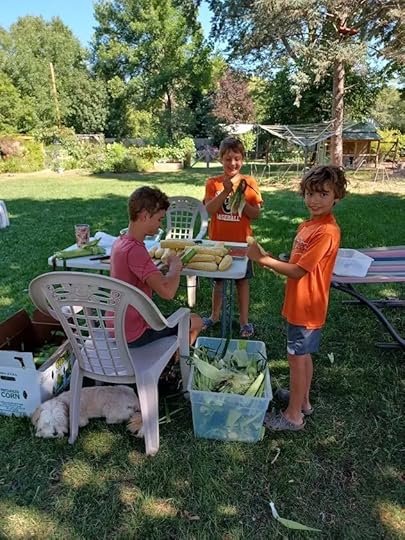
I get my kids – sometimes neighbor kids too – to help with all the shucking. It’s amazing how much work kids will do for some watermelon, which I always get from the farmer when I pick up our corn. A freshly roaster cob or two to eat after helping never hurts either!
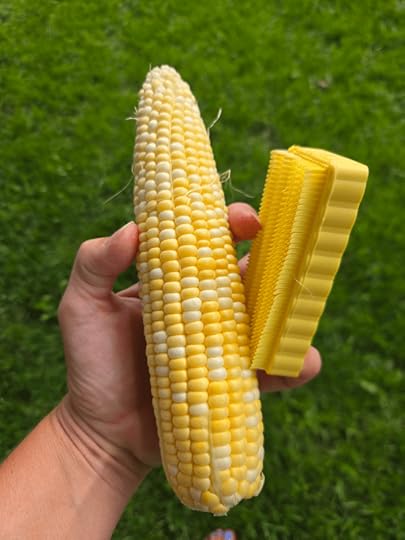
Then I work to remove the silk. This is the slogging part of the project, and my kids are not interested.  A handy gadget, called a De-Silking brush, is worth every penny of the $5-10 you’ll spend.
After the silks are gone, I cut the kernels from the cobs. I’m old school in this step, using a sharp knife and my Nordic Ware Bundt pan to make the process a little easier. I told you I was a Midwest gal. . This pan elevates the cobs making it easier to get to the bottoms and helps catch the kernels. There are many tools out there, I just haven’t found one that works well on all the different sized cobs, so I stick with what I know.
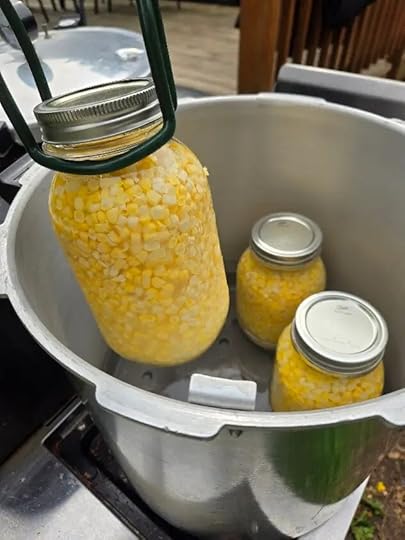
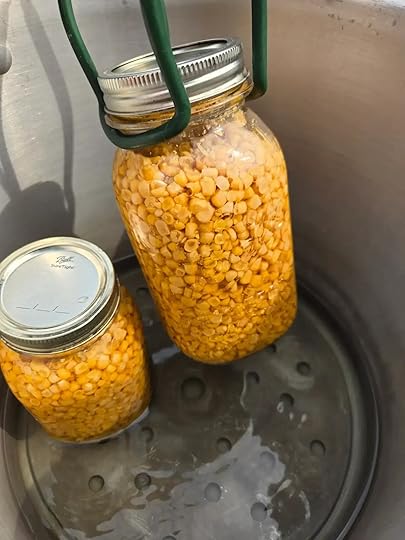
Once you have enough corn prepped to fill your canner, follow the National Center for Home Food Preservation – Pressure Canning Whole Kernel Corn recipe. I prefer the ‘Raw pack’ version because there’s one less step and it gives great corn. Fill loosely with raw kernels, add salt if desired, then add boiling water to the jars, leaving 1” head space. Adjust lids and set into pressure canner, following timing- which is 85 minutes when I’m doing quarts.
Then it is about heating up the water, watching the pressure reading and timing. Just like with water bath canning, you’ll want to set the jars somewhere they can remain for at least 24 hours without disturbing so the seals set on the lids.
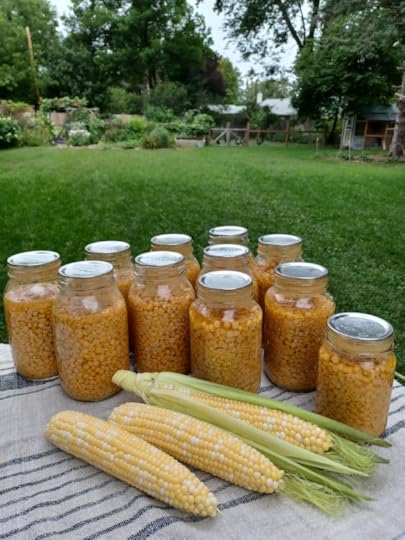
I do all my pressure canning outside on my grill’s side burner. This keeps the heat out of my kitchen, and I’m able to let the jars cool off outside as well- plus I’m usually ready to relax outside for a bit after getting the first load into the canner. I do two rounds of 5 quarts. So for 10 large servings of shelf stable corn, plus the extras that I freeze (usually another 4-5 meals). We have enough to see us through to the next summer.
Pressure canned corn is good for one to two years when processed and stored properly.

I use canned corn as a simple side dish, in or in recipes like my favorite Corn Chowder soup. There’s nothing quite like opening the pantry and seeing all the foods you love ready and waiting. Knowing where they came from and what ingredients they contain is also a huge peace of mind.
So, even if you start small and can just one thing this summer, I urge you to try- and see if it doesn’t become one of your favorite granny skills.
Dig in,
Michelle
The post Preserving Sweet Corn 3 Ways appeared first on Forks in the Dirt.


Forks in the Dirt

- Michelle Bruhn's profile
- 4 followers

